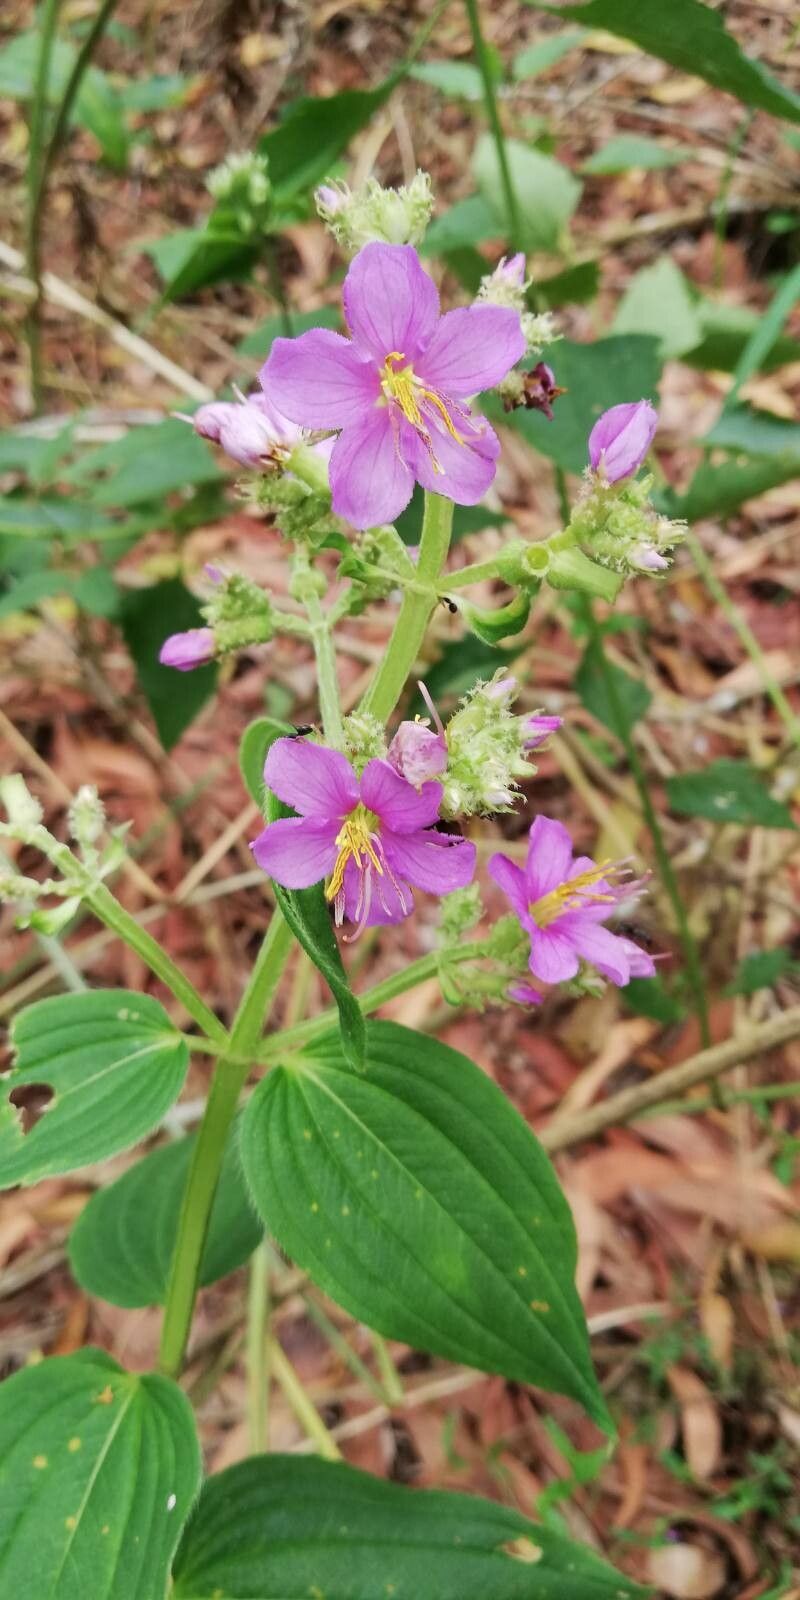
Well hello there, fellow plant lover! It’s so lovely to have you here. I’m thrilled you’re curious about Melastomastrum autranianum. This stunner, with its vibrant blooms and gorgeous foliage, truly has a way of capturing the heart. And the joy of coaxing a brand new plant from a piece of an established one? Pure gardening magic!
Now, if you’re wondering if this is a beginner-friendly propagation project, I’d say it’s a solid intermediate challenge. It’s not the fuss-free kind of plant that roots if you just stare at it, but with a little attention and the right approach, you’ll absolutely succeed.
The Best Time to Start
For Melastomastrum autranianum, I’ve found the absolute best time to propagate is when the plant is actively growing, which usually means late spring through early summer. This is when the plant has plenty of energy to put into developing new roots. You’re looking for stems that are halfway between soft and woody, often referred to as “semi-hardwood.” Avoid taking cuttings from brand new, super soft growth or from old, woody stems.
Supplies You’ll Need
Gathering your supplies beforehand makes the process so much smoother. Here’s what you’ll want to have on hand:
- Sharp Pruning Shears or a Clean Knife: For making clean cuts.
- Potting Mix: A good, well-draining mix is key. I usually go with a 50/50 blend of peat moss or coco coir and perlite or coarse sand. This ensures good aeration and prevents waterlogging.
- Small Pots or Propagation Trays: With drainage holes, of course!
- Rooting Hormone (Optional but Recommended): A powder or gel can give your cuttings a nice boost.
- Plastic Bag or Humidity Dome: To create a mini-greenhouse effect.
- Water: For hydration.
- Gloves (Optional): If you have sensitive skin.
Propagation Methods
Let’s get our hands dirty! For Melastomastrum autranianum, stem cuttings are my go-to method.
Stem Cuttings
- Select Your Cuttings: Look for healthy, non-flowering stems on your established plant. Aim for cuttings that are about 4-6 inches long.
- Make the Cut: Using your clean shears or knife, make a cut just below a leaf node (the point where a leaf attaches to the stem). This is where the magic of root development usually happens.
- Prepare the Cutting: Gently remove the lower leaves from the bottom half of the cutting. You want to expose the nodes where roots will form. Leave about 2-3 leaves at the top of the cutting. If the remaining leaves are very large, you can cut them in half to reduce water loss.
- Apply Rooting Hormone (Optional): Dip the cut end of the stem into your rooting hormone, tapping off any excess.
- Plant the Cuttings: Fill your small pots with your prepared potting mix. Make a hole in the center with your finger or a pencil. Insert the cut end of your cutting into the hole, ensuring the nodes are buried. Gently firm the soil around the stem.
- Water Thoroughly: Give your cuttings a good watering to settle the soil.
- Create a Humid Environment: Place a plastic bag over the pot, secured with a rubber band or string, or use a clear plastic lid if you have a propagation tray. This will trap moisture and keep the humidity high around your cuttings. Make sure the leaves aren’t touching the plastic if possible.
- Find a Cozy Spot: Place your pots in a bright location but out of direct sunlight. A spot with indirect light is perfect.
The “Secret Sauce” (Pro Tips)
Here are a couple of things I’ve learned over the years that really seem to help:
First, don’t be afraid to use bottom heat. If you have a propagation mat, placing your pots on it can significantly speed up root formation. Those gentle, consistent temperatures encourage the plant to get to work underground.
Second, and this is a big one, don’t let your cuttings be waterlogged. While they need consistent moisture, if the potting mix is constantly soggy, you risk rot. The goal is for the soil to be moist, not soggy. My favorite trick is to stick my finger about an inch into the soil. If it feels dry, it’s time to water.
Aftercare & Troubleshooting
Once your cuttings have started to root, you’ll see new leaf growth appearing, which is a wonderful sign! At this point, you can gradually acclimate them to lower humidity. Start by opening the plastic bag or dome for a few hours each day, then gradually increase the time.
The most common issue you might face is rot. This usually happens when the cuttings are kept too wet or in a place with poor air circulation. If you notice the stem turning black or mushy at the soil line, unfortunately, that cutting is likely lost. Don’t get discouraged; just try again with a fresh cutting and adjust your watering and environment. Also, keep an eye out for wilting leaves. This can be a sign of insufficient humidity, so boost that humidity back up.
A Little Patience Goes a Long Way
Propagating plants is a journey, and Melastomastrum autranianum is no different. It takes time for those roots to develop and for your new plant to find its footing. Be patient with yourself and enjoy the process of nurturing these little beginnings. Soon enough, you’ll have new beauties to share (or to keep all to yourself!). Happy propagating!
Resource: