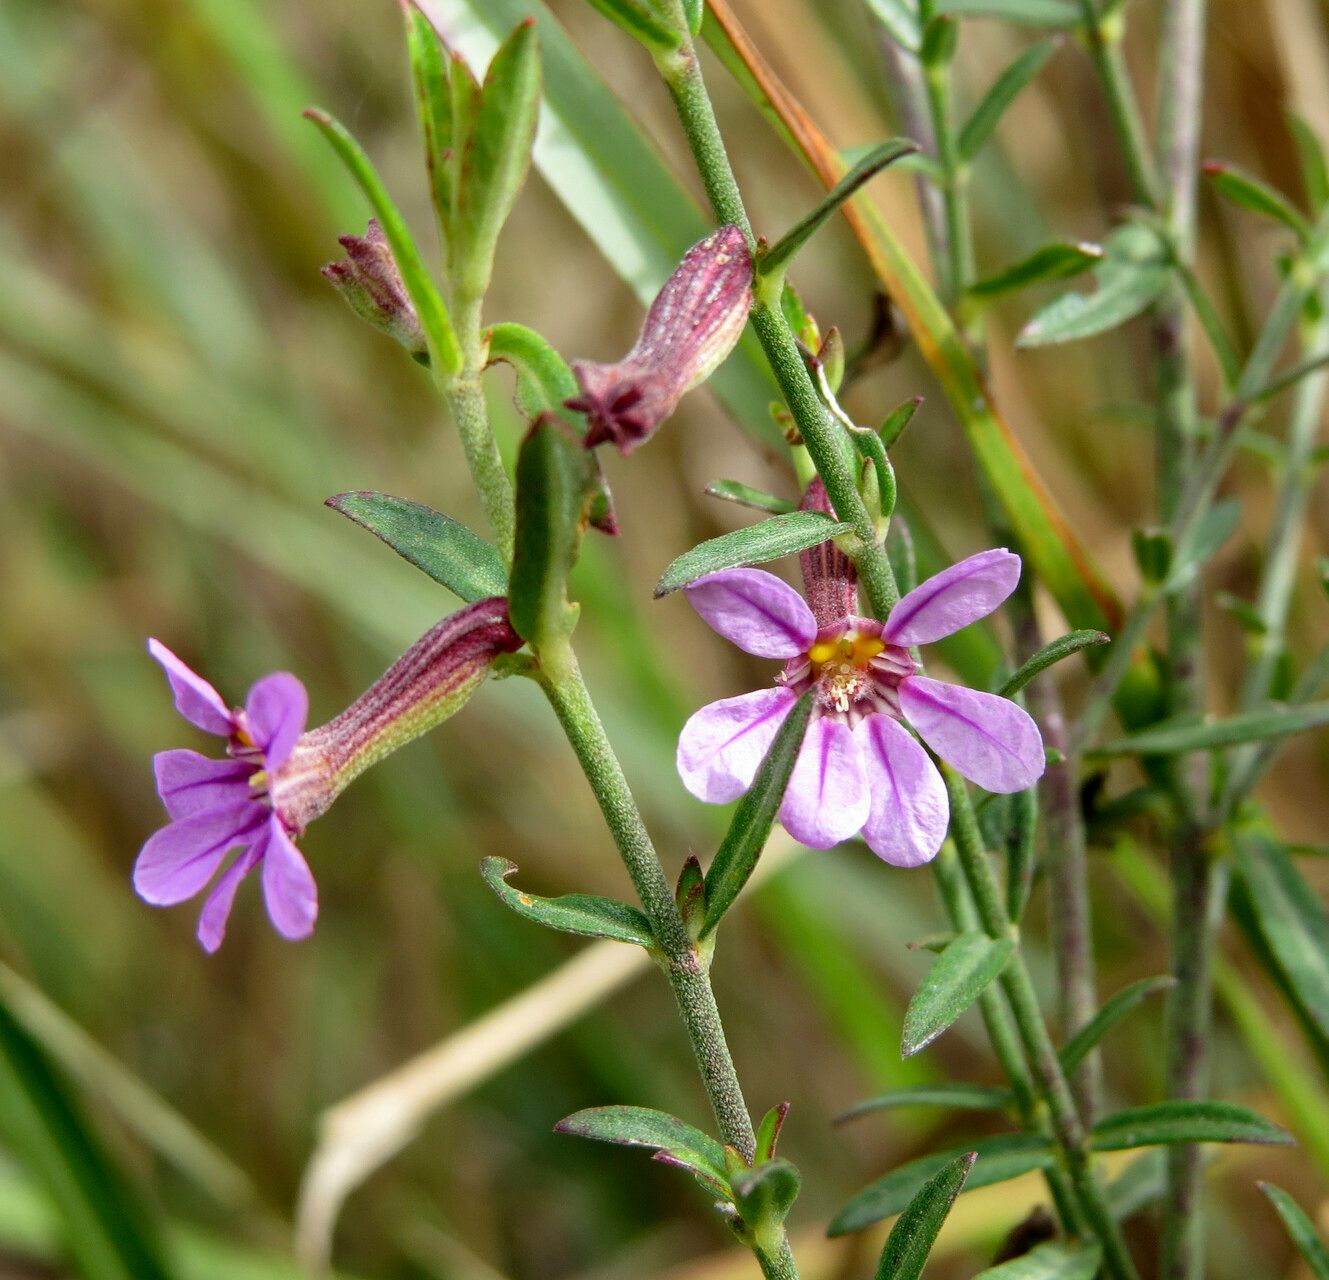
Oh, Cuphea odonellii! What a charmer. If you haven’t met this little wonder yet, imagine a cascade of delicate, trumpet-shaped flowers, often in vibrant shades of pink, purple, or white, that just keep blooming. It’s a relatively small shrub, perfect for containers or tucking into mixed borders. And let me tell you, multiplying your own Cuphea is incredibly satisfying. It’s a plant that’s pretty forgiving, so even if you’re just starting out, you’ll likely have a good chance of success. Don’t be intimidated; we can do this together!
The Best Time to Start
For Cuphea odonellii, spring is truly your golden ticket. As the days get longer and warmer, the plant bursts into growth. This vigorous new growth is exactly what we’re looking for when we take cuttings. Aim for early to mid-spring, just as the plant is shaking off winter and showing signs of active new shoots. You can also try in late summer, but you might find the rooting hormones haven’t quite kicked in as strongly.
Supplies You’ll Need
Here’s your handy checklist to get ready. It’s not much, and you probably have most of this already!
- Sharp pruning shears or a clean knife: For making clean cuts.
- Potting mix: A light, well-draining mix is key. I like a blend of equal parts potting soil and perlite or coarse sand.
- Small pots or trays: Clean containers are essential to prevent disease.
- Rooting hormone (optional but recommended): A powder or gel can give your cuttings a helpful boost.
- Plastic bag or propagation dome: To maintain humidity.
- Water: For misting and watering.
- Slow-release fertilizer (for later): Once your new plants have established.
Propagation Methods
Stem cuttings are definitely the go-to for Cuphea odonellii. It’s simple and effective.
Stem Cuttings:
- Take Cuttings: Choose healthy, non-flowering stems from your mature plant. You’re looking for stems that have a bit of flexibility but aren’t too woody. A good length is about 4-6 inches. With your clean shears, make a cut just below a leaf node (that little bump where a leaf grows from the stem).
- Prepare the Cuttings: Gently remove the lower leaves, leaving just a couple at the very top. This prevents them from rotting when buried in the soil. If the leaves are very large, you can even cut them in half to reduce water loss through transpiration.
- Apply Rooting Hormone (if using): Dip the cut end of the stem into the rooting hormone, tapping off any excess.
- Plant the Cuttings: Fill your small pots or trays with your prepared potting mix and gently moisten it. Make a small hole with a pencil or your finger, then insert the cutting, ensuring the leaf nodes are below the soil surface. Firm the soil gently around the stem.
- Create a Humid Environment: Cover the pot or tray with a clear plastic bag or a propagation dome. This traps moisture and creates a mini-greenhouse effect, which is crucial for cuttings. Make sure the plastic doesn’t touch the leaves too much – you can use little stakes if needed.
- Placement: Place the pots in a bright spot that receives indirect sunlight. Avoid direct sun, which can scorch the delicate cuttings. Keep the soil consistently moist but not waterlogged. You can mist the leaves occasionally to keep humidity high.
The “Secret Sauce” (Pro Tips)
Here are a couple of little things I’ve learned over the years that really make a difference:
- Bottom Heat is Your Friend: Cuphea cuttings are much more likely to root if they have a bit of warmth coming from below. A heating mat designed for seedlings is fantastic. It encourages root development without overheating the leaves. If you don’t have one, placing the pot near a warm appliance or on a sunny windowsill (but again, not direct sun) can help.
- Humidity Tunnel Trick: Instead of just a loose plastic bag, try trimming the bottom off a clear plastic bottle and placing it over the individual cutting or pot. This creates a more stable, humid environment and you can easily lift it to check on progress. Plus, it looks rather professional!
Aftercare & Troubleshooting
Patience is key here! It can take 3-6 weeks for your Cuphea cuttings to develop roots. You’ll know they’re ready when you gently tug on them and feel resistance, or when you start to see new leaf growth.
Once they’ve rooted, gradually acclimate them to normal room humidity. Remove the plastic cover for longer periods each day. You can then pot them up into slightly larger containers with your regular potting mix. Start feeding them with a diluted liquid fertilizer every few weeks.
The most common issue you might see is damping off, where the stem rots at the soil line, or the leaves turn yellow and wilt. This is usually a sign of too much moisture and not enough air circulation. Make sure your soil is draining well, and don’t be tempted to overwater. If you see rot, sadly, it’s best to discard the affected cutting and try again with a clean pot and fresh mix.
And there you have it! Don’t rush the process. Enjoy watching those tiny roots form and the promise of new Cuphea plants. Happy propagating!
Resource:
https://identify.plantnet.org/k-world-flora/species/Cuphea%20odonellii%20Lourteig/data