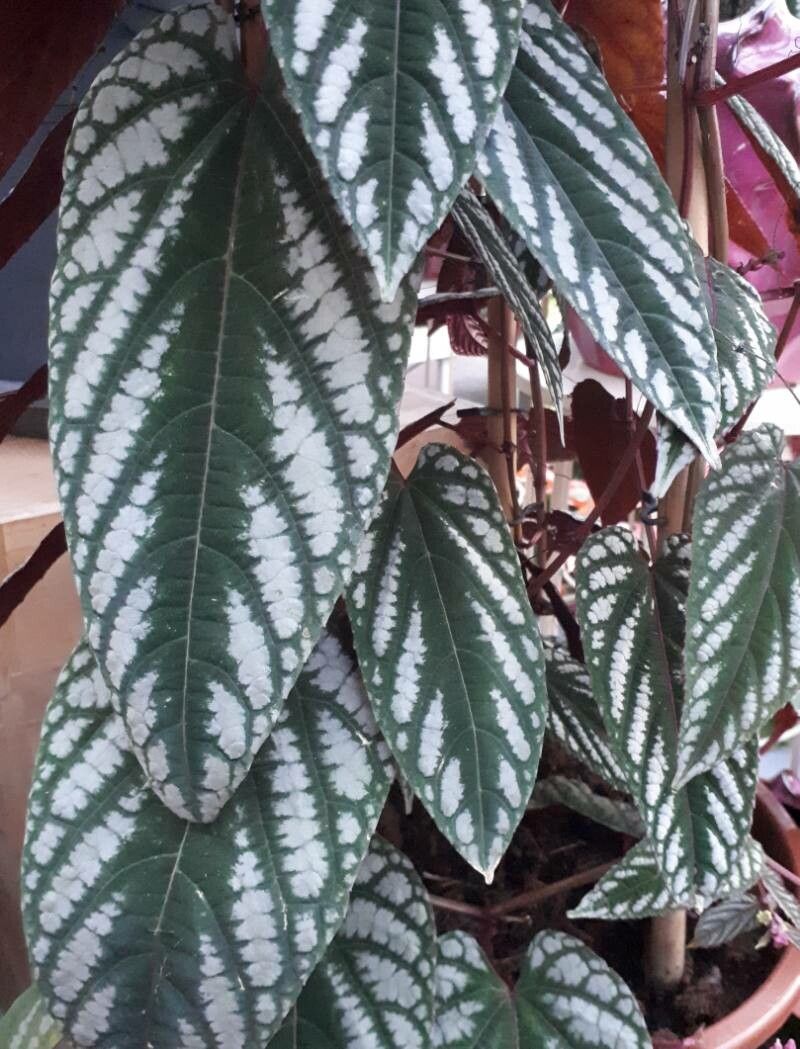
Hello fellow plant lovers! I’m so excited to chat with you today about one of my absolute favorite houseplants: Cissus discolor, often called the Rex Begonia Vine. If you’ve ever seen its stunning, velvety leaves with their silvery markings and deep red undersides, you know exactly why it steals the show. It looks like something out of a fairytale!
One of the most rewarding things we can do as gardeners is to create new life from our established plants. Propagating Cissus discolor is not only a fantastic way to get more of these beauties for yourself (or to share with friends!), but it’s also surprisingly straightforward. For those of you just dipping your toes into the world of propagation, I’d say Cissus discolor is a moderately easy plant to work with. You’ll get the hang of it in no time.
The Best Time to Start
For the highest success rate, I always recommend propagating Cissus discolor during its active growing season. This typically falls between spring and early summer. Your plant is full of energy then, and the cuttings have a much better chance of rooting quickly. Waiting until you see new growth emerging is a sure sign your plant is ready for a little “haircut” for propagation.
Supplies You’ll Need
Gathering your supplies beforehand makes the whole process smoother. Here’s what I usually have on hand:
- Sharp, clean pruning shears or a knife: Essential for getting clean cuts.
- Rooting hormone (optional but helpful): A little boost can speed things up. Look for one that’s formulated for stem cuttings.
- A well-draining potting mix: I like to use a blend of equal parts peat moss or coco coir and perlite or coarse sand. A good quality general potting mix with extra perlite added works well too.
- Small pots or propagation trays: Clean terracotta pots or plastic nursery pots are perfect.
- Water: For the water propagation method.
- Gloves (optional): If your hands are sensitive.
Propagation Methods
There are a couple of wonderful ways to propagate your Cissus discolor. I’ll walk you through my favorites.
Stem Cuttings
This is my go-to method for Cissus discolor. It’s efficient and usually yields great results.
- Take Cuttings: Select a healthy stem that has at least two to three nodes. A node is that little bump on the stem where a leaf emerges. Using your clean shears, make a cut just below a node. Aim for cuttings that are about 4-6 inches long.
- Prepare the Cuttings: Gently remove the lower leaves from the cutting, leaving just one or two at the very top. This prevents them from rotting in the soil or water.
- Apply Rooting Hormone (Optional): If you’re using rooting hormone, dip the cut end of the stem into it, tapping off any excess.
- Plant the Cuttings: Fill your small pots with your prepared potting mix. Make a small hole with your finger or a pencil and insert the cut end of the Cissus discolor cutting. Gently firm the soil around it.
- Water Gently: Water the soil thoroughly but allow any excess to drain away.
- Provide Humidity: This is key! I like to cover the pots with a clear plastic bag or place them in a mini greenhouse. Make sure the plastic bag doesn’t touch the leaves. You can secure it with a rubber band around the pot.
Water Propagation
This method is incredibly satisfying to watch!
- Prepare the Cuttings: Follow steps 1 and 2 from the stem cutting method.
- Place in Water: Find a clean glass or jar and fill it with fresh water. Place the prepared cuttings into the water, ensuring the nodes are submerged but the leaves are above the water line.
- Change Water Regularly: This is crucial to prevent bacteria buildup. Change the water every 2-3 days, or whenever it starts to look cloudy.
- Find a Good Spot: Place the jar in a bright spot with indirect light.
The “Secret Sauce” (Pro Tips)
Here are a couple of things I’ve learned over the years that can really boost your success with Cissus discolor cuttings:
- Don’t let the leaves touch the water: I can’t stress this enough when water propagating. Any submerged leaf is an invitation for rot. Hovering the leaves just above the surface is perfect.
- Use bottom heat: If you have a heating mat designed for seedlings, placing your pots on it can significantly speed up rooting. That gentle warmth encourages root development from the bottom up.
- Patience is truly a virtue: Sometimes, it takes a little longer than you expect. Don’t give up too soon! I’ve had cuttings sprout roots after a month or even a bit longer.
Aftercare & Troubleshooting
Once you see new growth or feel resistance when you gently tug on a cutting (a sign of roots!), it’s time to adjust your care.
- For Soil-Rooted Cuttings: Gradually remove the plastic cover over a week to acclimate them to lower humidity. Continue to keep the soil lightly moist – not soggy. Once they’re established and growing, you can treat them like a mature Cissus discolor.
- For Water-Rooted Cuttings: Once the roots are about an inch long, carefully plant them in potting mix, following the steps for soil propagation. Water them in well, and then gently introduce them to lower humidity as mentioned above.
The most common issue you might encounter is rot. If your cutting turns mushy and black, it’s likely succumbed to rot. This usually happens due to too much moisture, poor air circulation, or contaminated water. Don’t be discouraged! Just start again with a fresh cutting and perhaps a slightly drier approach.
A Encouraging Closing
Propagating Cissus discolor is a wonderful journey. It’s a chance to connect with nature, learn more about your plant, and fill your home with beautiful foliage. Be patient with yourself and your cuttings. Enjoy the process of watching new life emerge. Happy propagating!
Resource:
https://identify.plantnet.org/k-world-flora/species/Cissus%20discolor%20Blume/data