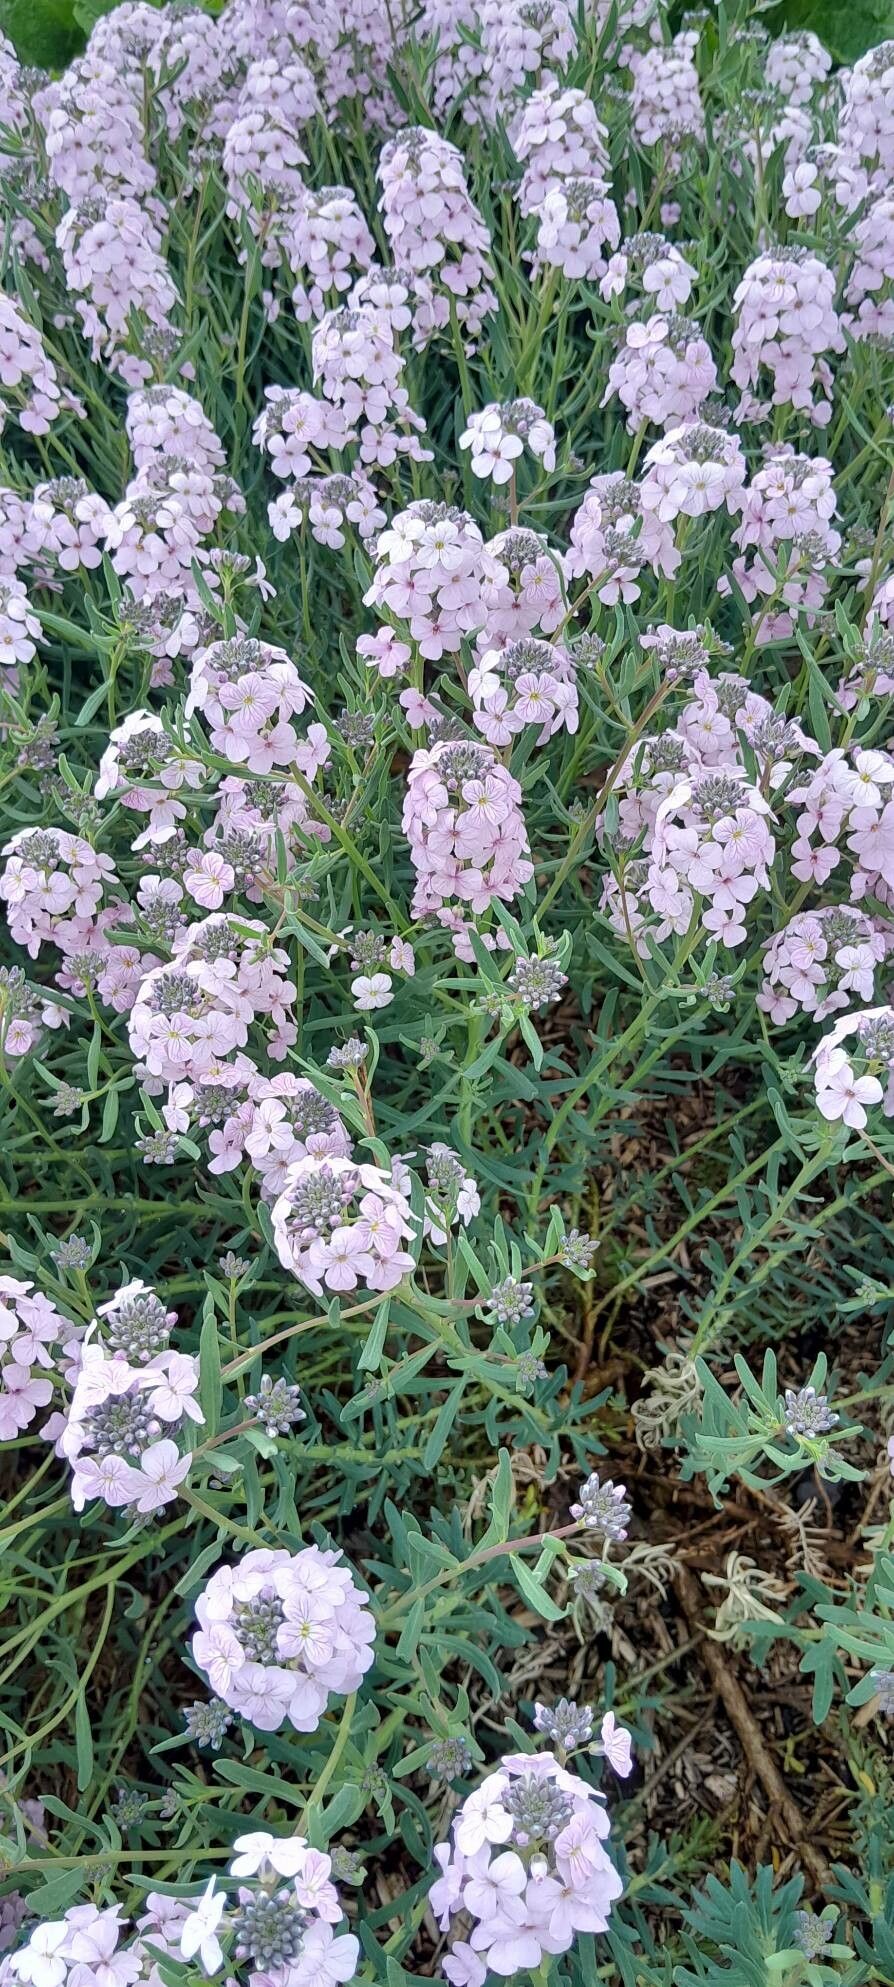
Hello fellow garden enthusiasts! Are you, like me, utterly smitten with the delicate charm of Aethionema grandiflorum? Its frothy pink blooms and lovely grey-green foliage bring such a unique texture to any sunny border. And the best part? It’s actually quite rewarding to grow more of these beauties yourself! If you’re new to plant propagation, don’t fret. Aethionema grandiflorum is a pretty forgiving plant to start with, offering a good chance of success even for beginners.
The Best Time to Start
For the highest success rate with Aethionema grandiflorum, I always aim for late spring to early summer. This is when the plant is actively growing and putting out nice, fresh stems. You want to take cuttings from healthy, non-flowering shoots. If you miss this window, you can often get away with doing it in early autumn, but success can be a bit more hit-or-miss as the plant starts to wind down for winter.
Supplies You’ll Need
Here’s what I like to have on hand before I get my hands dirty:
- Sharp pruning shears or a clean, sharp knife: For making clean cuts.
- Small pots or seed trays: Clean ones, please!
- Rooting hormone (optional but recommended): A good quality hormone powder or gel can really give your cuttings a boost.
- Well-draining potting mix: I usually use a mix of equal parts perlite, horticultural grit, and a good quality seed starting compost. This is crucial for preventing rot.
- A watering can with a fine rose: For gentle watering.
- A clear plastic bag or a propagation dome: To create a humid environment.
- Labels and a permanent marker: So you don’t forget what you planted where!
Propagation Methods
While you could try dividing established plants, I find that stem cuttings are by far the most reliable and rewarding way to propagate Aethionema grandiflorum.
Here’s how I do it:
- Take Your Cuttings: With your clean shears, snip healthy, non-flowering stems that are around 3-4 inches long. Look for stems that are a bit firm but still flexible – not old and woody, and not too soft and floppy. Make a clean cut just below a leaf node (where a leaf meets the stem).
- Prepare the Cuttings: Gently remove the lower leaves from the cutting, leaving just a few at the top. This prevents them from rotting when buried or touching moisture. If you’re using rooting hormone, dip the cut end into the powder or gel, tapping off any excess.
- Pot Them Up: Fill your small pots or trays with your well-draining potting mix. Make a small hole with a pencil or your finger in the center of each pot. Gently insert the cutting into the hole, firming the soil around it.
- Water and Cover: Water the pots gently to settle the soil around the cuttings. Then, cover the pots with a clear plastic bag or pop them into a propagation dome to maintain humidity. Make sure the leaves aren’t touching the inside of the bag if possible.
- Find the Right Spot: Place the pots in a bright location out of direct, harsh sunlight. A warm spot is ideal, but avoid placing them directly over a radiator.
The “Secret Sauce” (Pro Tips)
Over the years, I’ve learned a few tricks that make a real difference:
- Bottom Heat is Your Friend: If you can, pop your cuttings on a heated propagator mat. This gentle warmth from below encourages root development much faster and significantly increases your success rate. It’s a game-changer for trickier cuttings!
- Don’t Drench, Mist: While you want to keep the soil consistently moist, avoid waterlogging at all costs. Overwatering is the quickest way to invite rot. I often lightly mist the soil and the inside of the plastic cover every few days, rather than giving a heavy watering.
- Patience with Perlite: When you’re using a mix heavy on perlite or grit, it can be tempting to water more frequently to keep it moist. Resist this urge! The perlite helps the soil drain, and the goal is moist, not soggy. You’ll be surprised how long the moisture holds.
Aftercare & Troubleshooting
Once you see new growth or feel a gentle tug when you check for roots (usually after 4-6 weeks), your cuttings have successfully rooted!
- Gradual Acclimatization: Slowly begin to remove the plastic cover or open the vents on your dome over a few days. This helps the new plants get used to normal humidity levels.
- Potting On: Once they’re a bit more established, you can pot them up into slightly larger pots with a good quality, free-draining compost.
- Keep an Eye Out for Rot: The most common sign of failure is wilting and browning, which is often a sign of rot. This usually happens if the cuttings are kept too wet. Sadly, if rot sets in, there’s not much you can do but discard the affected cuttings and learn from it. Make sure your soil isn’t compacted and that there’s good airflow.
A Little Encouraging Closing
Growing plants from cuttings is a truly magical process. It’s so satisfying to see a tiny little stem transform into a whole new plant. Don’t get discouraged if every single cutting doesn’t make it – that’s just part of the gardening adventure. Be patient, enjoy the process, and soon you’ll be sharing your lovely Aethionema grandiflorum babies with friends and family! Happy propagating!
Resource: