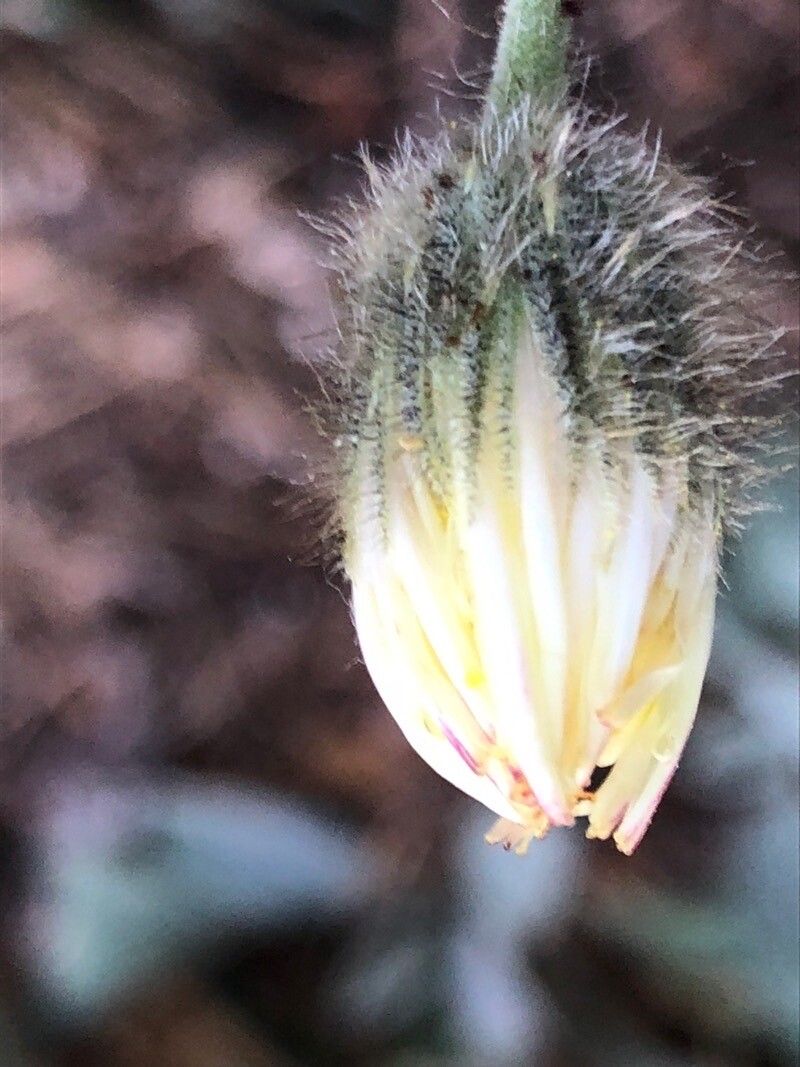
Oh, hello there! Come on in, pull up a chair. Let’s chat about one of my favorite little treasures: Pilosella argyrocoma. This fuzzy, silvery beauty, often called Hawkweed or Mouse-ear Hawkweed in its native European haunts, brings such a unique charm to any garden. Its soft, almost woolly leaves and cheerful yellow daisy-like flowers are a real delight, especially when the sun catches those silvery hairs.
Propagating plants, especially ones you love, is one of the most rewarding parts of gardening for me. It’s like unlocking a little bit of nature’s magic, and this little hawkweed? Well, it’s actually quite a friendly plant to work with when it comes to making more of it. I’d say it’s generally beginner-friendly, which is always a bonus!
The Best Time to Start
When is the absolute best time to get your hands dirty with Pilosella argyrocoma propagation? For this lovely plant, late spring to early summer is your golden window. You want to catch it as it’s actively growing, usually right after it finishes its main flowering push. This vigorous growth period means it has plenty of energy to spare for putting out new roots.
Supplies You’ll Need
Don’t worry, you don’t need a fancy greenhouse for this! Here’s what I like to have on hand:
- Sharp, clean pruning shears or a knife: For making precise cuts.
- Sterilized pots or trays: Small ones are perfect for starting out.
- A well-draining potting mix: I often use a blend of peat moss, perlite, and a bit of coarse sand. You can also find good commercially available cactus and succulent mixes that work wonders.
- Rooting hormone (optional but recommended): A little dip can really speed things up.
- A watering can with a fine rose: For gentle watering.
- A spray bottle: For maintaining humidity.
Propagation Methods
Let’s get down to business! Pilosella argyrocoma is quite happy with a couple of straightforward methods.
Division
This is my go-to for Pilosella argyrocoma. It’s the easiest and often the most successful.
- Choose your plant: Find a well-established clump in your garden.
- Gently excavate: Carefully dig around the base of the plant with a trowel or spade. You want to lift the entire root ball.
- Separate the clumps: Gently tease apart the root ball. You’re looking for sections that already have their own roots and shoots. Sometimes a gentle pull is enough, other times you might need to use your fingers or even a clean knife to help separate them, especially if they’re tightly bound.
- Replant immediately: Pop these new divisions into pots filled with your potting mix. Make sure the crown of the plant (where the leaves meet the roots) is at soil level. Water them in well.
Stem Cuttings
If you have a particularly vigorous specimen, you can take stem cuttings too.
- Select a healthy stem: Look for a non-flowering stem that’s about 3-4 inches long.
- Make the cut: Using your sharp, clean shears or knife, make a cut just below a leaf node (where a leaf attaches to the stem).
- Prepare the cutting: Remove the lower leaves, leaving just the top few. This helps prevent rot. If you’re using rooting hormone, dip the cut end into it now.
- Planting: Stick the cut end into your prepared pots filled with moist potting mix. You can fit a few cuttings in one pot, just give them a little space.
- Watering: Water gently and keep the soil consistently moist but not waterlogged.
The “Secret Sauce” (Pro Tips)
Here are a few little tricks I’ve picked up over the years that can make a big difference:
- Don’t drown your cuttings: While you want the soil to be moist, Pilosella argyrocoma cuttings hate sitting in soggy conditions. It’s the quickest way to invite rot, which is the enemy of new roots. Aim for “damp but not dripping.”
- Humidity is your friend: New cuttings need a humid environment to encourage root formation. Covering your pots with a plastic bag (propped up so it doesn’t touch the leaves) or placing them in a propagator creates this mini-greenhouse effect. Just remember to open it for a bit each day to allow for air circulation.
- Patience is a virtue (and bottom heat helps!): When you’re waiting for roots, it can feel like forever. If you have it, placing your pots on a heated propagator mat can significantly speed up root development, especially for cuttings. It gives them that gentle warmth they crave.
Aftercare & Troubleshooting
Once you start seeing tiny roots emerging from the drainage holes (a glorious sight!), or if your divisions look happy and are putting on new growth, you’re on your way!
Continue to water gently, allowing the soil to dry slightly between waterings. Gradually acclimate your new plants to less humid conditions if they were in a propagator. You can start feeding them with a diluted liquid fertilizer about a month after you see good root growth.
What if things go wrong? The most common issue is rot. If a cutting turns mushy or black, it’s likely rotted. This usually means it was too wet or the environment was too stagnant. If a division looks wilted and sad despite watering, it might not have enough roots to support itself yet. Don’t despair! You can try taking healthy bits from the rotted stem or giving the struggling division a bit more time with consistent moisture.
A Encouraging Closing
So there you have it! Propagating Pilosella argyrocoma is a truly satisfying endeavor. Be patient, enjoy the process of nurturing these new little plants, and soon you’ll have more of that delightful silvery foliage and cheerful bloom to sprinkle throughout your garden. Happy propagating, everyone!
Resource: