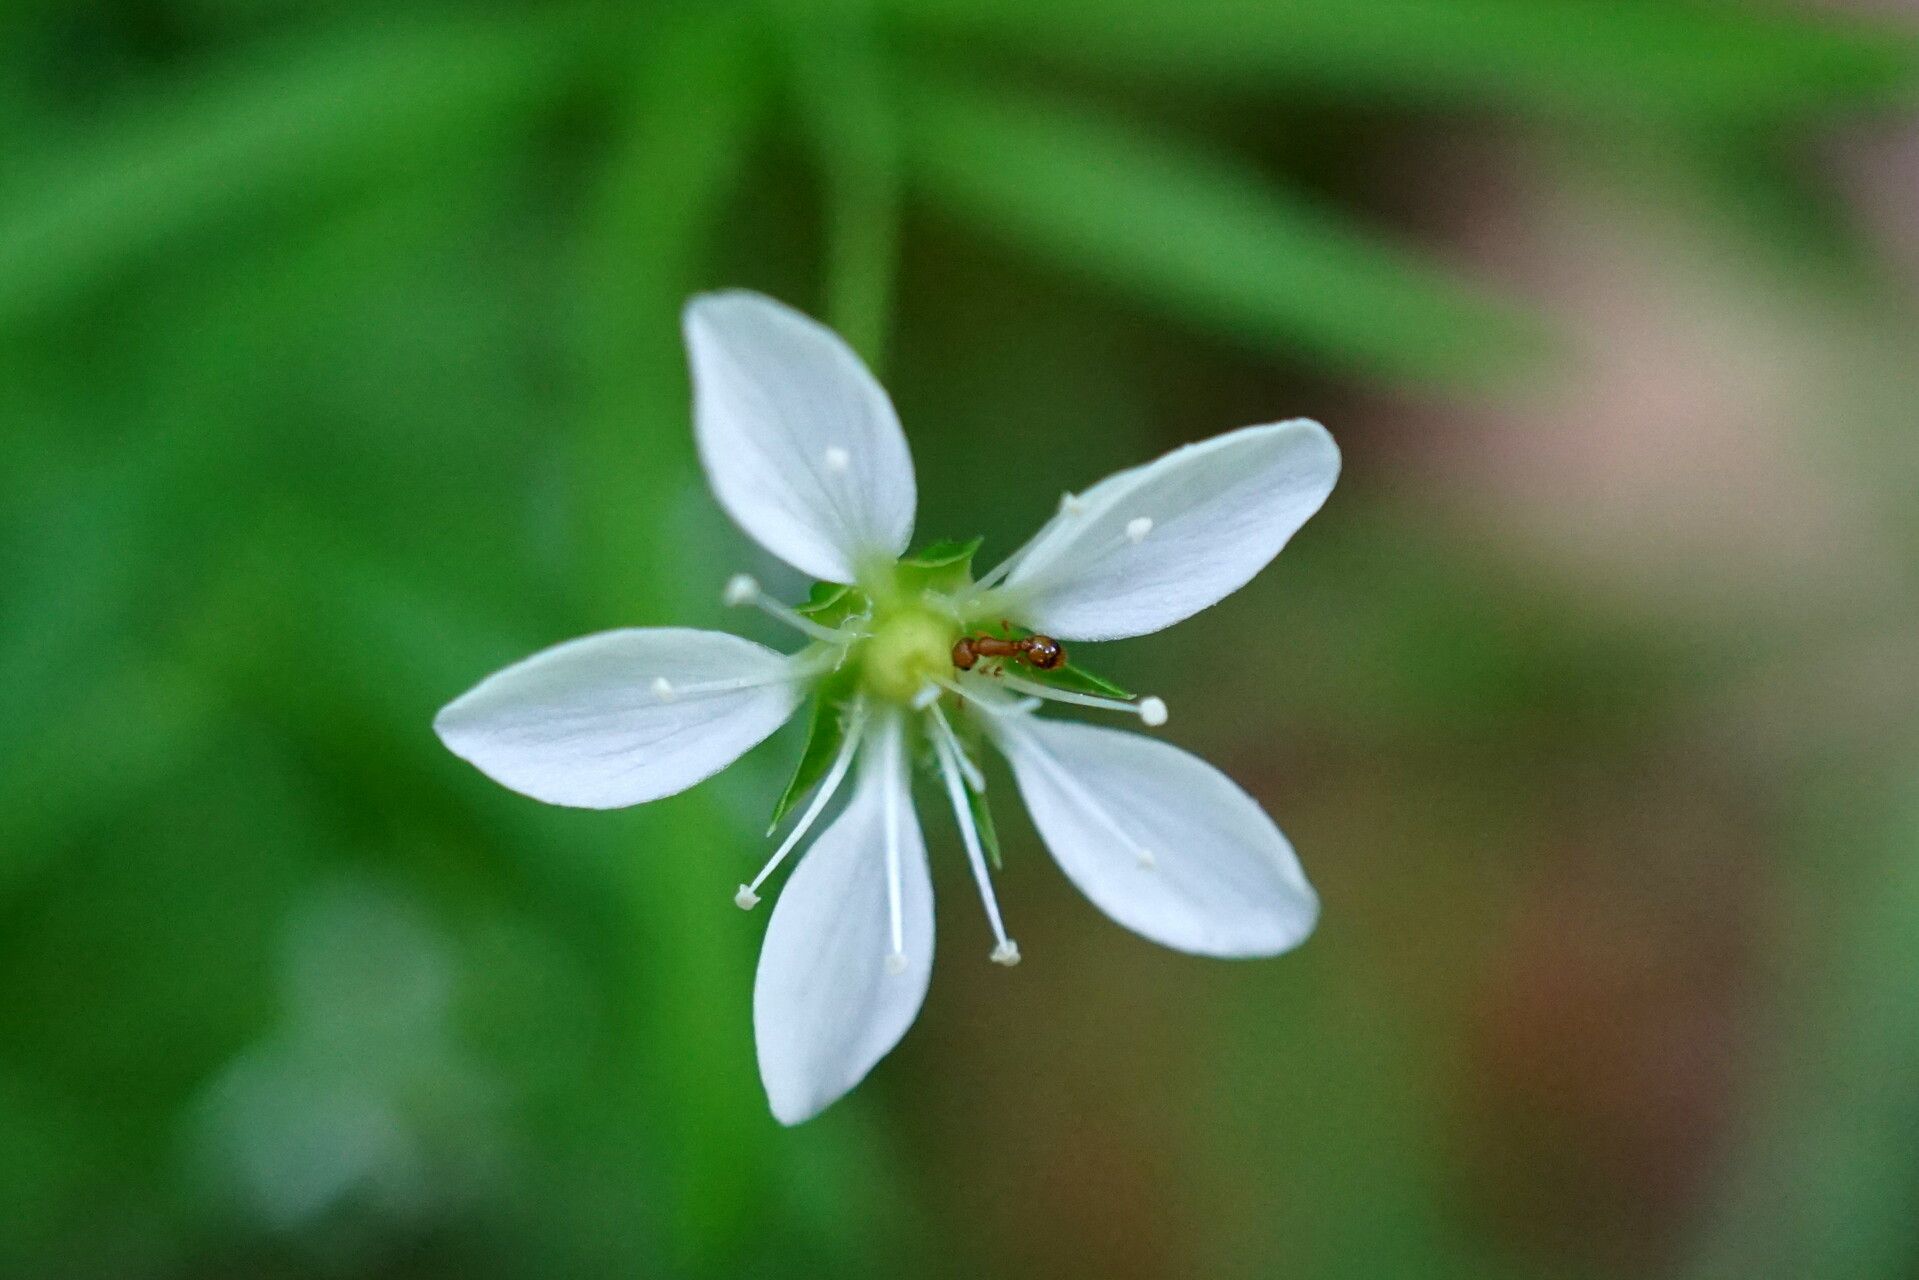
Oh, hello there, fellow plant lover! I’m so thrilled you’ve stopped by. Today, we’re going to dive into the wonderful world of propagating Moehringia pendula. If you’ve ever admired this charming little plant, with its dainty, cascading blooms and delicate foliage, you’re in for a treat. Growing your own from cuttings is incredibly satisfying, and while it’s not one of those “stick it in dirt and it grows” kind of plants, it’s certainly achievable with a little patience and know-how. I’d say it’s a fantastic project for the enthusiastic beginner who’s ready to learn a few new tricks!
The Best Time to Start
For Moehringia pendula, late spring or early summer is your golden window. This is when the plant is actively growing and has plenty of fresh, pliable stems that are more likely to root successfully. You want to catch it at that vigorous growth spurt, before the real heat of summer sets in too deeply.
Supplies You’ll Need
Here’s what you’ll want to gather before we get started:
- Sharp pruning shears or a clean, sharp knife: For making those crucial clean cuts.
- Rooting hormone (optional but recommended): Especially for stem cuttings. Look for one formulated for herbaceous cuttings.
- Small pots or seed trays: Clean ones are a must to prevent disease.
- A well-draining potting mix: I love a blend of 50% peat moss or coco coir and 50% perlite or coarse sand. This is key to preventing waterlogged roots.
- Small pebbles or gravel: For drainage in the pots.
- Watering can or spray bottle: For gentle watering.
- Plastic bags or a small propagation dome: To maintain humidity.
Propagation Methods
Let’s get our hands dirty! The most reliable way to propagate Moehringia pendula is through stem cuttings.
- Select Your Cuttings: Look for healthy, non-flowering stems that are about 3-4 inches long. You want stems that are firm but still a little flexible – not woody, but not so floppy they’re about to wilt. Take your cuttings in the morning after the dew has dried.
- Prepare the Cuttings: Using your clean shears, make a clean cut just below a leaf node (where a leaf attaches to the stem). Remove the lower leaves, leaving about 2-3 sets of leaves at the top. If you’re using rooting hormone, dip the cut end of the stem into it.
- Potting Up: Fill your small pots with your prepared well-draining mix. Make a small hole in the center with a pencil or chopstick. Gently insert the cutting into the hole, ensuring the node where you removed the leaves is buried. Firm the soil gently around the stem.
- Watering and Humidity: Water thoroughly but gently until water drains from the bottom. Place each pot into a clear plastic bag, or cover them with a propagation dome to create a humid environment. Poke a few small holes in the bag or dome for a bit of air circulation.
The “Secret Sauce” (Pro Tips)
Now, for a few things I’ve learned over the years that can really boost your success:
- My absolute favorite trick? Don’t let the leaves of your cuttings touch the water if you decide to try water propagation (though I find it trickier for this one). Any part submerged can rot before roots even form. If you do use water, ensure only the stem base is in contact with it.
- For stem cuttings, bottom heat makes a huge difference! If you have a heat mat specifically for propagation, place your pots on it. It encourages root development from below, which is wonderful. If you don’t have a mat, try placing the pots in a warm spot in your home, away from direct, harsh sunlight.
- When you’re preparing your cuttings, don’t be afraid to experiment with slightly different stem lengths or node counts. Sometimes a slightly longer cutting with a few more nodes will root quicker. Just aim for healthy material!
Aftercare & Troubleshooting
Once your cuttings are potted, place them in bright, indirect light. Avoid direct sunlight, which can scorch those tender new shoots. Keep the soil consistently moist, but not soggy. That humidity you created is your friend! You should start to see roots developing within a few weeks. You can gently tug on a cutting; if you feel resistance, it’s rooting!
The most common issue you’ll encounter is rot. This usually happens from overwatering or poor drainage, creating a soggy environment. If you see a cutting wilting, turning black, or looking mushy, unfortunately, it’s probably past saving. Remove it immediately to prevent it from affecting others. If your cuttings just aren’t doing anything after several weeks, don’t despair! Sometimes they just need a little more time, or perhaps the conditions weren’t quite right. Sometimes, a well-draining mix is the only “magic” needed.
A Encouraging Closing
Propagating plants is such a rewarding journey; it’s like creating life from a simple piece of your favorite plant! Be patient with your Moehringia pendula cuttings. Some take their sweet time, and that’s perfectly okay. Enjoy the process, watch for those first signs of new growth, and before you know it, you’ll have a whole new family of these delightful plants to enjoy, share, or put in a new sunny spot in your garden. Happy propagating!
Resource: