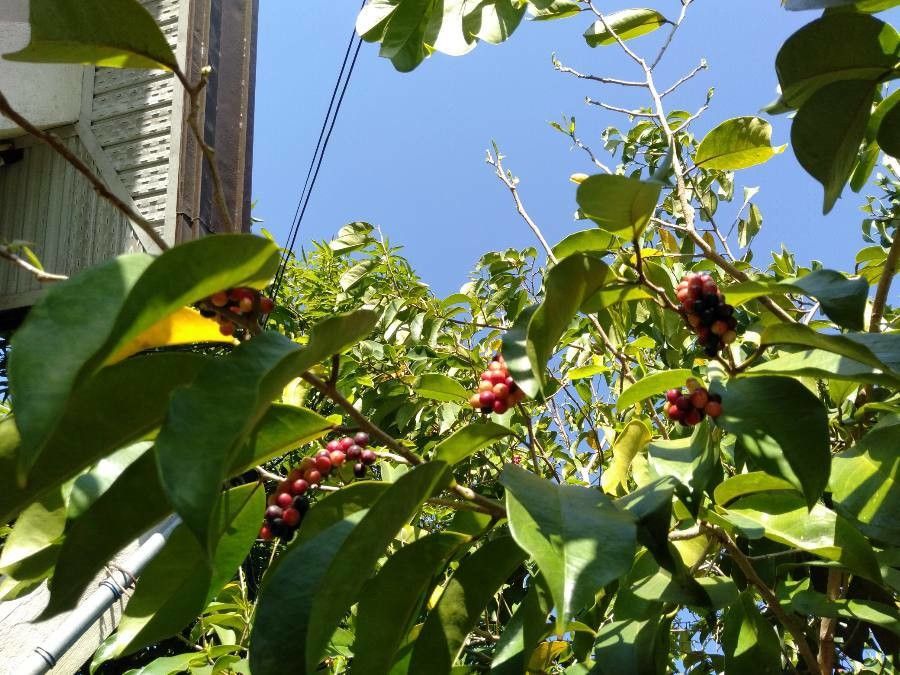
Hello fellow plant enthusiasts! Today, we’re diving into the wonderfully rewarding world of propagating Antidesma acidum. I’ve had the pleasure of working with this charming plant for years, and let me tell you, its gracefully arching branches and handsome foliage bring such a lovely, almost sculptural quality to any space. Growing more of these beauties from your existing plants is not only economical but also deeply satisfying. For those just starting out on their propagation journey, I’d say Antidesma acidum is moderately easy. With a little attention and the right techniques, you’ll be rewarded with a whole new collection in no time.
The Best Time to Start
My personal favorite time to propagate Antidesma acidum is during its active growing season, which typically falls in late spring through summer. This is when the plant has plenty of energy, leading to faster rooting and a higher success rate. You’re looking for semi-hardwood cuttings – those that are no longer floppy and soft but haven’t fully hardened into woody stems.
Supplies You’ll Need
Before we get our hands dirty, let’s gather our tools:
- Sharp, clean pruning shears or a razor blade. Sterilize them with rubbing alcohol to prevent disease.
- A well-draining potting mix. I like to use a 50/50 blend of peat moss or coco coir and perlite or coarse sand. This ensures good aeration and prevents waterlogging.
- Rooting hormone powder or gel. This isn’t strictly essential, but it gives your cuttings a significant boost.
- Small pots or seed trays with drainage holes.
- A plastic bag or a propagation dome. This will help maintain humidity.
- A spray bottle with water.
- Optional: Bottom heat mat if your room is on the cooler side.
Propagation Methods
Antidesma acidum is quite amenable to propagation through stem cuttings. This is my go-to method.
Stem Cuttings:
- Select Your Cuttings: Look for healthy, vigorous stems. Take cuttings that are about 4-6 inches long. Make sure each cutting has at least two sets of leaves.
- Make the Cut: Using your sterilized shears or razor, make a clean cut just below a leaf node. This is where roots are most likely to form.
- Prepare the Cuttings: Gently remove the lower leaves from the bottom half of the cutting. This prevents them from rotting in the soil. If the remaining leaves are very large, you can snip them in half to reduce water loss.
- Apply Rooting Hormone: Dip the cut end of the stem into rooting hormone, tapping off any excess.
- Plant Your Cuttings: Fill your pots with the prepared potting mix. Make a pilot hole with a pencil or your finger, and then gently insert the cutting.
- Water and Cover: Water the soil thoroughly but gently. Then, cover the pot with a clear plastic bag or place it under a propagation dome. If using a bag, you might need to support it with stakes so it doesn’t touch the leaves.
- Provide Light and Warmth: Place the pots in a warm location with bright, indirect light. Avoid direct sunlight, which can scorch the delicate cuttings.
The “Secret Sauce” (Pro Tips!)
After years of coaxing reluctant plants to root, a few tricks have become my reliable companions:
- Don’t Let Leaves Touch the Water (If Doing Water Propagation): While I prefer soil for Antidesma acidum, if you do try water propagation, ensure no leaves are submerged. They will rot and can take down the whole cutting. Only the stem node should be in the water.
- Bottom Heat is Your Friend: Especially if your home tends to be a bit chilly, a gentle bottom heat mat can significantly speed up the rooting process. The soil temperature should ideally be around 70-75°F (21-24°C).
- Mist Regularly, But Don’t Drench: Those cuttings need humidity, but overwatering is the quickest way to invite fungal problems. Mist the leaves lightly with your spray bottle every day or two, and check the soil moisture – it should feel damp, not soggy.
Aftercare & Troubleshooting
Once you see new growth emerging from your cuttings, you know roots have formed! This is a joyous moment.
- Gradual Acclimation: Slowly introduce the new plants to lower humidity over a week or two by gradually opening the plastic bag or propagation dome.
- Continue Watering: Keep the soil consistently moist but not waterlogged.
- Fertilizing: Wait until you’ve seen significant growth (several new leaves) before offering a very diluted, balanced liquid fertilizer every 4-6 weeks.
Now, for the not-so-shiny stuff: troubleshooting. The most common issue is rot. If your cuttings turn black and mushy, it’s usually a sign of too much moisture and not enough air circulation. Discard any affected cuttings and try again, ensuring your soil is well-draining and you’re not overwatering. If there’s absolutely no signs of life after several weeks, don’t despair. Sometimes, cuttings just don’t take. It’s part of the learning process!
Happy Propagating!
Watching a tiny cutting unfurl its first new leaves is one of gardening’s simple pleasures. Be patient with your Antidesma acidum; nature has its own timeline. Enjoy the process, learn from each attempt, and soon you’ll be sharing your own homegrown beauties with friends and family. Happy gardening!
Resource:
https://identify.plantnet.org/k-world-flora/species/Antidesma%20acidum%20Retz./data