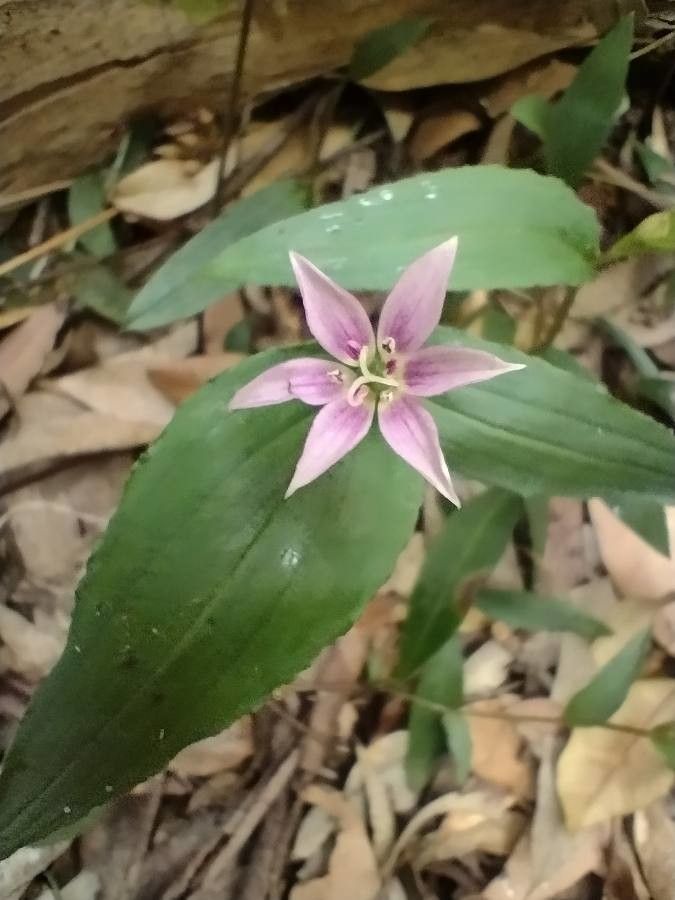
Oh, the joy of Schelhammera undulata! If you’ve ever admired those graceful, arching stems adorned with delicate, bell-shaped flowers, you know exactly what I’m talking about. It’s a plant that brings a touch of whimsical elegance to any garden or indoor space. And let me tell you, propagating it yourself feels like unlocking a little bit of that magic. It’s not the absolute easiest plant for a complete beginner, but with a little patience and these tips, you’ll be well on your way.
The Best Time to Start
For Schelhammera undulata, spring and early summer are your golden ticket. This is when the plant is actively growing and has the best energy reserves to put into developing new roots. Look for healthy, new shoots that are firm but not yet woody. Avoid trying to propagate from a plant that’s just finished flowering or is actively stressed.
Supplies You’ll Need
Here’s what I recommend having on hand:
- Sharp, clean pruning shears or a sharp knife: Essential for making clean cuts.
- Small pots or seedling trays: For your new cuttings.
- Well-draining potting mix: A good blend of peat moss, perlite, and a bit of compost usually works wonders. You can also find specific seed-starting mixes.
- Rooting hormone (optional but recommended): This can significantly boost your success rate by encouraging root development.
- Plastic bags or a propagator: To create a humid environment for your cuttings.
- A spray bottle: For light misting.
- Gravel or perlite (for water propagation): To help support the cuttings.
Propagation Methods
I find a couple of methods work particularly well for Schelhammera undulata:
Stem Cuttings – My Go-To
- Take your cuttings: On a healthy stem, look for a section about 4-6 inches long. Make a clean cut just below a leaf node (where a leaf joins the stem). Gently remove the lower leaves, leaving just a couple at the top.
- Prepare the cutting: If you’re using rooting hormone, dip the cut end into it, tapping off any excess.
- Plant your cuttings: Fill your small pots with the well-draining potting mix. Make a small hole with your finger or a pencil and insert the cutting, ensuring the node where you removed the leaves is below the soil line. Gently firm the soil around it.
- Create humidity: Water the soil gently until it’s moist but not soggy. You can cover the pot with a clear plastic bag, securing it with a rubber band, or place it in a propagator. Make sure the leaves don’t touch the plastic if possible.
- Place in bright, indirect light: Find a spot that receives plenty of light but no direct sun, which can scorch the tender cuttings.
Water Propagation – A Visual Treat
- Select stem sections: Similar to stem cuttings, take healthy 4-6 inch stem sections, again cutting just below a leaf node. Remove the lower leaves.
- Place in water: Fill a clean jar or glass with fresh water. Submerge the cut end of the stem, ensuring that no leaves are below the waterline. Roots will emerge from the nodes.
- Change the water regularly: Every few days, change the water to keep it fresh and prevent bacterial growth.
- Provide bright, indirect light: Just like with soil cuttings, place your water-propagated stems in a bright location away from direct sun. You’ll soon see tiny white roots appearing!
The “Secret Sauce” (Pro Tips)
- Bottom Heat is Your Friend: For stem cuttings, if you have a seedling heat mat, use it! Gentle warmth from below really encourages root formation without drying out the top growth. Just place your pots on the mat.
- Don’t Be Afraid to Be Ruthless: Sometimes, a cutting might look a bit sad or leggy. If it’s not showing any signs of life after a few weeks, it’s often better to discard it and try again with a fresh cutting. Don’t let a dying cutting sap energy from your healthy ones.
- The “Air Layering” Trick: For slightly more established plants, you can try air layering. Take a section of a healthy stem and make a small, shallow cut just below a node. Wrap a moist ball of sphagnum moss around the cut area and then cover it with plastic wrap and tape. Roots will form within the moss, and once they’re substantial, you can cut the stem below the new roots and pot it up.
Aftercare & Troubleshooting
Once you see plenty of healthy roots peeking out of the bottom of the pot (for stem cuttings) or reaching a good length (for water propagation), it’s time to move them to their next stage.
- For Stem Cuttings: Gradually acclimatize them to normal room humidity by loosening or removing the plastic bag over a few days. Water them as you would a mature plant, allowing the soil to dry slightly between waterings.
- For Water Cuttings: Gently transplant them into your well-draining potting mix. Water them in well and then treat them as you would a newly potted plant.
The most common issue you’ll encounter is rot. This happens when the cuttings are too wet and don’t have enough air circulation. If you see your cutting turning black or slimy, it’s usually a sign that it’s gone too far. Too much direct sun can also scorch delicate new growth. If your cuttings look wilted and pale, they might be getting too much sun.
A Loving Closing
Propagating plants is an act of faith, a little dance with nature. It takes time, and not every attempt will be a roaring success, but the reward of nurturing a brand new plant from a little piece of another is truly special. Be patient, enjoy the process, and celebrate every tiny root you see! Happy gardening!
Resource:
https://identify.plantnet.org/k-world-flora/species/Schelhammera%20undulata%20R.Br./data