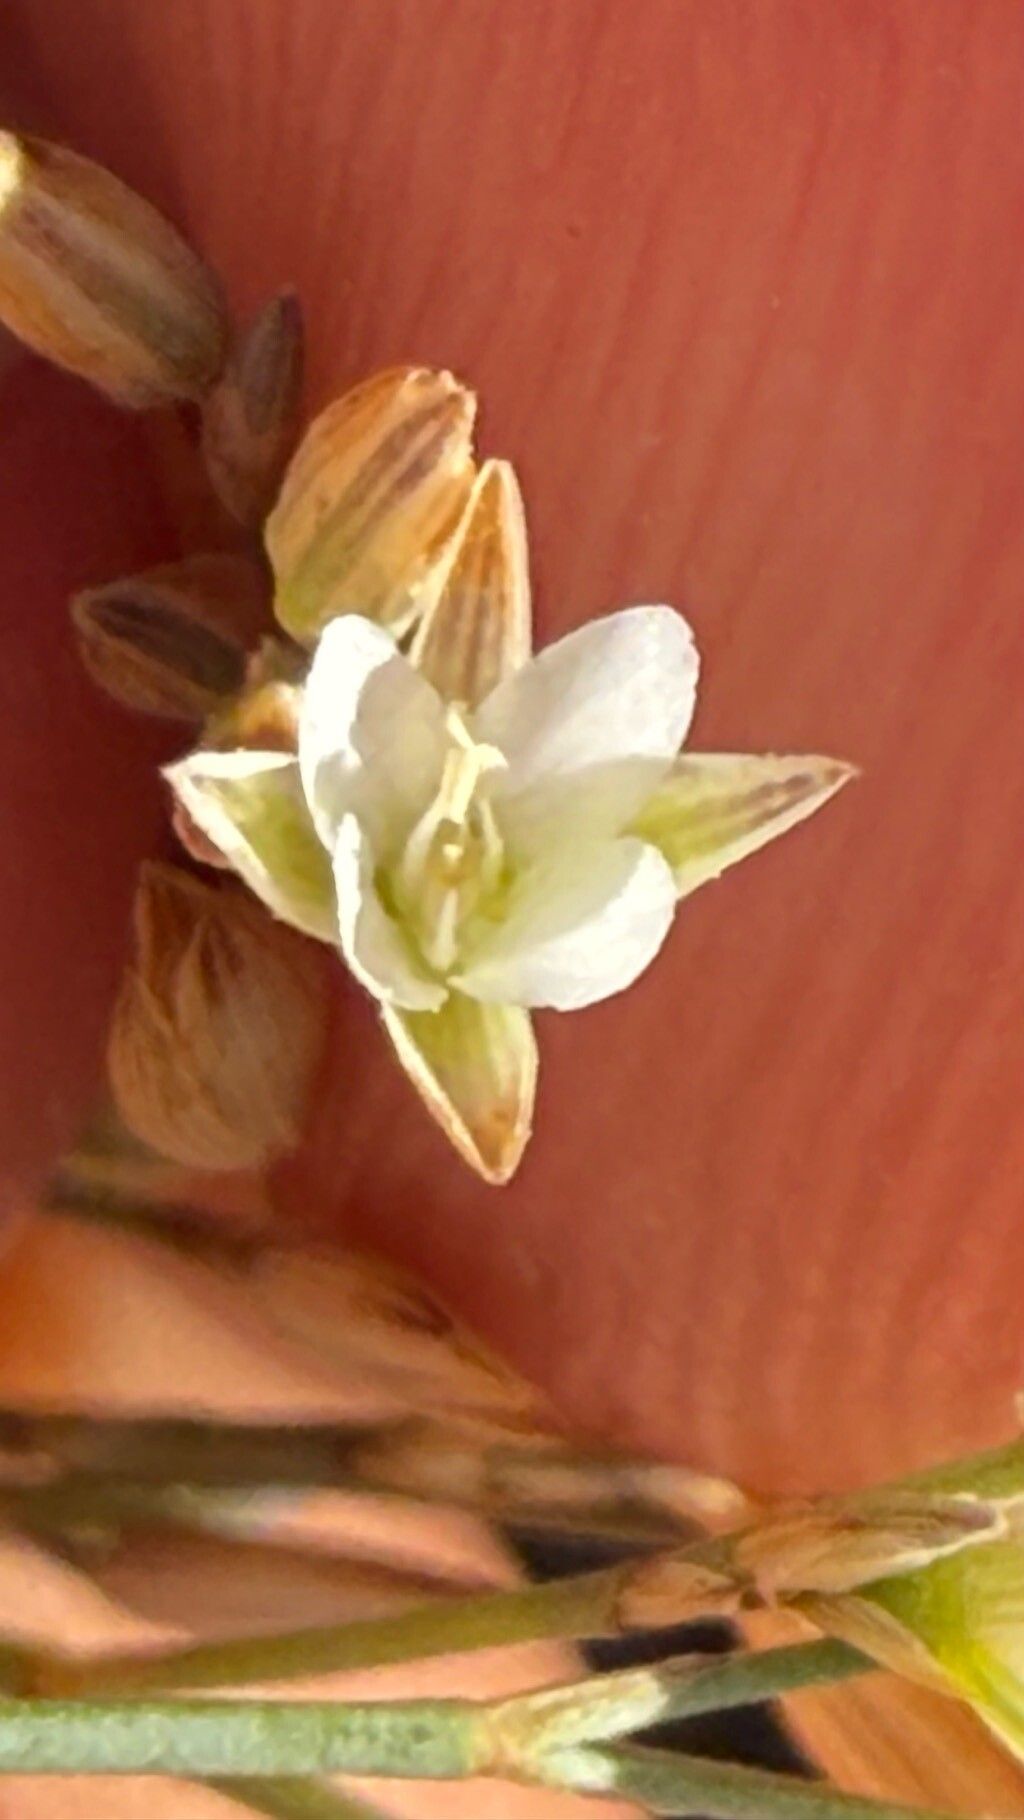
Hello fellow garden enthusiasts! It’s so lovely to have you join me today. I want to talk about a truly delightful little plant that often gets overlooked: Bufonia perennis. It’s a charming, low-growing perennial that forms a lovely cushion of tiny, starry white flowers in late spring and early summer. Seeing it bloom is like having a miniature cloud settled in your garden border! Propagating it yourself is incredibly satisfying, a wonderful way to expand your collection and share these beauties with friends. For beginners, I’d say Bufonia perennis is moderately easy. It’s not going to throw a tantrum if you miss a watering, but it does appreciate a little thoughtful attention.
The Best Time to Start
For the highest success rate, I find that early spring, just as the plant is waking up from winter dormancy, is the absolute best time to propagate Bufonia perennis. You can also have success with late summer cuttings after the main flowering flush, but spring gives you that extra boost of vigorous growth. Look for young, healthy stems that are starting to lengthen but haven’t yet flowered.
Supplies You’ll Need
Here’s what you’ll want to have on hand:
- Sharp pruning shears or a clean, sharp knife: For making clean cuts.
- Seed-starting mix or a fine, well-draining potting mix: I like a blend of peat moss, perlite, and a touch of compost.
- Small pots or seedling trays: Make sure they have drainage holes!
- Rooting hormone (optional but recommended): A powder or gel can really help young cuttings establish faster.
- Watering can with a fine rose attachment: To avoid disturbing your new cuttings.
- Plastic bags or a propagator: To create a humid environment.
Propagation Methods
Honestly, the easiest and most reliable way to propagate Bufonia perennis is through stem cuttings. It’s straightforward and you can get quite a few new plants from a single parent.
- Take Your Cuttings: Using your clean secateurs or knife, select a healthy, non-flowering stem. Make a cut just below a leaf node (where a leaf attaches to the stem), about 2-4 inches long. Remove any lower leaves that might rot when buried.
- Prepare the Cutting: If you’re using rooting hormone, gently dip the cut end into the powder or gel, tapping off any excess.
- Potting Up: Fill your small pots or trays with your prepared potting mix. Moisten it thoroughly until it’s evenly damp, but not waterlogged.
- Planting: Make a small hole in the soil with your finger or a pencil. Insert the cutting, making sure the leaf nodes are below the surface, and gently firm the soil around it.
- Create Humidity: Water the soil gently again. Then, cover the pots with a clear plastic bag or place them inside a propagator. This keeps the humidity high, which is crucial for cuttings before they develop their own roots.
The “Secret Sauce” (Pro Tips)
Here are a couple of things I’ve learned over the years that can make a big difference:
- Don’t Overwater! While humidity is key, soggy soil is the enemy of cuttings. It leads to rot very quickly. The soil should feel consistently moist but not soggy. If you can see water pooling, you’ve gone too far.
- Bottom Heat is Your Friend: Especially if your indoor temperatures are on the cooler side, placing your pots on a heated propagator mat can significantly speed up root formation. It mimics the warmth of spring soil.
Aftercare & Troubleshooting
Once your cuttings are potted, place them in a bright location out of direct sunlight. The goal is to encourage root development without scorching the leaves. Keep an eye on the moisture level; you’ll want to mist them occasionally if they seem to be drying out, but avoid overwatering.
You’ll know your cuttings are rooting when you see new leaf growth or feel a gentle tug when you lightly pull on the stem. This usually takes anywhere from 4 to 8 weeks. Once roots have formed and new growth is evident, you can gradually acclimate them to less humid conditions by opening the plastic bag a little more each day. Then, it’s time to transplant them into slightly larger pots.
If things aren’t going as planned, rot is the most common culprit. This usually manifests as stems turning black and mushy. If you see this, it’s best to discard the affected cutting to prevent it from spreading. Overwatering is almost always the cause.
A Encouraging Closing
So there you have it! Propagating Bufonia perennis is a wonderful way to fill your garden with these delightful little cushions of flowers. Be patient, observe your cuttings closely, and trust your instincts. Every gardener has had cuttings that didn’t make it, but learning from those experiences is part of the joy. Happy propagating, and I hope you’re soon surrounded by your own little patches of blooming sunshine!
Resource:
https://identify.plantnet.org/k-world-flora/species/Bufonia%20perennis%20Pourr./data