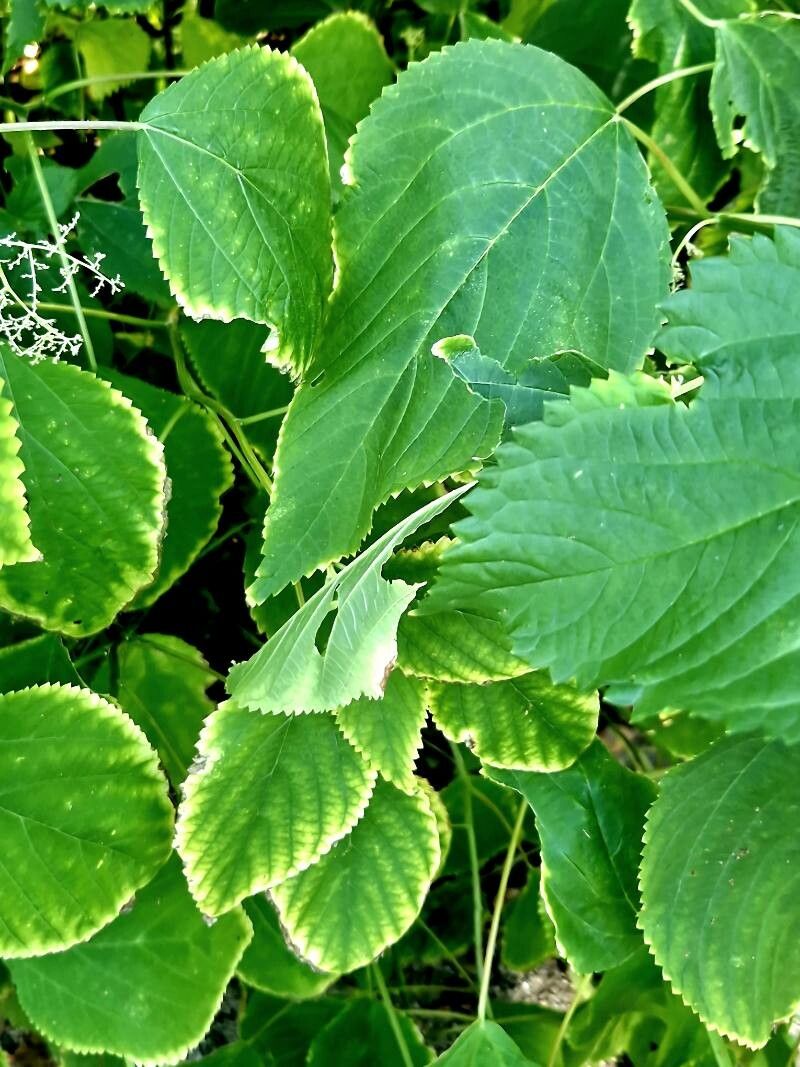
Hey there, fellow plant lovers! Today, we’re diving into the wonderful world of propagating one of my absolute favorites: Laportea canadensis, or the beautiful Canadian Wood Nettle. If you’re drawn to its lush, almost tropical foliage and the gentle rustle it brings to shady spots, you’re in for a treat. Creating more of these beauties from your existing plants is incredibly satisfying, and I promise, it’s a journey worth taking. For beginners? I’d say it’s moderately easy, but with a few key pointers, you’ll be a pro in no time.
The Best Time to Start
My go-to time for propagating Laportea canadensis is late spring to early summer. This is when the plant is actively growing and has plenty of energy to put into developing new roots. You’ll see fresh, vibrant shoots emerging, which are perfect candidates for cuttings. Waiting until the weather is consistently warm also helps ensure better success rates.
Supplies You’ll Need
Gathering your supplies beforehand makes the whole process smooth sailing. Here’s what I usually have on hand:
- Sharp Pruning Shears or a Clean Knife: For taking clean cuts.
- Potting Mix: A good quality, well-draining potting mix is essential, especially one with perlite or vermiculite. I often mix equal parts peat moss and perlite.
- Rooting Hormone (Optional but Recommended): A powdered or liquid rooting hormone can give your cuttings a significant boost.
- Small Pots or Seedling Trays: Clean and with drainage holes!
- Plastic Bags or a Clear Dome: To create a humid environment.
- Watering Can or Spray Bottle: For gentle watering.
- Labels and a Marker: To keep track of your new plant babies.
Propagation Methods
Laportea canadensis is quite amenable to a few different propagation techniques. I find stem cuttings and division to be the most reliable and rewarding.
Stem Cuttings
This is my absolute favorite way to increase my Laportea collection.
- Select Your Cuttings: Look for healthy, vigorous stems that aren’t flowering. You want pieces that are about 4-6 inches long. Make your cut just below a leaf node (where a leaf attaches to the stem).
- Prepare the Cuttings: Gently remove the lower leaves, leaving just a couple at the top. This helps the cutting focus its energy on root development. If the leaves are very large, you can even cut them in half to reduce water loss.
- Apply Rooting Hormone (Optional): Dip the cut end of the stem into your rooting hormone, tapping off any excess.
- Plant Your Cuttings: Fill your small pots with your prepared potting mix. Make a small hole with your finger or a pencil and insert the cut end of the stem. Gently firm the soil around it.
- Water and Cover: Water the soil thoroughly but gently. Then, cover the pot with a clear plastic bag or a humidity dome to retain moisture. Poke a few holes in the bag if you’re worried about too much condensation.
- Placement: Place the pots in a bright location with indirect light. Avoid direct sun, which can scorch the delicate cuttings.
Division
This method is best done when you’re repotting an established plant.
- Gently Remove from Pot: Carefully slide your Laportea out of its current pot.
- Loosen the Root Ball: Gently tease apart the soil from the roots. You’re looking for natural divisions within the plant, where a clump has its own roots and shoots.
- Separate Sections: Using your hands or a clean knife, carefully separate the root ball into smaller sections. Each section should have at least one or two healthy stems and a good portion of roots.
- Pot Them Up: Pot these divisions into their own containers with fresh potting mix. Water them well. They will generally establish themselves quite quickly.
The “Secret Sauce” (Pro Tips)
Here are a couple of things I’ve learned over the years that really make a difference:
- Warmth Really Helps: While bright, indirect light is key, providing a little bottom heat can dramatically speed up root formation. A heating mat designed for seedlings works wonders. Just place your pots on top of it. You’ll often see roots forming much quicker.
- Don’t Drench, Don’t Dry: It’s a delicate balance with cuttings, especially stem cuttings. You want the soil to stay consistently moist, but never waterlogged. Overwatering is the quickest way to invite rot. If using a plastic bag, lift it every few days to let it air out a bit.
Aftercare & Troubleshooting
Once your cuttings have developed a good root system – you can gently tug on them and feel resistance, or you might see roots peeking out of the drainage holes – it’s time to start easing them into normal care.
- Acclimatize: Gradually remove the plastic bag or dome over a week or two to let the young plants adjust to lower humidity.
- Regular Watering: Continue to water when the top inch of soil feels dry.
- Fertilizing: Once new growth appears, you can start feeding them with a diluted liquid fertilizer once a month.
What if things go wrong? The most common issue is rot. If you see your cutting wilting, turning mushy, or developing black spots, it’s likely from too much moisture. Don’t be discouraged; it happens to the best of us! You might need to trim away any affected parts and try to keep the moisture levels more balanced. Sometimes, a cutting just doesn’t take, and that’s okay too.
A Encouraging Closing
Propagating plants is a wonderful way to connect with nature and to share your love of gardening with others. Be patient with your Laportea canadensis cuttings. Some may root faster than others, and that’s perfectly normal. The joy is in the process, watching tiny roots emerge and new leaves unfurl. Happy propagating!
Resource:
https://identify.plantnet.org/k-world-flora/species/Laportea%20canadensis%20(L.)%20Wedd./data