Hello, fellow plant enthusiasts!
Today, we’re diving into the wonderful world of propagating Fraxinus stylosa. I’ve always been drawn to this elegant ash for its graceful form and the lovely dappled shade it casts. There’s a special kind of joy in taking a part of your favorite plant and coaxing it to grow into something new. It’s a deeply satisfying, and frankly, a rather economical way to expand your garden. Now, I won’t lie, Fraxinus stylosa can be a bit of a patient game to propagate, so it might be a tad challenging for absolute beginners, but with a little care and know-how, you’ll be rewarded with success.
The Best Time to Start
For the best chance of success, I find the late spring or early summer is your sweet spot. This is when the plant is actively growing and has plenty of energy to put into rooting. You’ll want to select healthy, semi-hardwood cuttings – that means you’re looking for stems that are no longer brand new and floppy but haven’t gone completely woody either. They should snap cleanly when bent gently.
Supplies You’ll Need
Getting your supplies ready makes the whole process smoother. Here’s what I usually have on hand:
- A sharp, clean pruning shear or a sharp knife. Sterility is key to prevent disease!
- Rooting hormone. I prefer a powder or gel, but liquid works too.
- A well-draining potting mix. A good blend of peat moss, perlite, and a bit of sand is ideal. You can also buy specific cutting mixes.
- Small pots or trays with drainage holes.
- A plastic bag or propagatior lid to create a humid environment.
- Watering can with a fine rose or a spray bottle.
- A labels and a marker to keep track of what you’ve planted.
- (Optional but recommended) A heat mat for bottom warmth.
Propagation Methods
While Fraxinus stylosa can be a bit slow on the root front, stem cuttings are generally the most reliable method I’ve found for home gardeners.
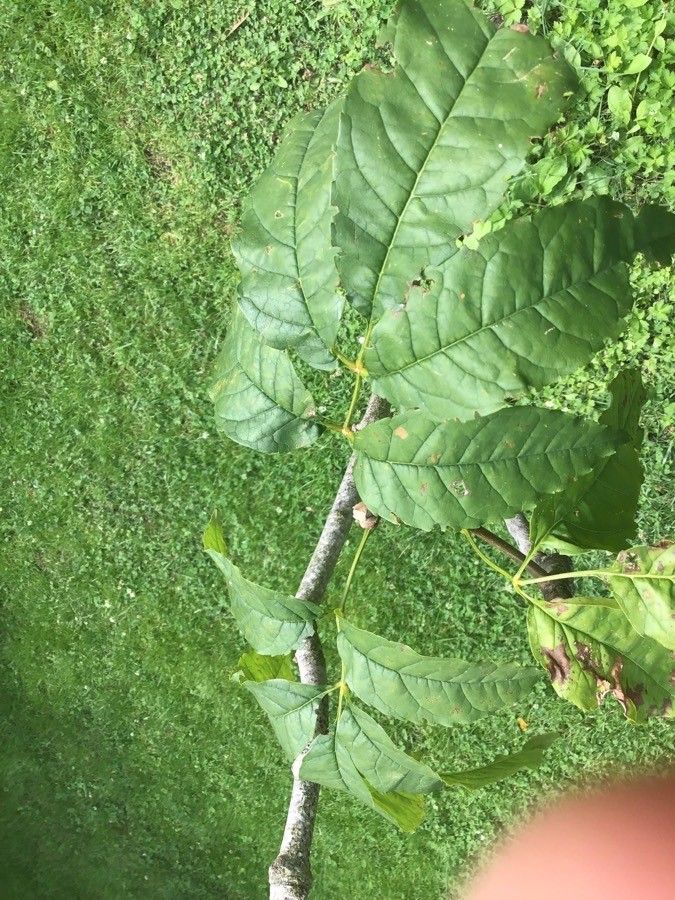
- Taking the Cuttings: Head out in the morning when the plant is nice and hydrated. Select a healthy stem, about 6-8 inches long. Using your clean pruners, make a clean cut just below a leaf node. A leaf node is where the leaves attach to the stem. This is where the magic happens, it’s rich with growth hormones.
- Preparing the Cuttings: Gently remove the lower leaves from the cutting. You want to keep at least two or three sets of leaves at the top to help with photosynthesis. If the remaining leaves are quite large, you can cut them in half to reduce water loss.
- Applying Rooting Hormone: Dip the cut end of the stem into your rooting hormone, tapping off any excess. Make sure the hormone covers about an inch of the stem.
- Planting the Cuttings: Fill your small pots or trays with your prepared potting mix. Make a hole in the center of the mix with your finger or a pencil. Insert the treated cutting into the hole, ensuring the leaf nodes that were below the soil line are covered. Gently firm the mix around the stem.
- Creating Humidity: Water the potting mix thoroughly until it drains from the bottom. Then, cover the pots with a clear plastic bag or use a propagatior lid. This will create a mini greenhouse effect, keeping the humidity high and preventing the cuttings from drying out. Make sure the leaves don’t touch the plastic if possible. Secure the bag with a rubber band or the propagator lid.
The “Secret Sauce” (Pro Tips)
Here’s a little something that’s made all the difference for me:
- Bottom Heat is Your Friend: While not strictly essential, placing your pots on a gentle heat mat can significantly speed up root formation. The warmth encourages root development from below, giving your cuttings a real head start. Think of it like a cozy little incubator for your new plants.
- Patience, Then More Patience: Fraxinus stylosa can take its sweet time. Don’t be tempted to pull your cuttings out too early to check for roots. Give them at least 4-6 weeks, and sometimes longer. Resist the urge to peek!
- The “Wiggle Test”: When you think roots might have formed, give the cutting a very gentle tug. If there’s a slight resistance, that’s a good sign. Another method is to look for new leaf growth at the top, which usually indicates root development is underway.
Aftercare & Troubleshooting
Once you see signs of new growth or feel that resistance, it’s time for a little more attention. Gradually acclimate your new plants to normal humidity by opening the plastic bag a little each day over a week. Water when the top inch of soil feels dry.
The most common issue you might encounter is rot. This usually happens if the soil is too wet and air circulation is poor. If you see a cutting turning black or mushy, unfortunately, it’s best to discard it to prevent it from affecting others. Overwatering is the culprit here. If you see wilting that doesn’t improve after watering, it could be a sign of root rot or that the cutting simply hasn’t rooted yet and is drying out. Ensure good drainage and that the humidity isn’t too high without ventilation.
A Encouraging Closing
Propagating plants is a journey, and Fraxinus stylosa teaches us valuable lessons in patience and observation. Don’t get discouraged if your first attempt isn’t a roaring success. Each cutting is a learning opportunity. Enjoy the process, celebrate the tiny victories, and before you know it, you’ll have beautiful new ash trees to grace your garden or share with friends. Happy propagating!
Resource:
https://identify.plantnet.org/k-world-flora/species/Fraxinus%20stylosa%20Lingelsh./data