Oh, hello there! Come on in, grab a mug. Let’s chat about growing more of those gorgeous Lathyrus lanszwertii. If you’ve ever had the pleasure of seeing this beauty grace your garden, you know why I’m so excited to share how to bring more of it into your life.
Why Propagate Lathyrus lanszwertii? It’s Worth Every Effort!
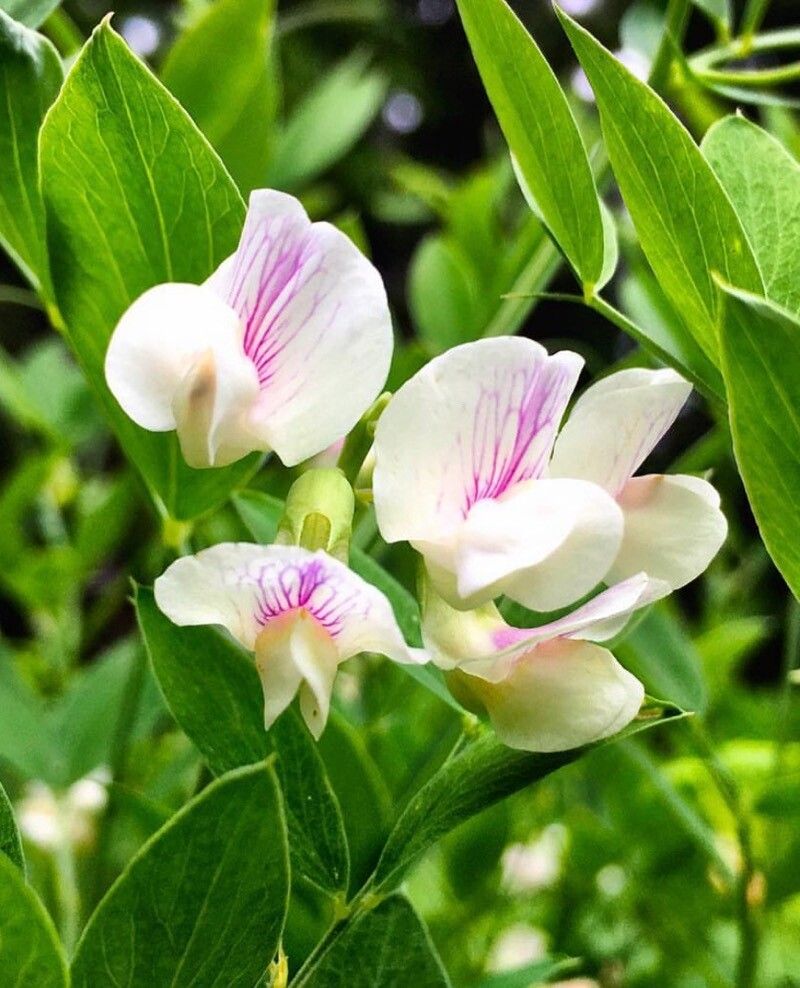
Lathyrus lanszwertii, or the California everlasting pea as it’s sometimes known, is just a delight. Its delicate blooms and graceful habit are truly captivating. And honestly, there’s something incredibly satisfying about taking a tiny piece of a plant you love and watching it grow into its own full glory. It’s a bit like having a family! Now, is it a walk in the park for absolute beginners? I’d say it can be a little bit of a learning curve, but with a few pointers, you’ll be a pro in no time. It’s more about patience and a keen eye than anything else.
The Best Time to Get Your Hands Dirty
For Lathyrus lanszwertii, late spring to early summer is your golden window. This is when the plant is actively growing after its spring bloom and has plenty of energy to spare for producing new roots. You’re looking for stems that are halfway between being soft and new (too floppy) and woody and old (too stiff). Think of them as having a little bit of flexibility but holding their shape.
Your Propagation Toolkit
Here’s what you’ll want to have ready to go:
- Sharp Pruning Shears or a Clean Knife: For making clean cuts.
- Potting Mix: A well-draining mix is crucial. I like to use about 60% perlite and 40% peat moss or coco coir for cuttings. For seeds, a good seed-starting mix will do.
- Small Pots or Trays: 3-4 inch pots are usually perfect.
- Rooting Hormone (Optional but Recommended): This can give your cuttings a helpful boost.
- Plastic Bags or a Clear Dome: To create a humid environment.
- Watering Can with a Fine Rose: For gentle watering.
- Patience: The most important tool of all!
Bringing New Peas to Life: Propagation Methods
Lathyrus lanszwertii can be propagated by a couple of methods. I find stem cuttings to be quite successful if you catch them at the right time, and seeds are also a rewarding route.
Method 1: Stem Cuttings – The Speedy Route
- Select Your Stems: Look for healthy, non-flowering stems from your established plant. Find a section that is semi-hardwood – it should snap cleanly when bent, but not be brittle.
- Make Your Cut: Using your clean shears or knife, take a cutting about 4-6 inches long. Make the cut just below a leaf node (where a leaf attaches to the stem).
- Prepare the Cutting: Gently remove the leaves from the bottom half of the cutting. If there are any flower buds, pinch those off too – we want all the plant’s energy going into roots, not flowers.
- Dip in Rooting Hormone (if using): Lightly moisten the cut end and dip it into your rooting hormone powder. Tap off any excess.
- Plant Your Cuttings: Fill your small pots with your dampened, well-draining potting mix. Make a little hole with your finger or a pencil and insert the cut end of the stem, firming the mix gently around it.
- Create a Humid Environment: Water the soil gently. Then, cover the pot with a clear plastic bag, securing it around the rim with a rubber band, or place it under a clear dome. This traps humidity, which is vital for cuttings.
- Find a Cozy Spot: Place the pots in a bright location that receives indirect light. Avoid direct sun, as it can scorch the delicate cuttings.
Method 2: Seeds – The Classic Way
Lathyrus lanszwertii seeds often benefit from a little coaxing.
- Scarification: The seed coat can be quite tough. You can gently nick the seed coat with a file or a small piece of sandpaper, being careful not to damage the embryo inside. Alternatively, you can soak the seeds in warm water for 24 hours.
- Sow Your Seeds: Fill your seed trays or pots with a good seed-starting mix. Sow the seeds about 1/2 inch deep.
- Water Gently: Moisten the soil thoroughly and cover.
- Provide Warmth: Place the trays in a warm spot. If your home is a bit cool, a heat mat can be wonderful for germination.
- Patience is Key: Germination can be a bit slow, sometimes taking 2-4 weeks. Keep the soil consistently moist but not waterlogged.
The “Secret Sauce”: My Little Insider Tips
Over the years, I’ve learned a few tricks that seem to make all the difference.
- Don’t Overcrowd: When planting cuttings, give them a little bit of space. If they’re all crammed together, they can compete for light and air, and that’s not good for anyone.
- Bottom Heat for Cuttings: If you’re serious about cuttings, investing in a small propagation mat to provide gentle bottom heat can dramatically speed up root development and improve success rates. It mimics the warmth of spring soil.
- Air Circulation is Your Friend: While humidity is key, you don’t want stagnant air. Periodically open the plastic bag or dome for a few minutes each day to allow for some fresh air and prevent fungal issues.
Aftercare & What to Watch For
Once your cuttings have developed a good root system (you can gently tug on them to see if there’s resistance, or sometimes even peek through the drainage holes), or if your seeds have sprouted and developed a few sets of true leaves, it’s time for a little transplanting.
- Potting Up: Carefully pot up your new plants into slightly larger pots using a good quality potting mix.
- Gradual Acclimatization: If you’ve been using a humidity dome or plastic bag, gradually remove it over a few days to let your new plants get used to normal humidity levels.
- Watering: Water thoroughly after transplanting, and then let the top inch of soil dry out between waterings.
- Light Needs: Gradually introduce them to more sunlight, but avoid harsh, direct sun for the first week or two.
Troubleshooting: The most common sign of failure is wilting and browning stems, which can indicate that the cutting didn’t root and has dried out or is rotting. Rot is often caused by overwatering and poor drainage. If you see mushy, black stems, it’s usually a goner. For seedlings, damping off (where the stem near the soil line collapses) is a common issue again, usually related to overwatering and lack of air circulation.
Happy Growing!
See? It’s not so daunting when you break it down. Propagation is a journey, and each little plant you nurture is a testament to your care and growing knowledge. Be patient with your Lathyrus lanszwertii, give them the right conditions, and enjoy the magic of bringing new life into your garden. Happy propagating!
Resource:
https://identify.plantnet.org/k-world-flora/species/Lathyrus%20lanszwertii%20Kellogg/data