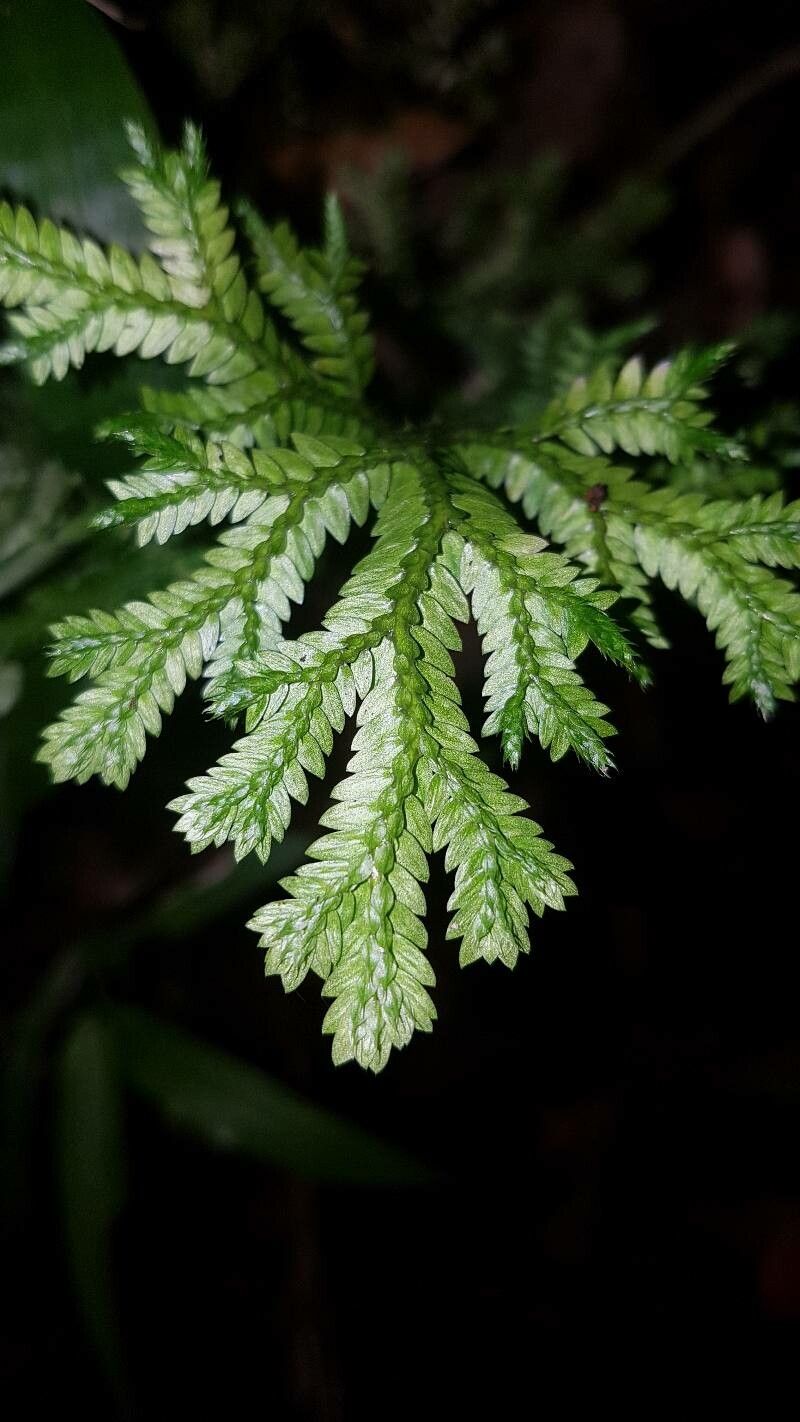
Hey there, fellow plant lovers! Are you eyeing that gorgeous, delicate Selaginella arthritica and thinking, “How can I get more of that beauty?” Well, you’re in the right spot! I’ve spent years coaxing these intricate specimens into multiplying, and let me tell you, it’s a deeply satisfying endeavor. Watching a tiny cutting unfurl new fronds is like witnessing a miracle in miniature.
Now, for the honest truth: Selaginella arthritica can be a little finicky. It’s not quite a beginner’s slam dunk, but with a bit of attention and the right approach, you’ll be well on your way to success. Think of it as a rewarding challenge that pays off in spades.
The Best Time to Start
My absolute favorite time to propagate Selaginella arthritica is during its active growing season, which typically falls between spring and early summer. This is when the plant has the most energy to put into developing new roots and shoots. Trying to propagate when it’s a bit stressed or dormant is like asking a sleepy bear to run a marathon – not ideal! Look for healthy, vigorous growth on your existing plant.
Supplies You’ll Need
Before we dive in, let’s gather our little garden toolkit:
- Sharp Pruning Shears or a Clean Knife: For making precise cuts. Sterilize them with rubbing alcohol first!
- Well-Draining Potting Mix: A blend of peat moss, perlite, and a bit of horticultural charcoal works wonders. The goal is something that holds moisture but doesn’t get soggy.
- Small Pots or Trays: Clean ones, of course! About 2-4 inches in diameter are usually perfect.
- Plastic Bags or a Clear Dome: To create a humid environment.
- Rooting Hormone (Optional but Recommended): A powder or gel can give your cuttings a helpful boost.
- Spray Bottle: For gentle misting.
- Chopstick or Pencil: To gently make holes for your cuttings.
- Water: For misting and, if you’re going that route, for rooting.
Propagation Methods
Let’s get our hands a little dirty (or damp!).
Stem Cuttings: My Go-To Method
This is usually the most reliable way to get new Selaginella plants.
- Take Your Cuttings: Gently select a healthy stem that’s at least 3-4 inches long. Using your sterilized shears or knife, make a clean cut just below a node (that little bump where a leaf sprouts). Nodes are where the magic happens – that’s where roots will emerge.
- Prepare the Cuttings: Carefully remove the lower leaves from your cutting. You only want a few sets of leaves at the very top. This prevents leaves from rotting in the soil and encourages the plant to focus energy on rooting.
- Apply Rooting Hormone (Optional): Dip the cut end of the stem into your rooting hormone. Tap off any excess.
- Plant Your Cuttings: Fill your small pots with your prepared potting mix. Moisten the mix thoroughly. Use your chopstick or pencil to make a small hole in the center of the pot. Gently insert the cutting into the hole, ensuring that the nodes where you removed leaves are buried in the soil. Firm the soil gently around the stem.
- Create a Humid Environment: This is crucial! Water the soil lightly again. Then, place the pot inside a clear plastic bag, sealing it loosely, or cover it with a clear plastic dome. This traps humidity, which these plants absolutely adore.
- Place in Bright, Indirect Light: Find a spot that gets plenty of bright, indirect light. Direct sun will scorch these delicate cuttings.
Water Propagation: A Peek into Progress
While I find stem cuttings in soil more consistently successful for Selaginella, water propagation can be a fun way to watch roots form.
- Prepare Cuttings: Follow steps 1 and 2 from the stem cutting method.
- Place in Water: Place the prepared cuttings in a small jar or glass of distilled or filtered water. Ensure that only the nodes where leaves were removed are submerged.
- Change Water Regularly: Change the water every 2-3 days to keep it fresh and prevent bacterial growth.
- Bright, Indirect Light: Just like with soil propagation, place the jar in a bright, indirect light location.
- Transplant When Ready: Once you see visible roots emerging (about ½ to 1 inch long), you can carefully transplant them into your well-draining potting mix. Be extra gentle with these delicate new roots.
The “Secret Sauce” (Pro Tips)
Here are a few things I’ve learned that really make a difference:
- The Bottom Heat Hack: If you can, placing your pots on a gentle seedling heat mat can significantly speed up root development. Selaginella loves a bit of warmth from below, mimicking a tropical forest floor. Just make sure it’s not too hot – think lukewarm, not hot!
- Don’t Drown Your Dreams (or Your Cuttings!): While humidity is vital, avoid letting the leaves touch the water in your propagation setup, whether it’s in soil or in a water jar. This is a surefire way to invite rot. If using a bag, make sure the leaves are brushing against the plastic, not soaking wet.
- Patience, My Friend, Patience: Selaginella arthritica is an artist when it comes to growth, not a sprinter. I’ve found that encouraging new root growth can take anywhere from 3 weeks to 2 months. Don’t get discouraged if you don’t see dramatic changes immediately. Trust the process!
Aftercare & Troubleshooting
Once you see those beautiful new roots appearing, and hopefully some fresh growth at the top, it’s time for gentle aftercare.
- Gradual Acclimation: If your cuttings were in a plastic bag or under a dome, slowly start to acclimate them to lower humidity. Gradually open the bag or lift the dome for longer periods over a week or so. This prevents shock.
- Consistent Moisture: Continue to keep the soil consistently moist but never waterlogged. Misting is still your friend, especially in drier environments.
- Fertilizing (Later): Wait until the new plant is well-established and showing good, active growth before you consider a very diluted liquid fertilizer.
- Troubleshooting Rot: The bane of our existence! If you notice your cuttings turning mushy, black, or smelling foul, it’s likely rot. This is usually due to too much moisture and not enough air circulation. Sadly, these are often lost causes. When this happens, it’s best to discard them and start fresh, perhaps adjusting your watering or humidity levels. Another sign of trouble can be wilting or yellowing leaves on seemingly established cuttings, which can sometimes indicate not enough moisture or too much direct light.
Embrace the Journey!
Propagating Selaginella arthritica is a wonderful way to deepen your connection with this captivating plant. It requires a little extra care and observation, but the reward of nurturing new life is truly unparalleled. Be patient with yourself and your cuttings, celebrate the small victories, and most importantly, enjoy the green magic unfolding before you. Happy propagating!
Resource:
https://identify.plantnet.org/k-world-flora/species/Selaginella%20arthritica%20Alston/data