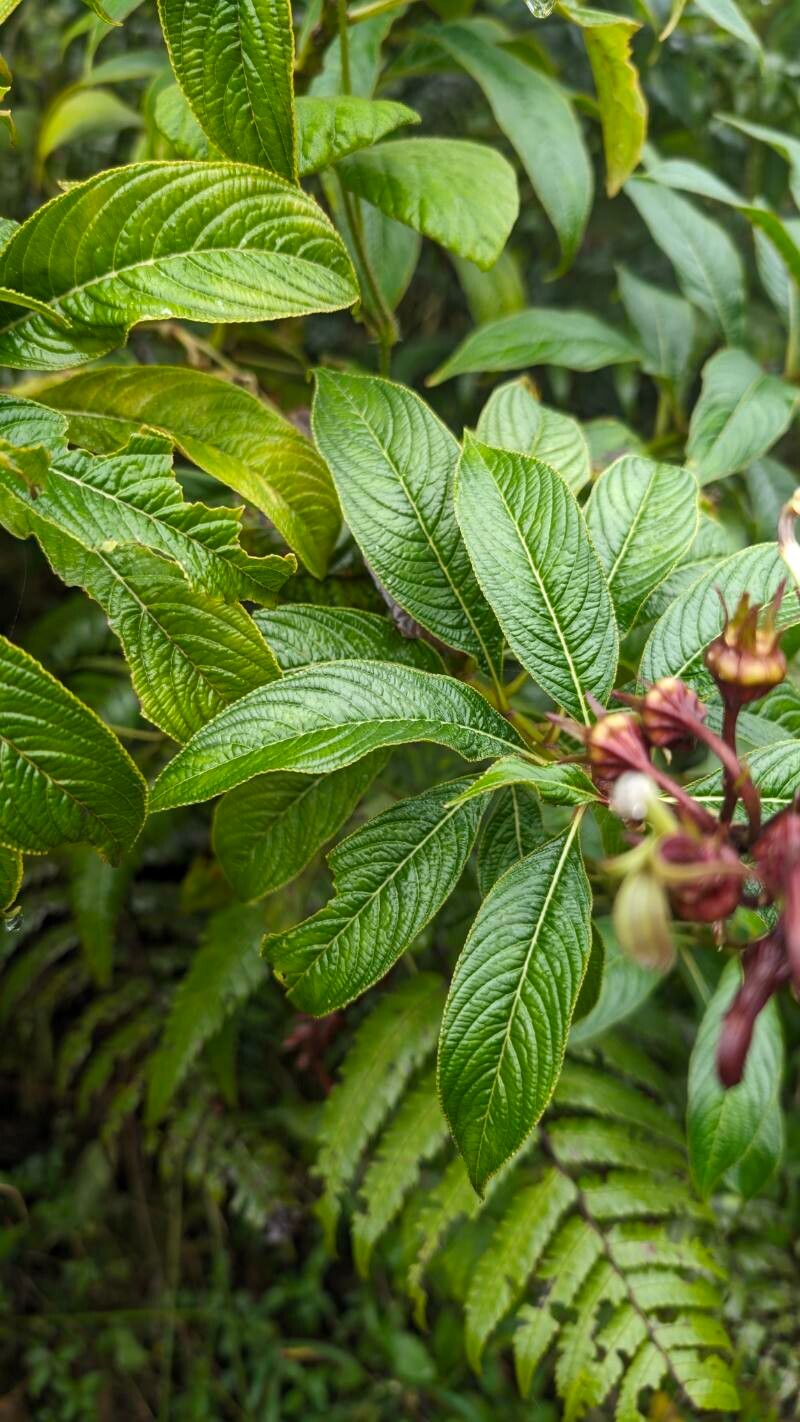
Oh, Lobelia portoricensis! If you’ve ever seen this beauty cascading with its vibrant blue flowers, you know why it’s such a must-have for any garden or hanging basket. It truly brings a splash of electric color. And the best part? Propagating it is incredibly rewarding, giving you more of that gorgeousness for free! For beginners, I’d say it’s quite approachable. With a little care, you’ll have no trouble at all.
The Best Time to Start
When the weather starts to warm up, that’s usually your golden window. Think late spring or early summer. The plant is in active growth, meaning those cuttings will be eager to root. You can also take cuttings in the fall, but they might take a bit longer to establish before winter.
Supplies You’ll Need
Here’s what I usually have on hand:
- Sharp, clean pruning shears or snips: Essential for taking clean cuts.
- Potting mix: A light, well-draining mix is key. I often use a blend of peat moss, perlite, and a little compost.
- Small pots or seed trays: Whatever you have available to get those cuttings started.
- Rooting hormone (optional but helpful): A little dab can speed things up.
- Watering can or spray bottle: For gentle watering.
- A clear plastic bag or cloche: To create a humid environment.
- A small dibber or pencil: For making planting holes.
Propagation Methods
Lobelia portoricensis is wonderfully versatile. My favorite way is using stem cuttings.
- Select a Healthy Stem: Look for a non-flowering stem that’s at least 4-6 inches long. Gently pull or snip it from the parent plant, making a clean cut just below a leaf node (where a leaf attaches to the stem).
- Prepare the Cutting: Remove the lower leaves from the cutting, leaving just a few at the top. This prevents them from rotting once planted. If you’re using rooting hormone, dip the cut end into it now.
- Plant Your Cuttings: Moisten your potting mix. Use your dibber or pencil to make small holes in the soil. Gently insert the cut end of each Lobelia cutting into a hole, pressing the soil lightly around it.
- Create a Humid Environment: Water the soil gently. Then, I like to cover the pots with a clear plastic bag or a DIY cloche to keep the humidity high. This is crucial for cuttings, as it helps them retain moisture before they develop roots.
- Place in Bright, Indirect Light: Find a spot that gets plenty of bright, indirect sunlight. Avoid direct sun, which can scorch those tender new cuttings.
Water propagation is another easy win. Simply place your prepared stem cuttings directly into a glass or jar of water. Make sure no leaves are submerged – they’ll rot if they touch the water. Change the water every few days to keep it fresh. You’ll start to see little white roots emerge from the cut end. Once these roots are about an inch long, you can carefully pot them into your well-draining soil mix.
The “Secret Sauce” (Pro Tips)
Here are a few things I’ve learned over the years:
- Bottom Heat is Your Friend: If you have it, placing your pots on a gentle heat mat can really speed up root development. It mimics the warmth of the soil in spring and encourages those roots to grow faster.
- Don’t Drown Your Cuttings: While humidity is important, soggy soil is the enemy. Water when the top inch of soil feels dry to the touch, but don’t let them sit in a puddle.
- Patience with the Pull Test: After a few weeks, give a gentle tug on a cutting. If you feel resistance, it means roots have formed! If it pulls out easily, it hasn’t rooted yet. Don’t be discouraged if a few don’t make it – it’s all part of the learning process.
Aftercare & Troubleshooting
Once your Lobelia cuttings have developed a good root system, you can treat them like baby plants. Start by gradually acclimatizing them to less humid conditions if they’ve been under cover. Remove the plastic bag for increasing periods each day over a week. Water them when the topsoil feels dry. You can also start feeding them with a diluted liquid fertilizer every few weeks once they look well-established.
If you notice your cuttings looking limp and sad, it could be dehydration. If they develop mushy, black stems at the soil line, that’s a sign of rot, usually due to overwatering or poor drainage. In this case, unfortunately, they might be beyond saving. Remove any rotted cuttings immediately to prevent it from spreading.
A Little Encouraging Word
Propagating plants is such a wonderful way to connect with nature and expand your garden for free. Sometimes they take their sweet time, and that’s okay! Enjoy the process, learn from each attempt, and before you know it, you’ll have a whole collection of your own beautiful Lobelia portoricensis plants. Happy gardening!
Resource:
https://identify.plantnet.org/k-world-flora/species/Lobelia%20portoricensis%20(Vatke)%20Urb./data