Hello fellow garden enthusiasts!
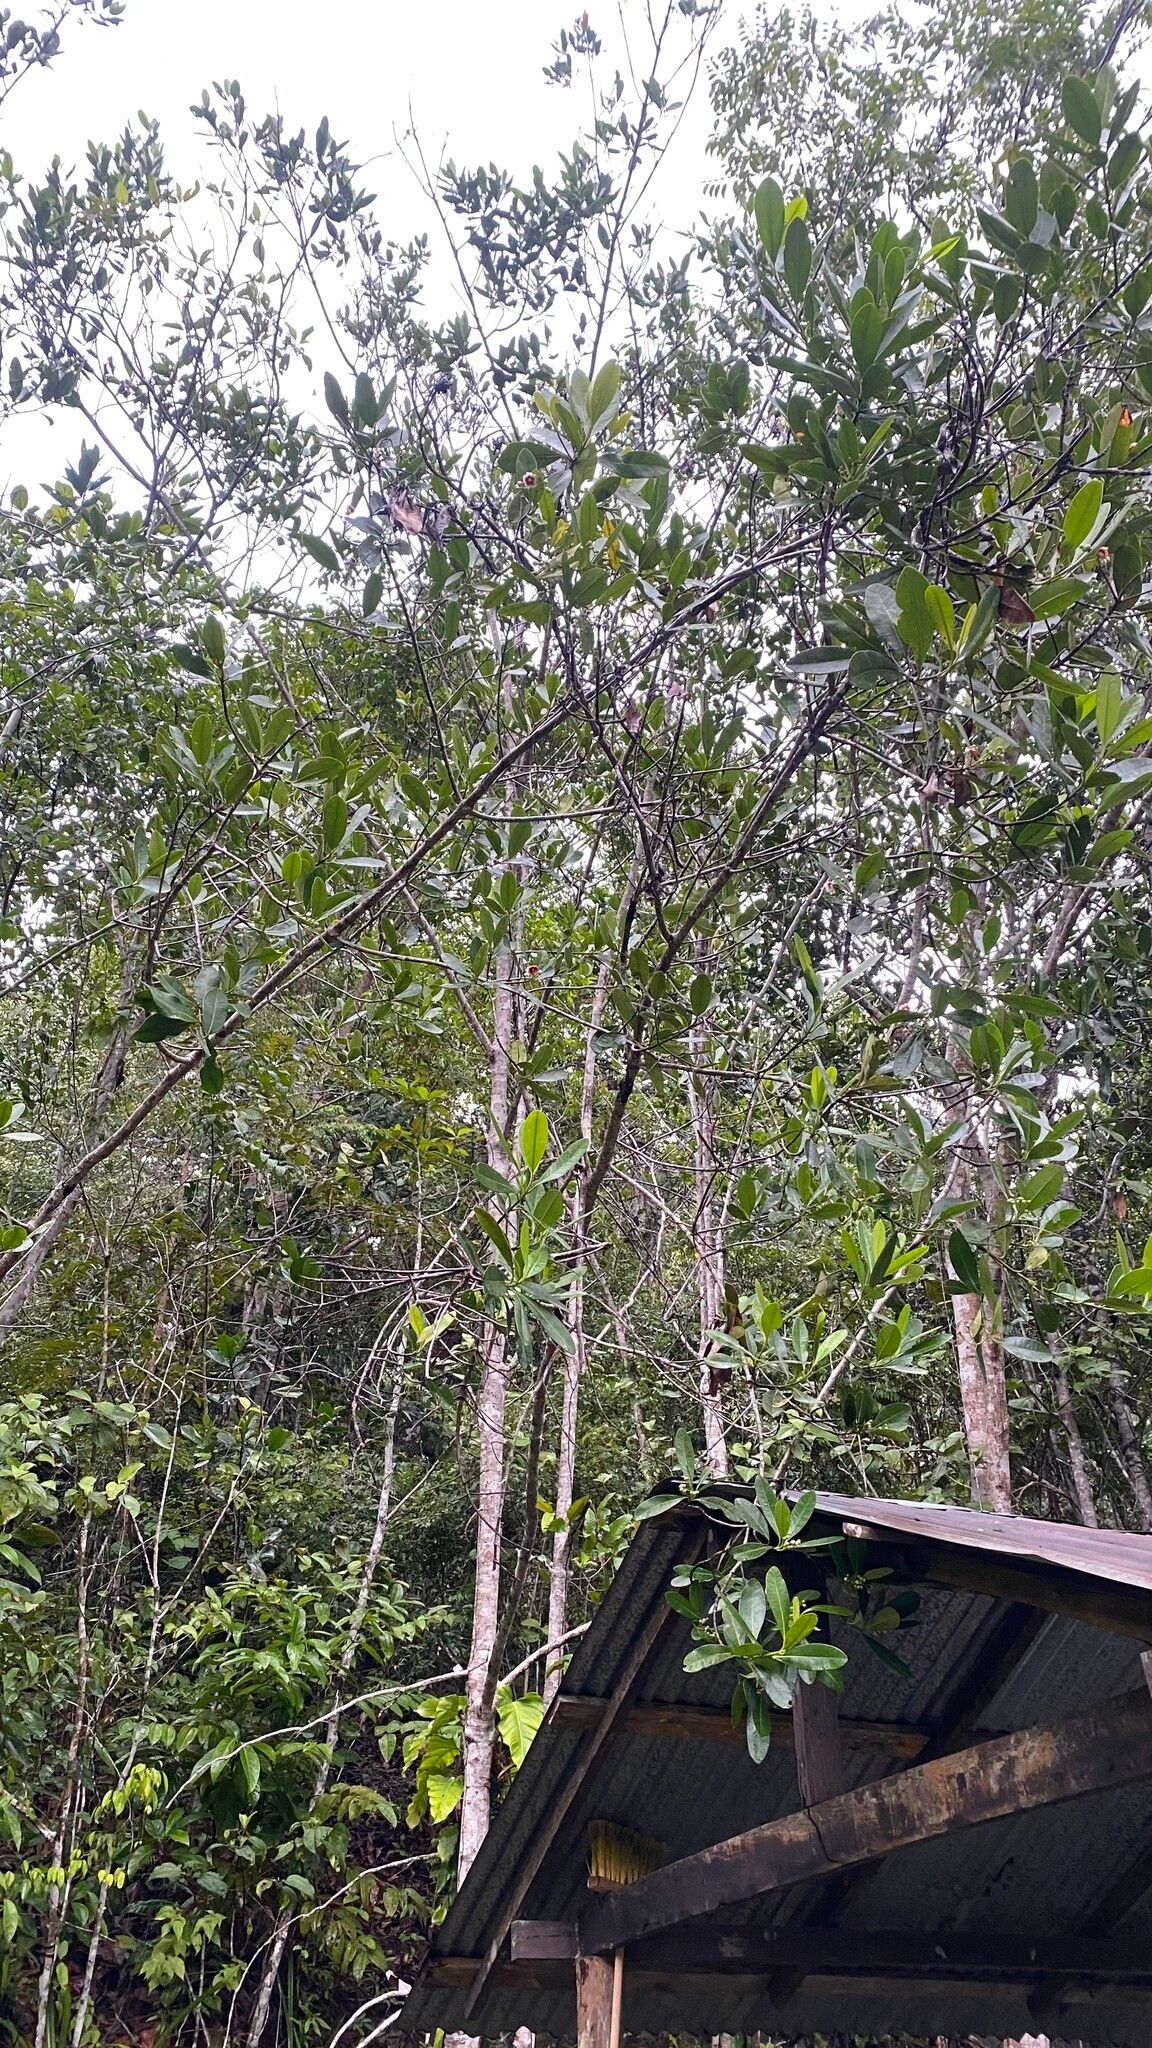
Today, we’re diving into the wonderful world of Clusia renggerioides, also known as the Autograph Tree. If you’re looking for a tropical stunner with lush, glossy leaves that really make a statement, the Autograph Tree is a fantastic choice. Those big, leathery leaves are a joy to behold, and they often have unique, almost scribbled markings – hence the name! And the best part? You can easily multiply this beauty yourself. Propagating your own Clusia is incredibly rewarding. Seeing those first tiny roots emerge and watching a new plant unfurl its leaves is a little bit of magic. Honestly, for beginners, Clusia is quite forgiving, making it a great plant to start your propagation journey with.
The Best Time to Start
The perfect window for propagating Clusia is generally during its active growing season, which means late spring through summer. This is when the plant has the most energy to put into developing new roots. Aim for a time when temperatures are consistently warm, but before the intense heat of mid-summer, if you’re in a very hot climate.
Supplies You’ll Need
- Sharp Pruning Shears or a Knife: Clean cuts are crucial.
- Rooting Hormone (Optional but Recommended): This can significantly speed up the rooting process. Look for one with IBA.
- Potting Mix: A well-draining mix is key. I like a blend of equal parts peat moss and perlite, or a good quality cacti and succulent mix.
- Small Pots or Containers: Clean pots are a must!
- Plastic Bag or Humidity Dome: To maintain humidity.
- Water: For watering and misting.
Propagation Methods
I find stem cuttings to be the most reliable and straightforward method for Clusia. Let’s get those hands dirty!
Propagation by Stem Cuttings:
- Choose Your Cutting: Select a healthy stem from a mature Clusia plant. Look for a stem that’s at least six inches long and has developed new growth, but isn’t too woody. I usually aim for an ‘in-between’ stem – not brand new and floppy, but not old and stiff.
- Make the Cut: Using your sharp pruning shears or knife, make a clean cut just below a leaf node (where a leaf attaches to the stem). This node is where roots will likely form.
- Prepare the Cutting: Gently remove the lower leaves from the cutting, leaving just a few at the top. This prevents them from rotting in the soil. If you have a very long cutting, you might trim off a couple of the top leaves too, to reduce water loss.
- Apply Rooting Hormone (Optional): If you’re using rooting hormone, dip the cut end into the powder or gel. Tap off any excess.
- Planting: Fill your clean pots with your well-draining potting mix. Make a hole in the center of the soil with your finger or a pencil.
- Insert the Cutting: Carefully insert the cut end of the Clusia stem into the hole, ensuring that at least one leaf node is buried below the soil surface. Gently firm the soil around the cutting.
- Water and Cover: Water the soil thoroughly until it’s moist but not soggy. Then, cover the pot with a plastic bag or place it under a humidity dome. This creates a mini-greenhouse effect, keeping the humidity high, which is essential for cuttings to root.
The “Secret Sauce” (Pro Tips)
Here are a few things I’ve learned over the years that make a big difference:
- Don’t Let Leaves Touch the Soil: When preparing your cuttings, I can’t stress enough how important it is to remove those lower leaves. If they sit in damp soil, they’re pretty much guaranteed to rot, and that can take your whole cutting with them.
- Consider Bottom Heat: Clusia loves warmth, and giving your cuttings a little gentle heat from below can really encourage root development. A seedling heat mat placed under the pots makes a huge difference, especially if your home is on the cooler side.
- Watch for the Rot Sign: This sounds gloomy, but it’s really a pro tip. If your cutting starts to look yellow and limp, and the soil feels constantly waterlogged, it’s likely rotting. Act fast – try to unearth it, trim off any mushy bits, and repot in fresh, drier mix, perhaps with better drainage.
Aftercare & Troubleshooting
Once your cuttings have been planted, keep them in a bright, indirect light location. Avoid direct sun, as it can scorch those tender cuttings and the plastic bag. Check the soil moisture regularly. It should be consistently moist, but never waterlogged. If the soil feels dry to the touch about an inch down, give it a gentle watering.
You’ll know your Clusia is rooting when you see new leaf growth appearing from the top of the cutting or feel a slight resistance when you gently tug on the stem. This usually takes anywhere from 4 to 8 weeks, sometimes longer.
The most common sign of failure is rot, which will look like a black, mushy stem, often at the soil line. This is almost always due to overwatering or poor drainage. If left unchecked, it will quickly spread. Don’t be discouraged if you lose a few; it’s all part of the learning process!
A Encouraging Closing
Growing your own Clusia from cuttings is incredibly satisfying. It’s a wonderful way to expand your collection and share these beautiful plants with friends. Be patient, trust the process, and enjoy the journey of coaxing new life from a simple stem. Happy gardening!
Resource: