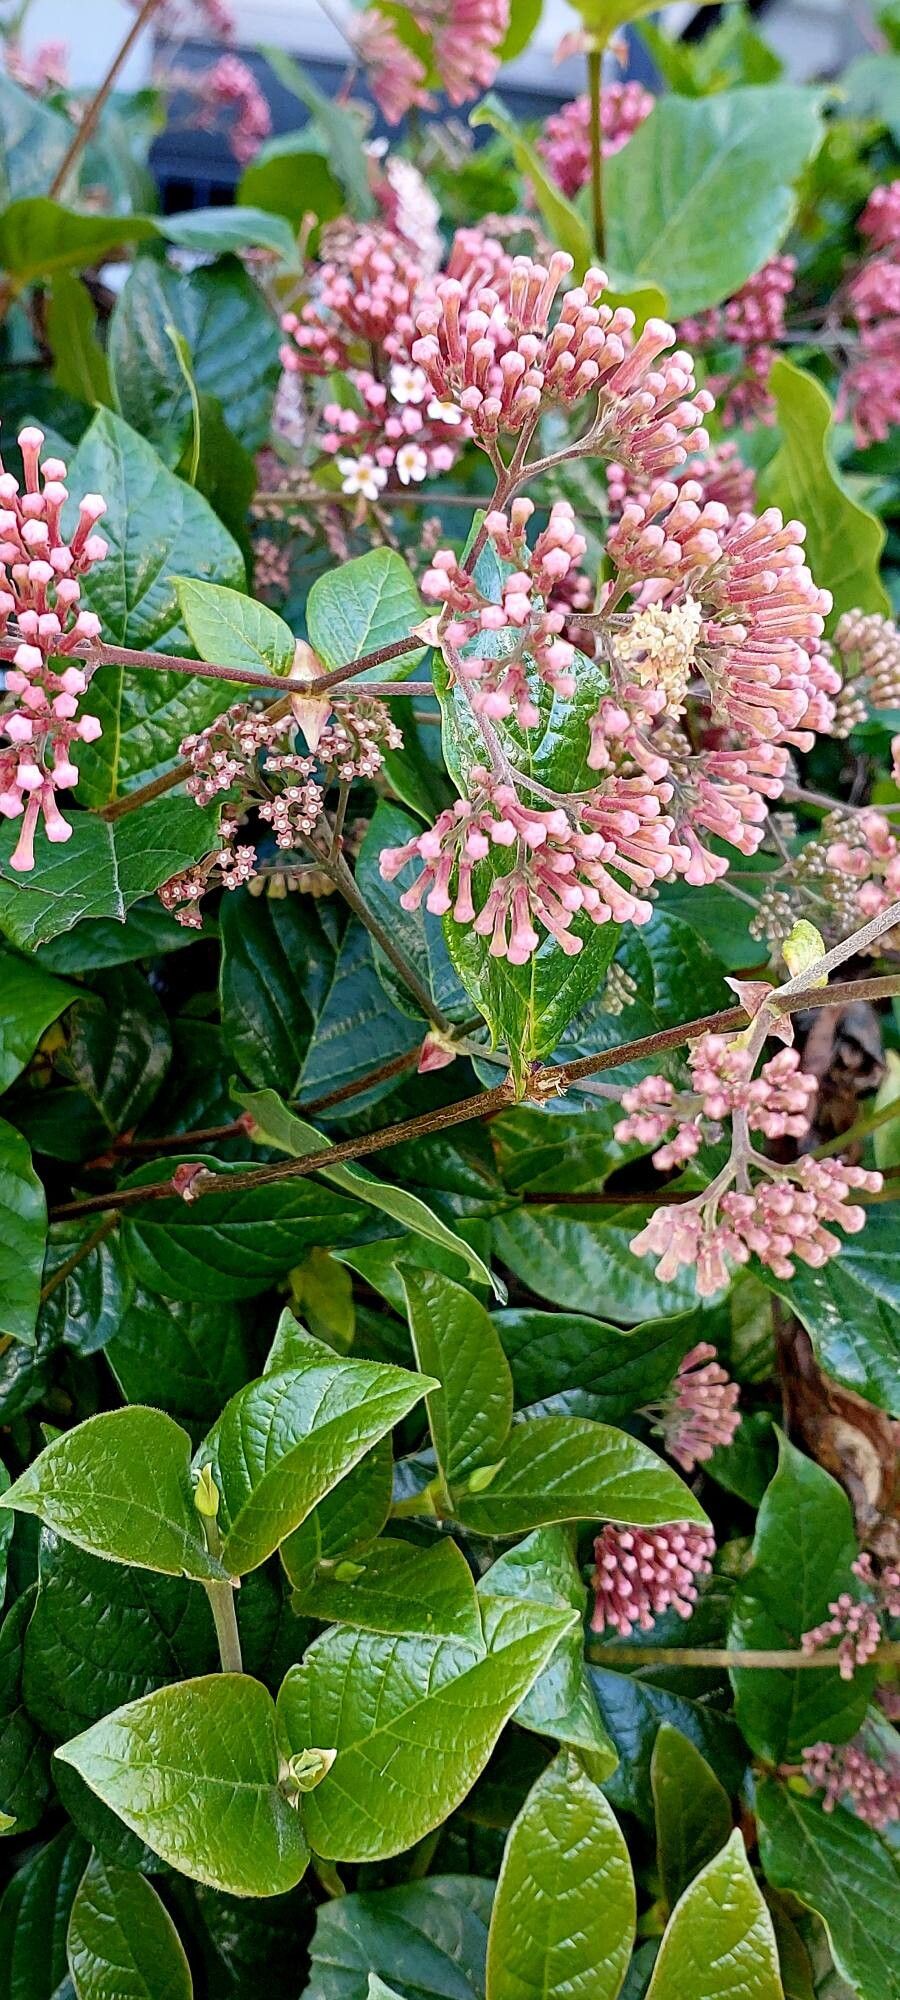
Oh, Rogiera amoena! If you’re looking for a plant that will absolutely charm you with its delicate, star-shaped flowers and glossy leaves, then you’ve found your match. It’s a bit of a hidden gem, I think. And the best part? You can easily have more of them! Propagating these beauties is incredibly satisfying, like giving the gift of green to yourself and your friends. For beginners, I’d say Rogiera amoena is moderately easy. It’s not a Fiddle Leaf Fig tantrum waiting to happen, but it does appreciate a little attention.
The Best Time to Start
For the highest success rate with Rogiera amoena, I always aim for late spring or early summer. This is when the plant is actively growing and has plenty of energy. You’ll want to take cuttings from new, but slightly hardened growth. Think of it as taking cuttings from stems that are no longer pencil-thin and floppy, but not yet woody and rigid. This gives them the best chance to root quickly.
Supplies You’ll Need
- Sharp pruning shears or a clean knife: For making clean cuts.
- Rooting hormone (optional but helpful): A powder or gel that encourages root development.
- A well-draining potting mix: I like a blend of equal parts peat moss or coco coir, perlite, and a little bit of compost.
- Small pots or trays: Clean ones, of course!
- A clear plastic bag or propagation dome: To create a humid environment.
- A spray bottle with water: For misting.
- Labels and a marker: To keep track of your projects!
Propagation Methods
The most successful way I’ve found to propagate Rogiera amoena is through stem cuttings. Here’s how I do it:
- Select Your Cuttings: Gently feel the new growth. You’re looking for stems that are firm but still flexible. Aim for cuttings that are about 4-6 inches long.
- Make the Cut: Using your sharp shears or knife, make a clean cut just below a leaf node. A leaf node is where a leaf attaches to the stem. This is where the magic happens – roots are most likely to form here. Remove any lower leaves, leaving just one or two at the very top.
- Apply Rooting Hormone (Optional): If you’re using rooting hormone, dip the cut end of the stem into the powder or gel. Tap off any excess.
- Get Them in the Potting Mix: Fill your small pots or a propagation tray with your well-draining potting mix. Make a small hole in the center of the mix with your finger or a pencil.
- Insert the Cuttings: Carefully insert the cut end of each stem into the hole, ensuring that the leaves at the top aren’t touching the soil. Gently firm the mix around the base of the cutting.
- Water and Cover: Water the potting mix thoroughly until it’s evenly moist but not soggy. Then, cover the pot or tray with a clear plastic bag or a propagation dome to trap humidity. This is crucial!
- Find a Bright Spot: Place your propagation setup in a bright location, but out of direct sunlight. Too much sun can scorch the delicate cuttings.
The “Secret Sauce” (Pro Tips)
Here are a couple of tricks that have really boosted my success:
- Think “Greenhouse Effect” Without the Waterlogged Leaves: While humidity is key, you don’t want those leaves sitting in water. If your cuttings are packed tightly in a pot, trim back any leaves that might be touching each other or the sides of the container. This helps prevent fungal issues. You can even gently twist taller leaves so they don’t flop over.
- The Gentle Warmth Beneath: Rogiera amoena just loves a little warmth to get its roots going. If you can, place your pots on a heat mat designed for plant propagation. It doesn’t need to be blazing hot, just a gentle, consistent warmth from below will significantly speed up root formation.
Aftercare & Troubleshooting
Once you start to see new growth, it’s a good sign that roots are forming! You can gently tug on a cutting – if there’s resistance, you’ve got roots.
- Gradual Acclimation: Once roots have developed (which can take anywhere from 4-8 weeks, sometimes longer), you’ll want to gradually acclimate your new plants to normal conditions. Start by opening the plastic bag or propagation dome for a few hours each day.
- Watering: Keep the soil consistently moist, but again, never waterlogged. As they mature, you can water them like your established Rogiera.
- Common Signs of Failure: The most common issue is rot. If your cuttings look black and mushy at the base, or if the leaves suddenly wilt and turn yellow/brown without explanation, it’s usually a sign of too much moisture and not enough air circulation. If you catch rot early, you might be able to salvage it by trimming away the affected parts and repotting in fresh, dry mix, but often it’s a loss. Another sign is shriveling, which usually indicates it’s too dry, or lack of humidity.
A Encouraging Closing
Don’t get discouraged if you don’t have perfect results the first time. Gardening is about learning, experimenting, and celebrating every success. Be patient with your little Rogiera babies. Watch them, offer them the care they need, and enjoy the journey of bringing more beauty into your home. Happy propagating!
Resource:
https://identify.plantnet.org/k-world-flora/species/Rogiera%20amoena%20Planch./data