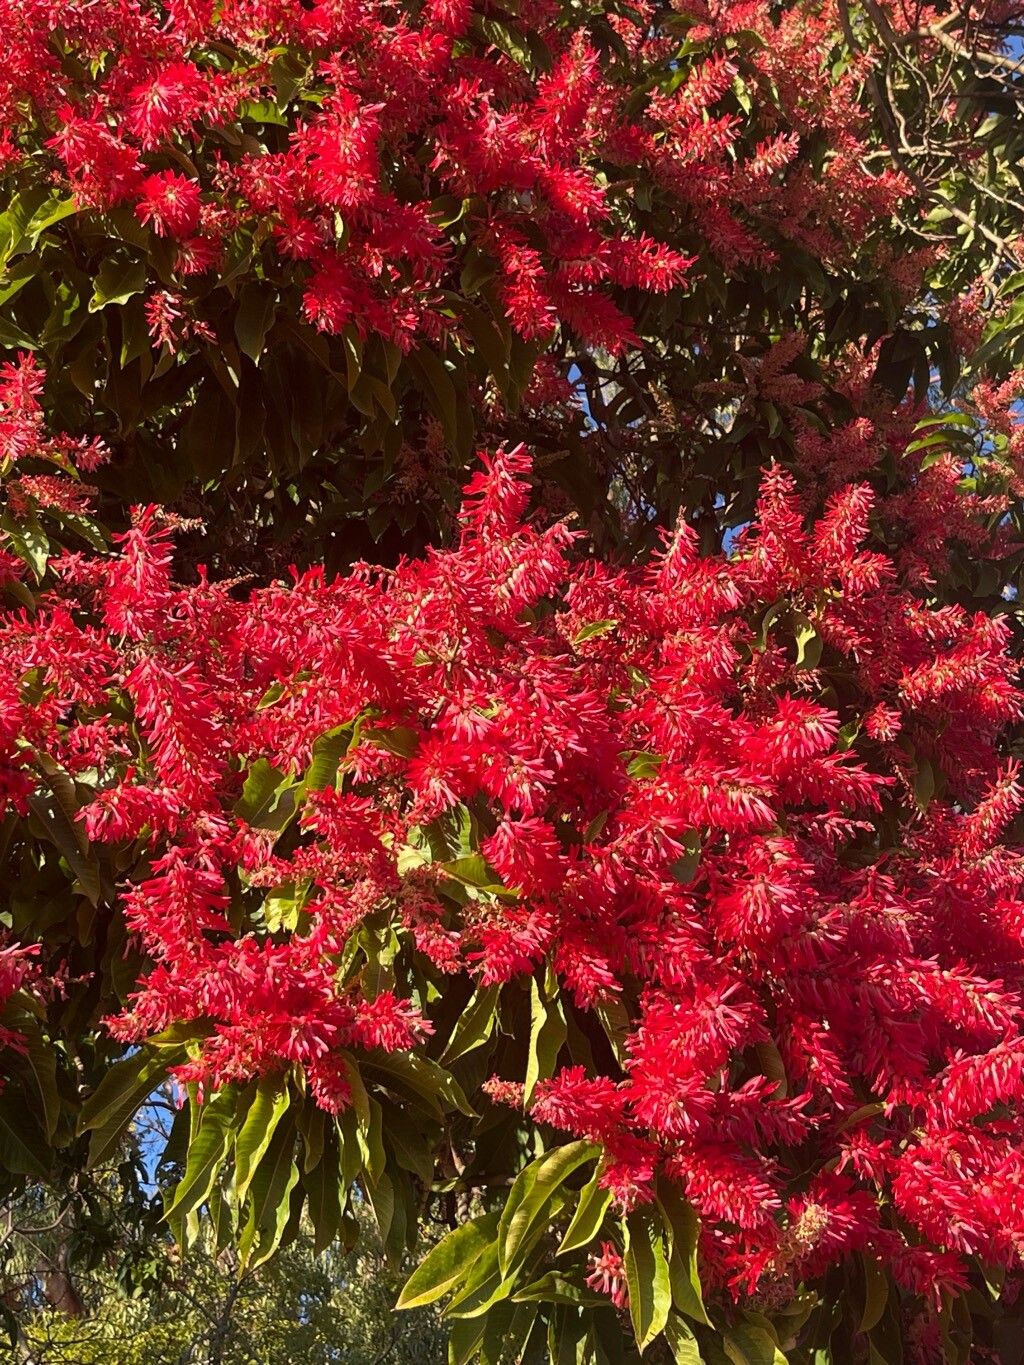
Hello, fellow plant lovers! Today, we’re diving into the wonderful world of propagating Triplaris americana, often called the “Ant Tree” or “Pau-Formiga.” I’ve spent years admiring these beauties, and trust me, coaxing new life from them is incredibly satisfying. They’re known for their unique ecosystems with ants living symbiotically within their hollow stems, and for their striking appearance. Propagating them can be a bit of a project, but with a little patience, you’ll be rewarded with your own little Ant Trees.
The Best Time to Start
For the best chance of success with Triplaris americana, late spring to early summer is your golden window. This is when the plant is actively growing and has plenty of energy to put into developing new roots. Look for healthy, semi-hardwood stems – not the brand new, bendy shoots, but also not the old, woody growth.
Supplies You’ll Need
Gathering your supplies beforehand makes the whole process much smoother. Here’s what I always have on hand:
- Sharp Pruning Shears or a Clean Knife: For making clean cuts.
- Rooting Hormone Powder (optional but recommended): Helps encourage root formation. I like a powder specifically for woody cuttings.
- Well-Draining Potting Mix: A mix of perlite, coco coir, and a bit of sand is my go-to. You want it to drain like a sieve!
- Small Pots or Propagation Trays: With drainage holes, of course.
- Plastic Bags or a Humidity Dome: To keep the cuttings moist.
- Watering Can or Spray Bottle: For gentle watering.
- Small Bamboo Stakes or Twigs (optional): To support the cuttings if they’re a bit floppy.
Propagation Methods
While Triplaris americana can be a little finicky, stem cuttings are generally the most reliable method for home gardeners.
Stem Cuttings
- Select Your Cutting: Choose a healthy stem from a mature plant. Aim for a piece about 6-8 inches long. Make your cut just below a leaf node (where a leaf attaches to the stem).
- Prepare the Cutting: Gently remove about half of the leaves from the bottom of the stem. This reduces water loss and directs the plant’s energy into root development. If the remaining leaves are very large, you can cut them in half to further minimize transpiration.
- Apply Rooting Hormone (Optional): Dip the cut end of the stem into your rooting hormone powder, tapping off any excess. This step can significantly boost your success rate.
- Plant Your Cuttings: Fill your small pots with your well-draining potting mix. Make a hole in the center with your finger or a pencil and insert the cutting. Gently firm the soil around the base.
- Water Gently: Water the soil thoroughly but gently, ensuring it’s moist but not waterlogged.
- Create a Humid Environment: Cover the pots with a clear plastic bag (making sure it doesn’t touch the leaves) or place them under a humidity dome. This is crucial for keeping the cuttings from drying out. If you don’t have a dome, you can prop up the bag with stakes.
The “Secret Sauce” (Pro Tips)
Here are a few things I’ve learned over the years that really make a difference:
- Bottom Heat is Your Friend: Triplaris americana loves a bit of warmth from below. Placing your pots on a small heating mat designed for propagation can dramatically speed up root formation. It mimics the warmth of the soil in its native environment.
- Sterilize Everything: Before you start, clean your pruning shears or knife with rubbing alcohol. This prevents the transfer of any diseases to your precious cuttings. A clean start is a happy start!
- Patience with the Leaves: If you do try water propagation with segments, remember that no part of the leaf should be submerged. Any submerged leaf tissue is an invitation for rot.
Aftercare & Troubleshooting
Once your cuttings have rooted – and this can take anywhere from 4 to 8 weeks, sometimes longer – you’ll start to see new growth. You can gently tug on the cutting; if there’s resistance, roots are forming.
- Transplant Carefully: Once you see good root development, you can carefully transplant your new Triplaris americana into a slightly larger pot with fresh, well-draining soil. Water thoroughly.
- Acclimatize Gradually: Begin by slowly removing the plastic bag or dome over a few days to let the new plant adjust to normal humidity levels.
- Watch for Rot: The most common sign of failure is rot, which looks like mushy, discolored stems. This usually happens due to overwatering or poor drainage. If you see this, unfortunately, you’ll likely need to start again. Yellowing leaves can also be a sign of overwatering or a lack of light, but sometimes it’s just the plant shedding older growth.
Propagating Triplaris americana is a rewarding journey. It teaches you to observe, to be patient, and to appreciate the resilience of nature. Don’t be discouraged if your first attempt isn’t a roaring success – gardening is a continuous learning process. Enjoy the magic of creating new life!
Resource:
https://identify.plantnet.org/k-world-flora/species/Triplaris%20americana%20L./data