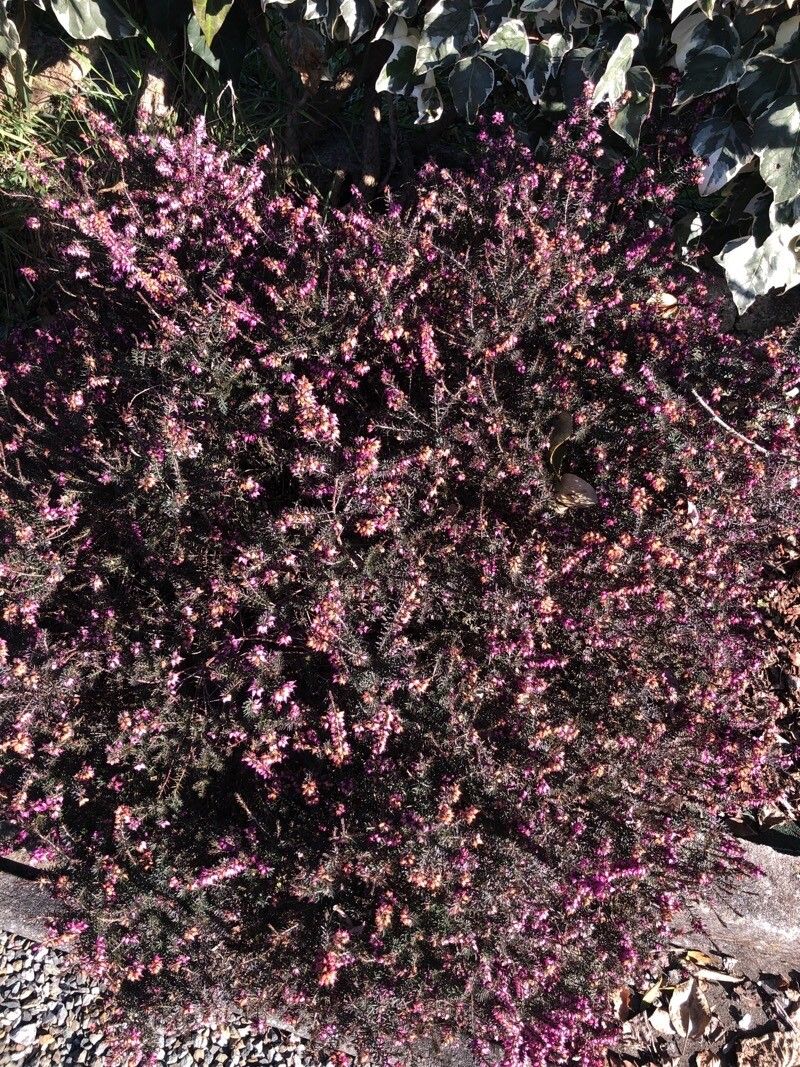
Ah, Erica erigena, also known as Irish Heath! It’s a real jewel in the garden, isn’t it? With its delicate, bell-shaped flowers that can bloom for months on end, it brings such a lovely splash of color, especially during those transitional seasons. If you’ve ever admired its pretty habit and wished you had more, you’ll be delighted to know that propagating it is a truly rewarding endeavor. For beginners, I’d say it’s moderately easy. It requires a little attention to detail, but the satisfaction of seeing those tiny new plants take off is absolutely worth it.
The Best Time to Start
My top advice for Erica erigena propagation is to take cuttings in late spring or early summer. This is when the plant is actively growing, and the new shoots are pliable and full of life. You’re looking for stems that have started to firm up but aren’t yet woody. Think of it as the “softwood” stage. This gives them the best chance to root successfully before the heat of summer or the chill of autumn sets in.
Supplies You’ll Need
Before we get our hands dirty, let’s gather our supplies. Having everything ready makes the whole process much smoother!
- Sharp Pruning Shears or a Clean Knife: For making clean cuts.
- Rooting Hormone (Optional but Recommended): A powder or gel that encourages root development. Look for one formulated for softwood cuttings.
- Well-Draining Potting Mix: A mix of peat moss or coir, perlite, and a bit of coarse sand is ideal. You want excellent drainage; Erica erigena hates soggy feet.
- Small Pots or Seed Trays: Clean pots are a must to prevent disease.
- Plastic Bags or a Propagator: To create a humid environment.
- Watering Can with a Fine Rose: For gentle watering.
- Labels and a Marker: To keep track of your cuttings!
Propagation Methods
For Erica erigena, stem cuttings are my go-to method. It’s reliable and gives you the best chance of success.
- Select Your Cuttings: In late spring or early summer, choose healthy, non-flowering shoots that are about 3-4 inches long. Gently twist or cut them from the parent plant.
- Prepare the Cuttings: Remove the lower leaves from the stem, leaving just a few at the top. This prevents them from rotting in the soil. If you’re using rooting hormone, dip the cut end into it according to the product’s instructions.
- Pot Them Up: Fill your clean pots with the well-draining potting mix. Make a small hole with a pencil or your finger where you want to place the cutting. Gently insert the base of the cutting into the hole. Firm the soil gently around it.
- Water Gently: Water the soil lightly to settle it around the cuttings.
- Create Humidity: This is key! Cover the pots with a clear plastic bag or place them in a propagator. This traps moisture and keeps the humidity high, mimicking the conditions the cuttings need to root. You can prop up the bag with sticks to prevent it from touching the leaves.
- Provide Light and Warmth: Place the pots in a bright location but out of direct sunlight. A warm spot, like a greenhouse bench or a windowsill with indirect light, is perfect.
The “Secret Sauce” (Pro Tips)
Now, here are a few little tricks I’ve picked up over the years that really make a difference.
- The “Grit” Factor: Don’t be afraid to be generous with the perlite or coarse sand in your potting mix. It’s crucial for ensuring that nary a drop of excess water will linger around those tender roots. Erica erigena is native to acidic, sandy soils, so mimic that when you can!
- Bottom Heat is Your Friend: If you have access to a heating mat, using it can dramatically speed up root formation. Just place your pots on top of the mat in your propagator or designated rooting area. It provides that gentle warmth from below that encourages a robust root system.
- The “Wipe Test”: Once you think your cuttings might be rooted (typically after 4-6 weeks), give a gentle tug on a cutting. If you feel resistance, it’s a good sign roots have formed. You can also look for new growth at the tip.
Aftercare & Troubleshooting
Once you see signs of rooting – usually new growth emerging from the tip – it’s time to start acclimating your new plants to regular conditions.
- Ventilation is Important: Gradually remove the plastic cover or open the propagator vents over a few days. This helps to prevent fungal issues and harden off your new plants.
- Continue Watering: Keep the soil consistently moist but not waterlogged. When you water, water thoroughly until it drains from the bottom of the pot.
- Transplanting: Once the new plants have developed a good root system (you might see roots peeking out of the drainage holes), you can pot them up into slightly larger individual pots with your regular, well-draining compost.
- Rot Alert: The most common problem you’ll encounter is rot. If your cuttings turn black and mushy, it’s a sign of too much moisture and not enough air circulation. Ensure your mix is super well-draining, and don’t overwater. Fungicide can sometimes help, but good sanitation from the start is your best defense. If you see leaves wilting or yellowing without signs of rot, it could be a sign of poor root development or inconsistent watering.
Don’t get discouraged if not every single cutting takes. Gardening is a journey of learning, and patience is truly a virtue when it comes to propagation. But each successful little Erica erigena you grow will be a testament to your efforts and a beautiful addition to your garden. Happy propagating!
Resource:
https://identify.plantnet.org/k-world-flora/species/Erica%20erigena%20R.Ross/data