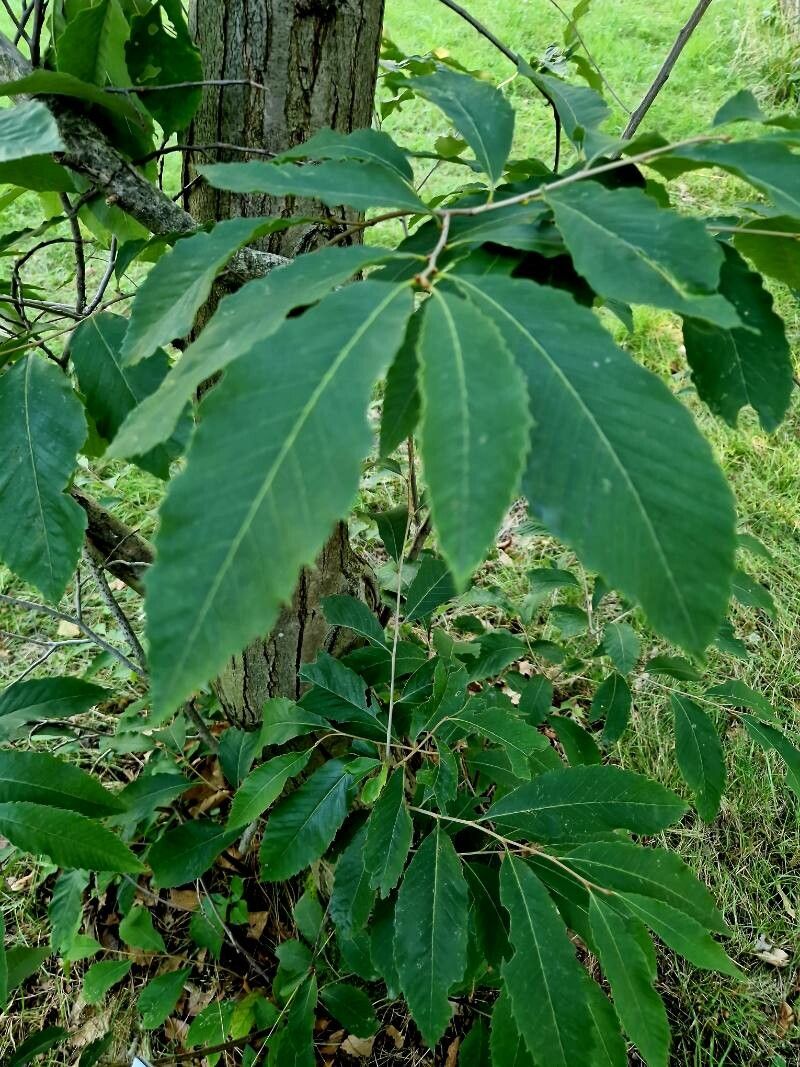
Hey there, fellow garden enthusiasts! Today, we’re diving into the wonderful world of propagating Castanea pumila, also known as the Alleghany Chinkapin or Dwarf Chinkapin. This native shrub is such a treasure. I just love its delicate, toothed leaves and the sweet, edible nuts it produces – a delightful surprise for anyone stumbling across a mature plant in the wild or even in a well-established garden.
There’s something incredibly satisfying about coaxing new life from a beloved plant. Growing a Chinkapin from scratch feels like a little bit of plant magic, and it’s a fantastic way to share these beauties with friends and family. Now, for the beginner question: is it easy? Honestly, seed propagation can be a bit finicky, but stem cuttings and layering are quite manageable once you get the hang of it. Don’t let that deter you – a little patience goes a long way!
The Best Time to Start
For the highest chance of success with stem cuttings of Castanea pumila, I always recommend working in the late spring or early summer, after the plant has finished its initial flush of growth. You’re looking for semi-hardwood cuttings. These are stems that are starting to firm up but still have a bit of pliability – not entirely soft and green, but not woody and stiff either.
Supplies You’ll Need
Gathering your tools before you begin makes the whole process smoother. Here’s what I usually have on hand:
- Sharp, clean pruning shears or a craft knife: For making precise cuts. Sterilize them with rubbing alcohol between cuts to prevent disease.
- Rooting hormone powder or gel: This really gives your cuttings a boost, encouraging faster and stronger root development.
- A well-draining potting mix: I like a blend of peat moss, perlite, and coarse sand (about a 1:1:1 ratio). You can also find specialized seed starting or propagation mixes.
- Small pots or propagation trays: Ensure they have drainage holes!
- Clear plastic bags or a propagator lid: To create a humid environment for your cuttings.
- Soft water or distilled water: For misting.
- A pebble tray (optional but helpful): To maintain humidity without the soil staying waterlogged.
- Labels and a waterproof marker: To keep track of what you’ve planted and when!
Propagation Methods
Let’s get our hands dirty! Here are a couple of reliable methods for propagating Castanea pumila:
1. Semi-Hardwood Stem Cuttings
This is my go-to for Castanea pumila.
- Take your cuttings: On a cool, overcast morning or in the early evening, select healthy, vigorous stems. Cut lengths of about 4-6 inches, making your cut just below a leaf node (where a leaf attaches to the stem).
- Prepare the cuttings: Remove all but the top 1-2 leaves from each cutting. If the remaining leaves are very large, you can cut them in half horizontally to reduce water loss through transpiration. Gently scrape away a thin strip of bark from one side at the very base of the cutting, about ½ inch long. This exposes the cambium layer, which can help with rooting.
- Apply rooting hormone: Dip the cut end into your rooting hormone powder or gel, tapping off any excess.
- Plant the cuttings: Fill your pots or trays with your prepared potting mix. Make a small hole with a pencil or your finger in the center of each pot. Insert the cut end of your stem into the hole, ensuring it goes about 1-2 inches deep. Gently firm the soil around the base.
- Water and cover: Water the soil thoroughly but gently. Cover the pots with a clear plastic bag or place them in a propagator, ensuring the plastic doesn’t touch the leaves too much. Poke a few small holes in the bag for ventilation.
2. Layering (Stooling)
This method is excellent because the cutting remains attached to the parent plant until roots form, ensuring it receives nourishment.
- Choose a low-growing stem: Select a healthy, flexible stem that’s growing close to the ground.
- Prepare the stem: In early spring, make a shallow, upward-slanting cut about 1-1.5 inches long on the underside of the chosen stem, right where it will touch the soil. You can also gently twist or wound the area slightly.
- Induce rooting: Bend the stem down so the wounded section is in contact with the soil. Peg it in place with a U-shaped wire or a sturdy twig, ensuring the wounded part stays buried.
- Bury and wait: Cover the buried section with a few inches of well-draining soil. Keep the soil consistently moist.
- Check for roots: By late autumn or the following spring, you should see roots forming from the wounded area. You can gently dig around the base to check. Once well-rooted, carefully sever the layered stem from the parent plant and transplant it into its own pot.
The “Secret Sauce” (Pro Tips)
Alright, here are a couple of tricks I’ve learned over the years that really make a difference:
- Bottom Heat is Your Friend: For cuttings, providing gentle bottom heat (using a seedling heat mat) is a game-changer. It encourages root development without drying out the top growth. You can find these online or at most garden centers.
- Don’t Drown Your Cuttings: While humidity is crucial, avoid soggy soil. If you see water pooling or the soil looks like mud, that’s a recipe for rot. Ensure excellent drainage and good airflow. If using bags, open them up for a few hours each day to let them breathe.
- Patience with the Parent: When taking cuttings, don’t be too aggressive with your pruning. Take only what you need, and always leave plenty of healthy foliage on the parent plant to recover.
Aftercare & Troubleshooting
Once you spot those glorious little white roots peeking out of the drainage holes or pushing new growth on top, it’s time for a little extra care. Congratulations!
- Gradual Acclimatization: If you’ve covered your cuttings with a plastic bag, gradually remove it over a few days. Start by opening it for a few hours, then a full day, before removing it entirely. This helps them adjust to normal humidity levels.
- Potting Up: Once the roots are well-established and you have a good amount of top growth, you can pot your new Chinkapin into a slightly larger pot with fresh, well-draining potting soil.
- Watering: Water thoroughly after potting, and then water whenever the top inch of soil feels dry. Avoid letting them dry out completely, but also don’t let them sit in water.
- Troubleshooting – The Dreaded Rot: The most common issue you might face is rot. If your cuttings start to look mushy, black, or wilt dramatically without any signs of rooting, it’s usually due to too much moisture and/or lack of airflow. Unfortunately, if rot sets in deeply, it’s hard to recover. This is why good drainage and careful watering are so vital from the start. Another sign of failure is if the cutting simply shrivels up and turns brown – this often means it either didn’t root and dried out, or it was too weak to begin with.
A Little Encouragement to Finish
Propagating plants is a journey, and sometimes it involves a few bumps along the way. Don’t get discouraged if your first attempt isn’t a runaway success. Each try is a learning experience. Be patient with your little Chinkapin cuttings, give them the right conditions, and enjoy the process of watching new life unfold. Happy gardening!
Resource:
https://identify.plantnet.org/k-world-flora/species/Castanea%20pumila%20(L.)%20Mill./data