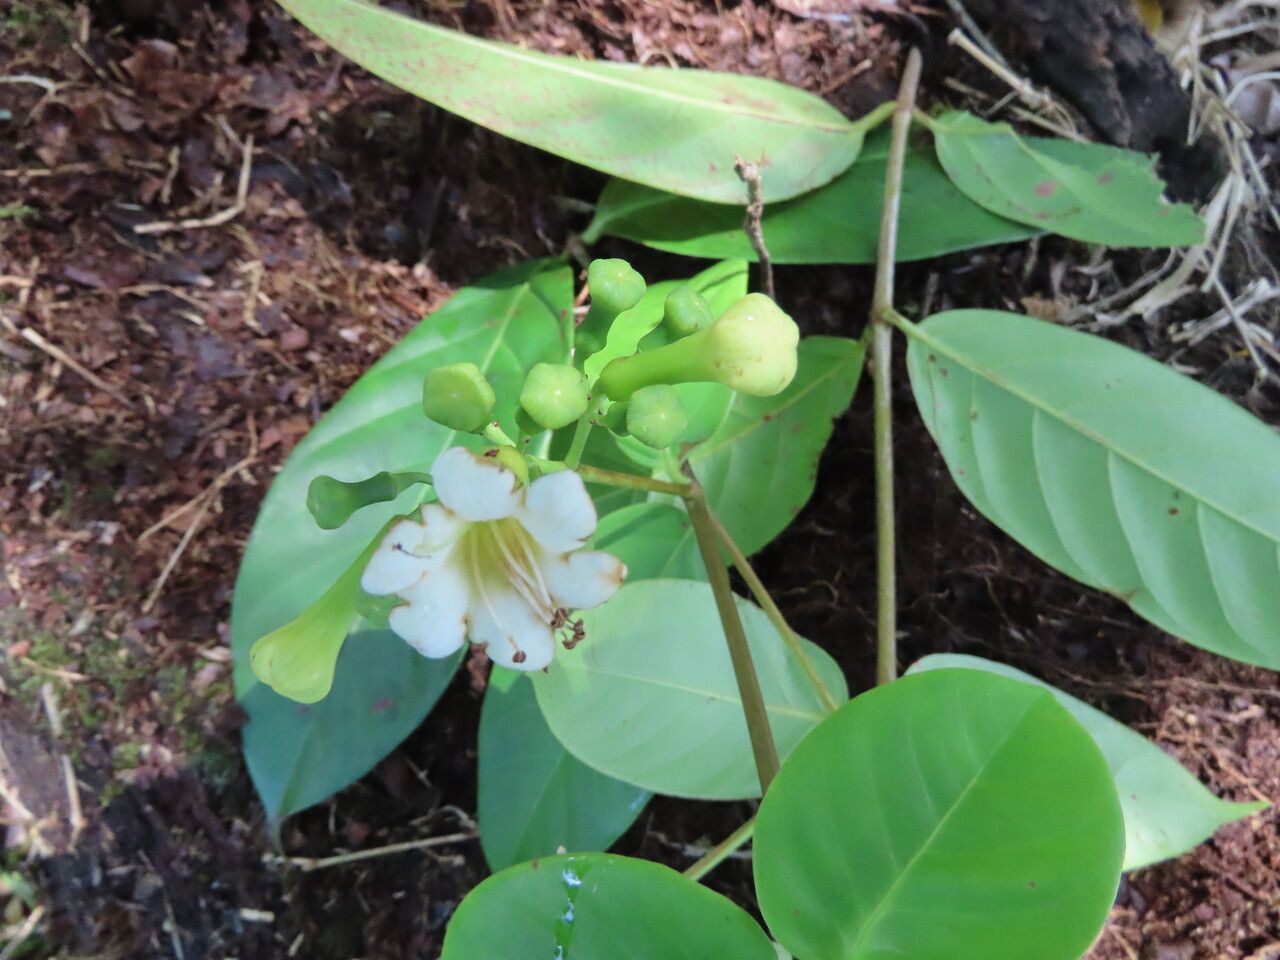
Oh, hello there! Pull up a chair. I’m so delighted you’re interested in Ferdinandusa panamensis. This tropical gem, with its lush foliage and often spectacular blooms, just has a way of making any garden feel special. And the joy of creating more of these beauties from just one? Well, that’s a gardener’s kind of magic, isn’t it?
Now, straight talk from my years with these plants: Ferdinandusa panamensis isn’t going to be your absolute easiest beginner propagation project. It’s not difficult, mind you, but it does appreciate a bit of know-how and patience. But don’t let that deter you! With a little care, you’ll be rewarded with a whole new generation of these stunning plants.
The Best Time to Start
Honestly, the sweet spot for propagating Ferdinandusa panamensis is when the plant is in an active growth phase. Think late spring through early summer. You want actively growing, but not overly stressed, material. If your plant is just beginning to bud or bloom, hold off for a little while. We want to encourage new root growth, not flowering.
Supplies You’ll Need
Gathering your tools is half the battle! Here’s what you’ll want handy:
- Sharp, clean pruning shears or a sharp knife: Essential for making clean cuts that heal well.
- Rooting hormone powder or gel: A little boost can make a big difference.
- Well-draining potting mix: A mix of peat moss, perlite, and good quality potting soil works wonders. Some folks like to add a bit of coarse sand too.
- Small pots or seedling trays: Clean ones, please!
- Plastic bags or a propagator: To create a humid environment for your cuttings.
- Watering can or mister: For gentle watering.
- Optional: Bottom heat mat: This can speed up root development significantly.
Propagation Methods
Let’s get our hands dirty! The most successful way I’ve found to propagate Ferdinandusa panamensis is through stem cuttings.
- Take Your Cuttings: In your active growth period, select healthy stems that are about 4-6 inches long. Look for stems that are flexible and green, but not too soft and pliable. Using your sharp shears, make a clean cut just below a leaf node. Leaf nodes are those little bumps where leaves emerge; this is where roots love to form. Remove the lower leaves from the cutting, leaving just a couple at the top.
- Apply Rooting Hormone: Dip the cut end of the stem into your rooting hormone. Gently tap off any excess. This step is crucial for encouraging root formation.
- Plant Your Cuttings: Fill your small pots or trays with your well-draining potting mix. Make a small hole in the center of the mix with your finger or a pencil. Insert the cut end of the stem into the hole, making sure the rooting hormone stays put. Firm the soil gently around the cutting.
- Create a Humid Environment: Water the soil lightly. Then, cover the pot or tray with a clear plastic bag, securing it around the rim. You want to create a mini-greenhouse effect to keep the humidity high. If you have a propagator, use that!
The “Secret Sauce” (Pro Tips)
Now for those little tricks that make all the difference:
- Don’t let those lovely leaves touch the soil directly! If a leaf is too low and will inevitably be buried, trim it off. Contact with damp soil can lead to rot before roots even have a chance to form.
- Bottom heat is your best friend. If you have a propagator or can place your pots on a gentle heat mat, this will dramatically speed up the rooting process. My Ferdinandusa cuttings have been so much happier with a little warmth from below.
- Mist, don’t drench. Every couple of days, I’ll gently mist the leaves inside the plastic bag. It helps keep things humid without waterlogging the soil.
Aftercare & Troubleshooting
Once your cuttings are planted, the next phase begins. Keep them in bright, indirect light. Avoid direct sun, which can scorch those tender new leaves. The soil should be kept consistently moist, but not soggy.
You’ll know your cuttings are happy when you see new leaf growth appearing after a few weeks. This is a great sign that roots are forming! Gently tug on a cutting; if there’s resistance, you’ve got roots! Once they’re well-rooted and showing good new growth, you can gradually acclimate them to lower humidity by opening the plastic bag a little more each day. Then, eventually, remove it entirely.
The most common issue you’ll face is rot. If your cutting turns black and mushy, it’s usually a sign of too much moisture or insufficient drainage. If this happens, sadly, it’s time to discard it and start again. Sometimes, cuttings just don’t take, and that’s part of the learning process.
A Encouraging Closing
So there you have it! Propagating Ferdinandusa panamensis is a journey, and each step is a lesson. Be patient with yourself and your plants. Don’t be discouraged if your first few attempts aren’t perfect. With practice and these tips, you’ll soon have a whole collection of these beautiful Ferdinandusas to share, or just to enjoy more of in your own garden. Happy propagating!
Resource: