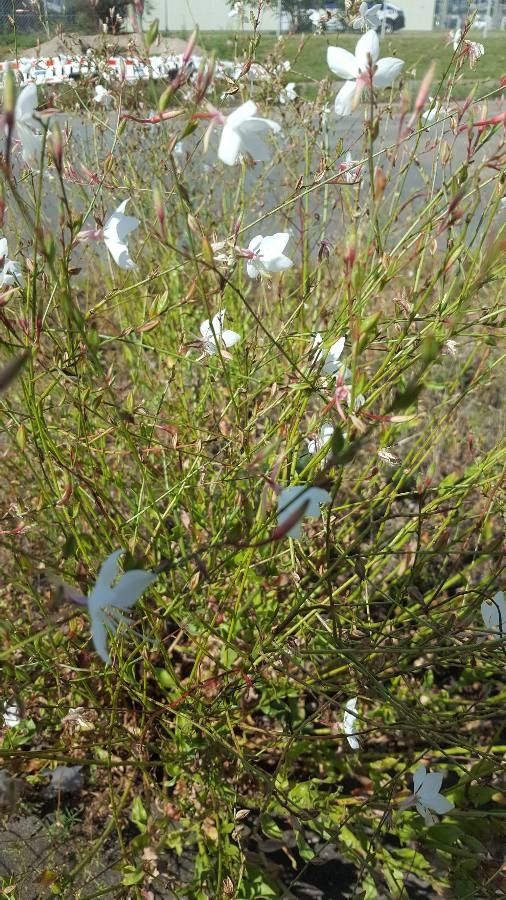
Oh, I’m just tickled pink to share my secrets for propagating Lythrum lineare with you! This lovely plant, often called linear-leaf loosestrife, brings such a cheerful burst of color to my garden beds, especially in late summer. Its delicate spires of pinkish-purple flowers dance in the breeze, attracting all sorts of beneficial pollinators. Growing more of them from your existing plants is incredibly satisfying, and honestly, it’s not a difficult plant to propagate at all. Even if you’re just dipping your toes into the wonderful world of gardening, you can absolutely nail this!
The Best Time to Start
For Lythrum lineare, I find the absolute best time to get busy propagating is in late spring to early summer. This is when the plant is actively growing and has plenty of lush, new shoots that haven’t yet started to toughen up. You’re essentially catching it at its most vigorous, which gives your cuttings the best chance to take root.
Supplies You’ll Need
Gathering your supplies beforehand makes the whole process smooth sailing. Here’s what you’ll want in your gardening toolkit for this project:
- Sharp Pruning Shears or a Knife: Clean, sharp tools are crucial for making neat cuts that heal well. I always give mine a wipe with rubbing alcohol to prevent spreading any nasties.
- Rooting Hormone (Optional but Recommended): This just gives your cuttings a helpful boost. You can find it in powder or gel form.
- A Well-Draining Potting Mix: I like to use a mix of equal parts peat moss or coir and perlite. This ensures good aeration and prevents waterlogged soil.
- Small Pots or Trays: Clean containers with drainage holes are a must.
- Plastic Bags or a Humidity Dome: To help keep the environment moist around your cuttings.
- Watering Can or Spray Bottle: For gentle watering.
Propagation Methods
Lythrum lineare is quite amenable to a couple of straightforward propagation methods. I usually lean towards stem cuttings as they’re incredibly reliable.
1. Stem Cuttings
This is my go-to method. It’s so effective!
- Select Your Cuttings: Look for healthy, non-flowering stems. You want stems that are flexible but not floppy. Aim for pieces that are about 4-6 inches long.
- Make the Cut: Using your sharp pruning shears or knife, take a cutting just below a leaf node (where a leaf attaches to the stem). This is where new roots are most likely to form.
- Prepare the Cutting: Gently remove the leaves from the lower half of the cutting. You want to expose a few nodes. If you’re using rooting hormone, dip the cut end into the hormone, tapping off any excess.
- Plant Your Cuttings: Fill your small pots with your well-draining potting mix. Make a small hole in the center of the soil with your finger or a pencil.
- Insert the Cutting: Carefully place the treated end of the cutting into the hole, ensuring that at least a couple of leaf nodes are buried in the soil. Gently firm the soil around the stem.
- Water Gently: Water the soil lightly, just enough to moisten it.
- Create a Humid Environment: Cover the pot with a plastic bag or place it under a humidity dome. This is super important to prevent the cuttings from drying out before they can form roots. Make sure the leaves aren’t touching the plastic, if possible.
2. Water Propagation (Best for Quick Checks)
While I prefer soil for long-term success, water propagation is a fun way to see roots develop quickly.
- Take Cuttings: Follow the same steps as for stem cuttings, but you don’t need to remove lower leaves or use rooting hormone right away.
- Place in Water: Put the cuttings in a clear jar or vase filled with fresh, clean water. Make sure the leaf nodes where you removed leaves are submerged.
- Change Water Regularly: Change the water every few days to keep it fresh and prevent bacterial growth.
- Wait for Roots: Within a couple of weeks, you should start seeing little white roots emerge. Once these roots are about an inch long, you can carefully transplant them into pots with your well-draining potting mix.
The “Secret Sauce” (Pro Tips)
Here are a couple of little tricks I’ve learned over the years that really make a difference with cuttings:
- Bottom Heat: If you have a way to provide gentle bottom heat (like a seedling heat mat), do it! It really encourages root development. Just place your pots on the mat.
- Don’t Rush Them: Be patient! Sometimes it takes longer than you expect for roots to develop. If your cuttings look good and are still green, they’re likely still working on it. I often leave them for at least 4-6 weeks before I’m certain.
Aftercare & Troubleshooting
Once you start to see tiny roots poking out of the drainage holes or feel a gentle resistance when you tug lightly on the cutting, you know you’ve succeeded!
- Acclimatize: Once roots are well-established, gradually remove the plastic bag or humidity dome over a few days. This helps the new plant adjust to the drier air.
- Watering: Water your new Lythrum plants whenever the top inch of soil feels dry. They like consistent moisture but absolutely hate soggy feet, so good drainage is key.
- Troubleshooting – Rot: The most common problem you’ll encounter is rot. This usually happens from overwatering or poor drainage. If you see your cuttings turning black and mushy, it’s usually a sign of overwatering. Discard any rotting cuttings immediately to prevent it from spreading. If your cuttings are wilting but not mushy, they might be drying out – check that humidity.
A Encouraging Closing
And there you have it! Propagating Lythrum lineare is a lovely way to expand your garden and share the beauty of this plant with friends. Be patient with the process, enjoy watching those new roots emerge, and don’t be discouraged if a few don’t make it. Every gardener has had their share of propagation challenges! Happy planting!
Resource:
https://identify.plantnet.org/k-world-flora/species/Lythrum%20lineare%20L./data