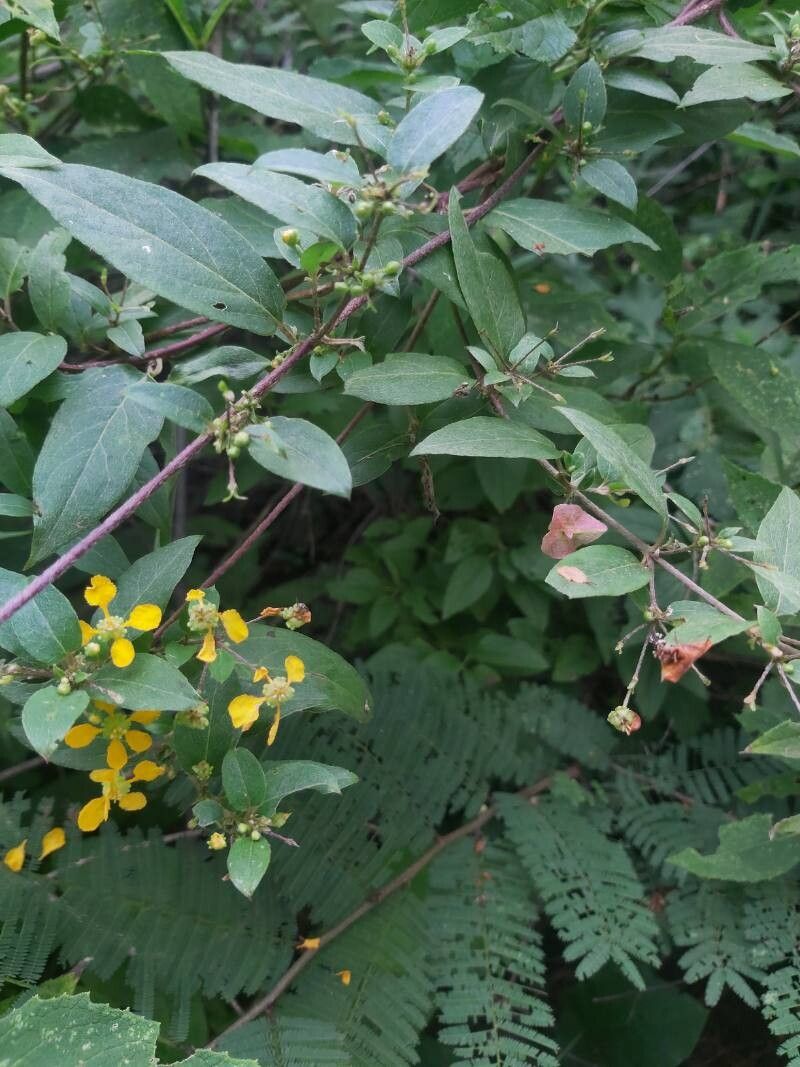
Ah, Janusia gracilis! If you’ve ever seen this delicate vine cascading over a wall or gently climbing a support, you’ll understand its charm. With its fine, fern-like foliage and sometimes fleeting, small flowers, it brings an airiness to any garden. And the best part? Bringing more of this beauty into your life through propagation is surprisingly achievable. I’d say it’s a pretty beginner-friendly plant to try your hand at, which always makes the process so much more rewarding!
The Best Time to Start
I’ve found the sweet spot for propagating Janusia gracilis is typically in late spring to early summer. This is when the plant is actively growing and has plenty of energy to invest in putting out roots. You’re looking for new, healthy growth – not old, woody stems. Think of it like harvesting a ripe fruit; you want the best quality material to start with.
Supplies You’ll Need
To get started, you won’t need a whole lot of fancy equipment. Here’s what I usually have on hand:
- Sharp, clean pruning shears or a sharp knife: Essential for making clean cuts.
- Rooting hormone (optional, but helpful): A powdered or gel form can give your cuttings a little boost.
- Well-draining potting mix: I like a blend of peat moss or coco coir with perlite or coarse sand. A standard houseplant mix amended with extra perlite works well too.
- Small pots or containers: Clean yogurt cups with drainage holes work in a pinch!
- Watering can or spray bottle: For gentle watering.
- A clear plastic bag or a propagation dome: To create a mini-greenhouse effect.
- Labels: So you remember what you planted where!
Propagation Methods
For Janusia gracilis, stem cuttings are my go-to method. It’s straightforward and usually yields great results.
Stem Cuttings:
- Take your cuttings: Select healthy, non-flowering stems that are about 4-6 inches long. Using your clean shears, make a cut just below a leaf node (that little bump where a leaf grows from the stem).
- Prepare the cuttings: Gently remove the lower leaves from your cuttings. This prevents them from rotting once planted. You want to expose the nodes where new roots will form.
- Apply rooting hormone (if using): Dip the cut end of each stem into your rooting hormone, tapping off any excess.
- Plant your cuttings: Fill your small pots with the well-draining potting mix. Make a small hole in the center of the soil with your finger or a pencil. Insert the cut end of the stem into the hole, ensuring at least one or two leaf nodes are buried. Gently firm the soil around the stem.
- Water gently: Water the soil thoroughly but gently. You don’t want to dislodge your cuttings.
- Create a humid environment: Cover the pots with a clear plastic bag or propagation dome. This traps moisture and humidity, which is crucial for root development. Make sure the leaves aren’t touching the plastic if possible.
- Provide bright, indirect light: Place your pots in a location that receives bright, indirect sunlight. Avoid direct sun, which can scorch the tender cuttings.
The “Secret Sauce” (Pro Tips)
Here are a couple of things I’ve learned over the years that really make a difference:
- Bottom heat is your friend: If you have a seedling heat mat, great! Placing your pots on it provides gentle warmth to the roots, mimicking ideal growing conditions and encouraging faster rooting. It’s like a little spa treatment for your cuttings.
- Don’t overwater the soil, but keep it consistently moist: This is a delicate balance. The soil should feel like a wrung-out sponge – not dripping wet, but not bone dry either. Check the moisture levels regularly, and mist the inside of the plastic bag if you see condensation disappearing.
- Be patient with the leaves: If any leaves happen to “drown” in standing water on the soil surface, gently remove them immediately. They’ll just become a breeding ground for fungal issues.
Aftercare & Troubleshooting
Once you start seeing new leaf growth on your cuttings, that’s a fantastic sign that roots are forming! This usually takes anywhere from 3 to 6 weeks, sometimes longer.
When new growth appears, you can gradually acclimate your new plants to normal conditions. Start by opening the plastic bag for a few hours each day, slowly increasing the time over a week or two.
The most common problem you might encounter is rot. If your cuttings turn mushy or black, it’s usually a sign of too much moisture and poor air circulation. In this case, it’s best to discard them and try again, paying closer attention to watering and humidity levels.
A Encouraging Closing
Growing new plants is a journey, and Janusia gracilis is a wonderful companion for that adventure. Don’t be discouraged if your first attempt isn’t perfect. Each cutting is a learning experience. Just remember to be patient, observe your little plants, and celebrate every tiny bit of progress. Happy propagating!
Resource:
https://identify.plantnet.org/k-world-flora/species/Janusia%20gracilis%20A.Gray/data