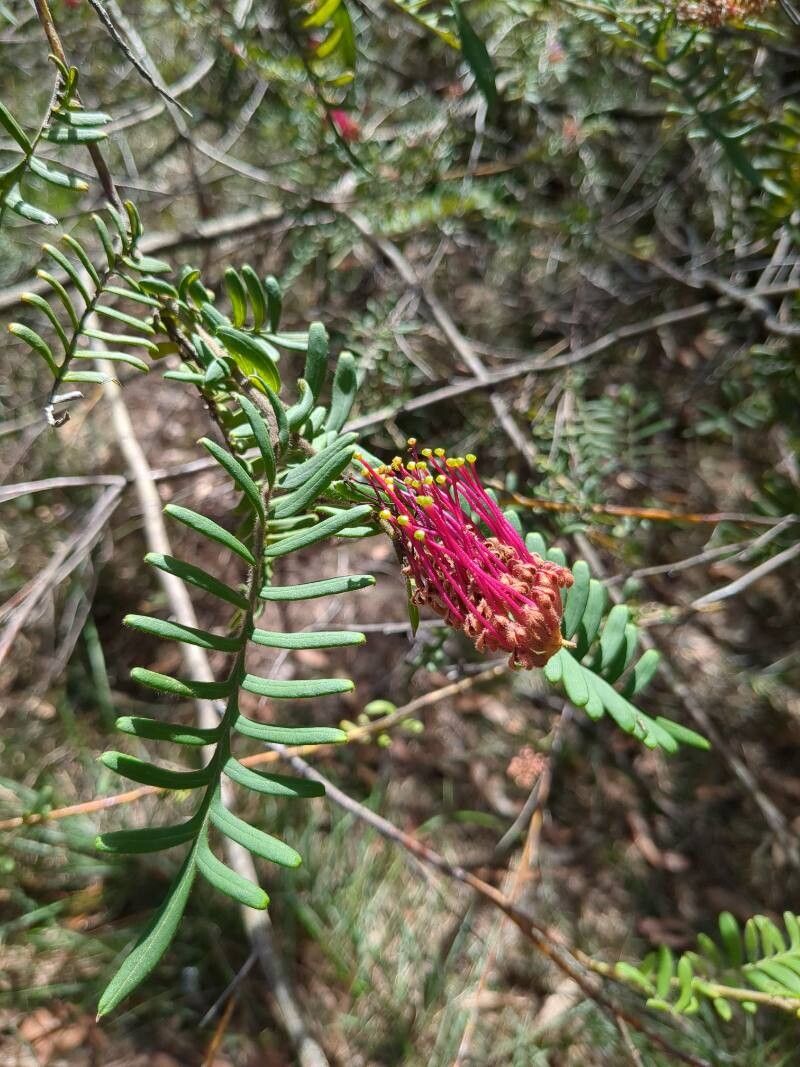
Oh, Grevillea caleyi! What a beauty. If you’ve ever seen this native treasure gracing a garden, you’ll understand. Its vibrant, brush-like flowers are a magnet for nectar-feeding birds, and its often handsome foliage adds texture and interest. And the best part? Multiplying this spectacular plant for yourself or to share with friends is a truly rewarding endeavor. Now, I won’t sugarcoat it – Grevilleas can be a bit particular, and Grevillea caleyi is no exception. It’s not the absolute easiest plant for a complete novice, but with a little bit of focused attention and these tips, I’m confident you can succeed!
The Best Time to Start
For Grevillea caleyi, the magic happens in late spring to early summer. This is when the plant is actively growing, and those new, semi-hardened shoots are brimming with life. You’re looking for stems that are no longer brand new and floppy but haven’t quite toughened up into old wood. Think of it as the “just right” stage – pliable enough to root, but with enough maturity to carry the necessary energy.
Supplies You’ll Need
Gathering your tools beforehand makes the whole process so much smoother. Here’s what I always have on hand:
- Sharp, clean pruning shears or a sharp knife: For making precise cuts.
- Rooting hormone: Look for one containing IBA (indole-butyric acid) – it really gives cuttings a boost.
- A well-draining potting mix: I like a 50/50 blend of perlite and peat moss or coir. Some growers swear by a gritty mix with coarse sand or pumice, and that works wonderfully too. The key is no sogginess!
- Small pots or trays: With drainage holes, of course.
- A plastic bag or propagator lid: To create a humid environment.
- Water: For misting and watering.
- Labels: To avoid any mix-ups!
Propagation Methods
While Grevilleas can be started from seed, stem cuttings are generally the most reliable and quickest way to get a new plant going for Grevillea caleyi.
Here’s how I do it:
- Take Your Cuttings: On a cool, overcast morning, select healthy, vigorous stems from your mature plant. Aim for pieces that are about 10-15 cm long. Make a clean cut just below a leaf node (where a leaf joins the stem). Remove the lower leaves, leaving just a few at the top. You can gently wound the bottom of the stem by making a shallow slit on one or two sides, which encourages rooting.
- Dip in Rooting Hormone: Moisten the cut end of the stem, then dip it about 1-2 cm into the rooting hormone powder. Tap off any excess.
- Pot Them Up: Fill your pots or trays with your prepared potting mix. Gently insert the cuttings into the mix, ensuring the leaf nodes you removed are below the surface. Firm the soil around the base to hold them upright.
- Create Humidity: Water the mix thoroughly until it drains free. Then, cover the pots with a clear plastic bag or a propagator lid to maintain high humidity. You can prop the bag up with skewers if needed, so it doesn’t touch the leaves.
- Find a Cozy Spot: Place the pots in a warm, bright location that doesn’t get direct sun. A greenhouse, a bright windowsill indoors, or even a sheltered spot outdoors on a patio can work.
The “Secret Sauce” (Pro Tips)
Now, for a couple of little tricks that I’ve found make a world of difference:
- Don’t Let Leaves Touch Water: If you’re attempting water propagation (though I find it trickier for Grevilleas), make absolutely sure no leaves are submerged. They’ll just rot. Only the stem end should be in the water.
- Bottom Heat is Your Friend: If you have access to a propagator with a heat mat, use it! Providing gentle bottom heat (around 20-25°C) significantly speeds up root development and increases your success rate.
Aftercare & Troubleshooting
Once your cuttings are potted, the waiting game begins. Keep the soil consistently moist but not waterlogged. You’ll want to mist the leaves occasionally, especially if you’re not using a cover, to prevent them from drying out.
You’ll know your cuttings have rooted when you see new growth emerging from the top or when you gently tug on a cutting and feel resistance. This usually takes anywhere from 6 weeks to a few months. Once they’ve established a good root system, you can gradually acclimate them to lower humidity by opening the propagator lid for increasing periods. Then, it’s time to pot them into larger containers.
The main things to watch out for are rot and desiccation. If cuttings turn black and mushy, it’s usually a sign of too much moisture and poor drainage. If the leaves turn yellow and drop off and the stem becomes dry and brittle, they’ve dried out too much. Don’t be discouraged by failures; they’re part of the learning process! Just clean up and try again.
A Encouraging Closing
So there you have it! Propagating Grevillea caleyi might take a bit of patience, but watching those tiny roots develop and seeing your new plants grow is incredibly satisfying. Don’t be afraid to experiment, and most importantly, enjoy the process of nurturing these beautiful Australian natives. Happy gardening!
Resource:
https://identify.plantnet.org/k-world-flora/species/Grevillea%20caleyi%20R.Br./data