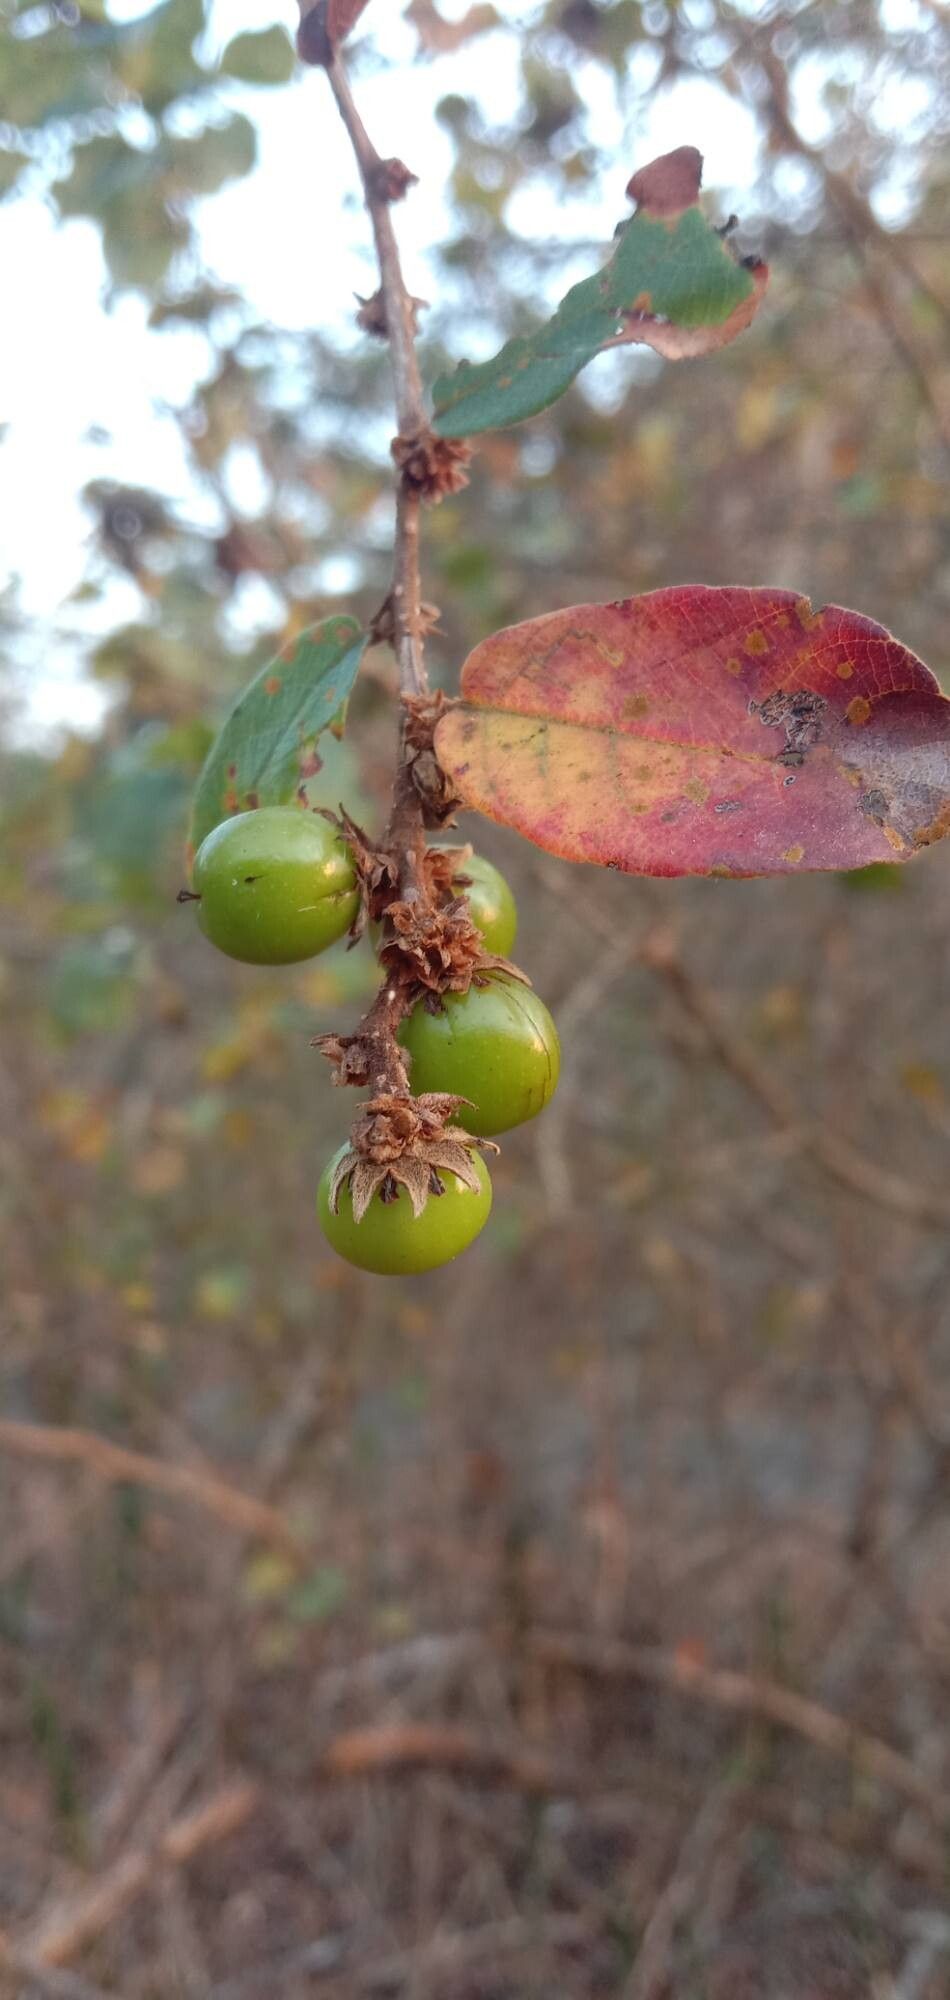
Oh, hello there, fellow plant enthusiast! Pull up a chair, let’s chat about a truly wonderful, under-the-radar gem: Bridelia stipularis. If you’re looking for something with lovely, lush foliage and a bit of a tropical flair to brighten your space, this is it. And the best part? Sharing this beauty, through propagation, is incredibly rewarding. It’s a fantastic plant for anyone, from the absolute beginner to the seasoned green thumb. You’ll be expanding your collection in no time!
When to Get Your Hands Dirty
The absolute best time to take cuttings from Bridelia stipularis is during its active growing season. For most of us, this means late spring through early summer. The plant is brimming with energy then, and those new shoots are eager to put down roots. Avoid propagating when the plant is stressed, say, during a harsh dry spell or when it’s putting out new flowers.
What You’ll Need to Get Started
Don’t worry, you likely have most of these things already!
- Sharp pruning shears or a clean, sharp knife: Cleanliness is key to preventing disease.
- Rooting hormone (optional but recommended): This little helper gives cuttings a boost to root faster. Look for one with a good balance of auxins.
- A well-draining potting mix: I like a blend of equal parts perlite, peat moss, and a good quality compost. This keeps things airy and prevents waterlogging.
- Small pots or propagation trays: Clean pots are a must!
- Plastic bags or clear plastic domes: To create a humid environment.
- Water: For a quick rinse of cuttings or for water propagation.
- A watering can with a fine rose: Gentle watering is crucial.
Let’s Get Propagating!
Bridelia stipularis is quite amenable to stem cuttings, which is my go-to method.
Stem Cuttings: Your Best Bet
- Select your cutting: Look for healthy, non-flowering stems that are about 4 to 6 inches long. These are often called “semi-hardwood” cuttings. Make sure there are at least a couple of leaf nodes on each cutting – that’s where the roots will emerge from.
- Make the cut: Using your sharp shears or knife, make a clean cut just below a leaf node. This angled cut helps increase the surface area for root development.
- Prepare the cutting: Gently remove the lower leaves, leaving just two to three at the very top. If the remaining leaves are very large, you can cut them in half to reduce water loss through transpiration.
- Dip in rooting hormone (if using): Briefly dip the cut end into your rooting hormone powder, tapping off any excess.
- Plant your cutting: Fill your small pots with your prepared potting mix. Make a small hole with a pencil or skewer and gently insert the cutting, pressing the soil gently around its base to ensure good contact.
- Create a humid environment: Water the soil lightly. Then, cover the pot with a clear plastic bag or a propagation dome. Make sure the plastic doesn’t touch the leaves – you can use small stakes if needed.
Water Propagation: A Visual Treat
This is a fun one if you love watching roots grow!
- Take your stem cutting as described above.
- Remove all leaves except for the top two.
- Place the cutting in a clean jar or glass of water, ensuring the leaf nodes are submerged, but crucially, do not let any leaves touch the water.
- Place the jar in bright, indirect light. Change the water every few days to keep it fresh and prevent bacterial growth. You should start seeing roots within a few weeks.
The “Secret Sauce” from My Garden
I’ve learned a few tricks along the way that really make a difference:
- Bottom Heat is Your Friend: For stem cuttings, I always place my pots on a gentle heat mat. This little boost mimics spring soil temperatures and encourages root formation much faster. You can find affordable ones online!
- Don’t Over-Water, Ever! This is probably the most common mistake. Overwatering is the fastest way to invite rot. The soil should be consistently moist, but never soggy. Stick your finger in about an inch – if it feels dry, it’s time to water lightly.
- Consider a “Rotting Hormone” (Not Really!): While rooting hormone is great, sometimes I’ve had success with a tiny sprinkle of activated charcoal in the bottom of the pot before adding soil. It acts as a mild antiseptic and can help prevent fungal issues. Just a whisper of it!
Aftercare and When Things Go Wrong
Once you see new leaf growth on your stem cuttings, that’s a great sign roots have formed! For water-propagated cuttings, once you have a decent root system (at least an inch or two long), you can gently transplant them into pots with your well-draining mix. Gradually introduce them to less humidity over a week.
If your cuttings look wilted, mushy, or black at the base, it’s usually a sign of rot. This is often due to overwatering or poor drainage. If you catch it early, you might be able to salvage the piece by trimming away the affected rot and repotting in fresh, dry mix. Sadly, if it’s widespread, it might be time to start again. Don’t be discouraged – it happens to all of us!
Go Forth and Propagate!
There you have it! Propagating Bridelia stipularis is a truly satisfying process, allowing you to multiply the joy of this beautiful plant. Be patient, enjoy the journey of nurturing these new little lives, and soon you’ll have a little jungle of your own. Happy gardening!
Resource:
https://identify.plantnet.org/k-world-flora/species/Bridelia%20stipularis%20(L.)%20Blume/data