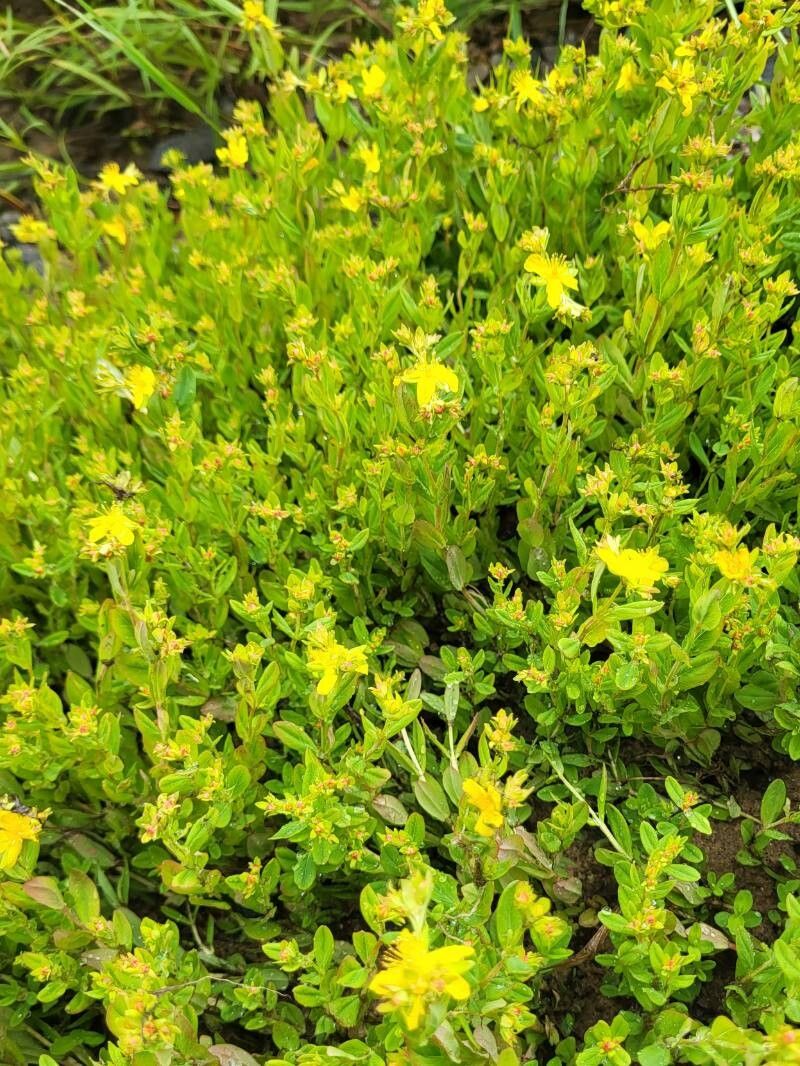
Oh, hello there! Pull up a chair and let’s chat about Hypericum ellipticum (often called Mountain St. John’s Wort). Isn’t it just a little gem? I adore its cheerful yellow blooms, especially how they seem to catch the sunlight. And those lovely berries through the autumn? Just delightful. Propagating it yourself is incredibly rewarding. You get more of that summery glow for your garden, or even to share with fellow garden lovers. Don’t worry, it’s not overly fussy, and I think even beginners can have a good crack at it.
The Best Time to Start
When it comes to getting new Hypericum ellipticum plants, I’ve found the sweet spot is late spring to early summer. This is when the plant is really in its growing stride, with plenty of fresh, semi-hardened new growth available for cuttings. Waiting until the stems are no longer floppy and “green” but have a bit more substance to them is key. Think of it like this: you want a stem that’s firm enough to hold its shape but not woody and old.
Supplies You’ll Need
Before we dive in, let’s get our toolkit ready. Having everything on hand makes the process so much smoother:
- Sharp Pruning Shears or a Craft Knife: Clean cuts are essential for good rooting.
- Rooting Hormone (Optional but Recommended): This really gives your cuttings a head start. I like a powder formulation.
- Potting Mix: A light, well-draining mix is vital. I usually use a blend of equal parts peat-free compost and perlite or coarse sand.
- Small Pots or Trays: Clean pots are a must! Make sure they have drainage holes.
- Watering Can or Spray Bottle: For gentle watering.
- Plastic Bag or Propagation Dome: To keep humidity high around your cuttings.
Let’s Get Propagating!
While you can sometimes get away with water propagation for Hypericum, I’ve found the most reliable method for this particular plant is stem cuttings. It gives you the best chance of success.
Here’s how I do it:
- Take Your Cuttings: On a bright, dry morning, select healthy, tip growth from your mature Hypericum ellipticum plant. Look for stems that are about 4-6 inches long and have developed a bit of stiffness. Avoid any flowering stems. Using your clean shears, make a clean cut just below a leaf node (where a leaf joins the stem).
- Prepare the Cuttings: Gently remove the leaves from the bottom half of each cutting. This prevents them from rotting in the soil. You can leave 2-3 sets of leaves at the very top. If the remaining leaves are very large, I sometimes trim them in half horizontally to reduce water loss.
- Apply Rooting Hormone (If Using): Dip the cut end of each prepared cutting into your rooting hormone powder. Tap off any excess.
- Potting Up: Fill your clean pots or trays with your prepared potting mix. Make a small hole in the center of the soil with your finger or a pencil.
- Insert the Cuttings: Gently push the prepared cuttings into the holes, ensuring the leaf nodes you removed are buried in the soil. Firm the soil around them gently to provide good contact.
- Water In: Water the pots thoroughly but gently. You want the soil to be moist, not soggy.
- Create a Humid Environment: Place a plastic bag over the pot, securing it with a rubber band, or use a clear propagation lid. This will trap moisture around the cuttings. Make sure the plastic doesn’t touch the leaves too much. If it does, you might need to prop it up with small stakes.
The “Secret Sauce”
Now for a couple of little tricks I’ve picked up over the years that really make a difference:
- Bottom Heat is Your Friend: If you have a heated propagator mat, using it under your pots significantly speeds up root development. It tells those little root cells “Go, go, go!”
- Don’t Be Too Eager to Ventilate: Resist the urge to lift the plastic lid too often. Those cuttings need that consistent humidity. Only lift it briefly to check the moisture levels and maybe give a very light mist if things look a bit dry.
Aftercare & Troubleshooting
Once your cuttings have been nestled in their humid environment, the real waiting game begins. Keep them in a bright location but out of direct, scorching sunlight. I usually find that after 3-6 weeks, you’ll start to see signs of new growth. This is a good indicator that roots are forming.
To check for roots without disturbing them too much, you can give a cutting a gentle tug. If you feel resistance, congratulations, you’ve got roots! You can now start to gradually acclimatize them to normal conditions by opening the plastic bag for longer periods each day.
The most common culprit for failure is rot. If you see your cuttings turning black and mushy, it’s usually down to too much moisture and not enough air circulation. Ensure your soil mix is free-draining, and don’t waterlog it. Sometimes, even with good care, a cutting just won’t take, and that’s perfectly normal! Don’t get discouraged.
Happy Gardening!
Propagating plants is a wonderfully fulfilling experience. It connects you to the cycles of nature and brings a deep satisfaction when you see those tiny roots take hold. Be patient with your Hypericum ellipticum cuttings, trust the process, and enjoy the journey of nurturing them into new life. Happy propagating!
Resource:
https://identify.plantnet.org/k-world-flora/species/Hypericum%20ellipticum%20Hook./data