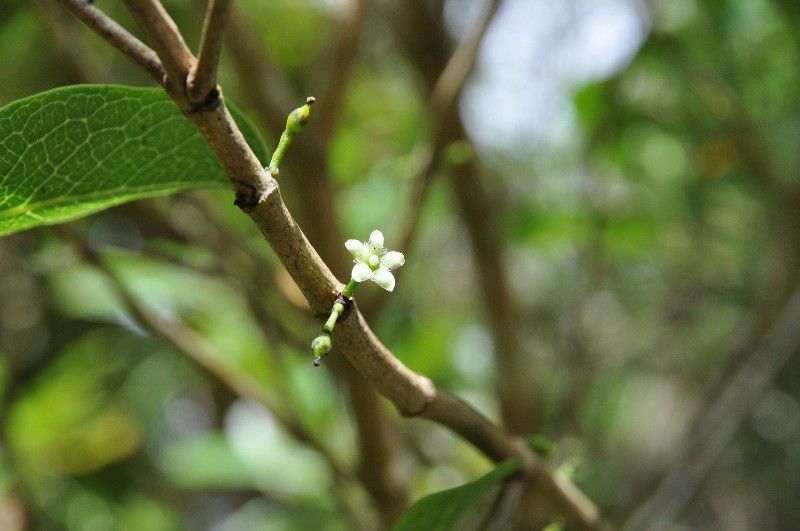
Oh, hello there! Come on in, pull up a chair. I’ve got my favorite mug here, what can I get for you? Today, we’re diving into the wonderful world of plant propagation, and specifically, we’re going to talk about Geniostoma borbonicum. Now, if you haven’t met this beauty yet, it’s a real charmer. Its glossy, dark green leaves and delicate white flowers are simply captivating. And the best part? You can grow more of them yourself! It’s incredibly rewarding to watch a tiny cutting transform into a flourishing plant. For beginners, I find Geniostoma to be a pretty forgiving plant to propagate, which is always a plus, isn’t it?
The Best Time to Start
When it comes to getting the highest success rate, spring is your golden ticket. After the plant has had a chance to really wake up and start its vigorous new growth, you’ll find it’s most receptive to taking cuttings. Look for stems that are firm and slightly woody, but not old and brittle. This active growth phase means the plant has plenty of energy to send out those new roots.
Supplies You’ll Need
Gathering your goodies beforehand makes the whole process so much smoother. Here’s what I always have on hand:
- Sharp Pruning Shears or a Clean Knife: Sterilize them with rubbing alcohol to prevent disease.
- Potting Mix: A good quality, well-draining mix is crucial. I often use a blend of peat moss and perlite, or a special seedling starter mix.
- Small Pots or Trays: Clean ones, of course!
- Rooting Hormone (Optional but Recommended): This can give your cuttings a real boost.
- Watering Can with a Fine Rose: For gentle watering.
- Clear Plastic Bag or a Propagator: To create a humid environment.
- Patience! This is the most important supply.
Propagation Methods
Geniostoma borbonicum is wonderfully adaptable, but stem cuttings are usually my go-to method.
Stem Cuttings
- Select Your Cuttings: Look for healthy stems that are about 4-6 inches long. Make a clean cut just below a leaf node (where the leaves attach to the stem). This is where the magic of root formation often begins.
- Prepare the Cuttings: Gently remove the lower leaves, leaving just a few at the top. If your leaves are very large, you can even cut them in half to reduce water loss through transpiration.
- Apply Rooting Hormone (If Using): Dip the cut end of the stem into the rooting hormone powder, tapping off any excess.
- Plant Your Cuttings: Fill your small pots with your prepared potting mix. Make a small hole with your finger or a pencil and gently insert the cutting, ensuring the leaf nodes are below the surface of the soil.
- Water Gently: Water thoroughly but be careful not to disturb the cuttings.
Water Propagation (A Fun Alternative!)
If you’re feeling adventurous, or just want to watch the roots develop, water propagation can be a delight.
- Prepare the Cuttings: Same as above – a 4-6 inch cutting with lower leaves removed.
- Place in Water: Put your cuttings directly into a clean jar or glass of fresh water. Make sure no leaves are submerged below the water line, as this can cause them to rot.
- Change Water Regularly: Refresh the water every few days to keep it clean and oxygenated.
- Watch and Wait: You’ll start to see tiny white roots emerge from the nodes. Once the roots are about an inch long, it’s time to transfer them to soil.
The “Secret Sauce” (Pro Tips)
Here are a few little tricks I’ve picked up over the years that can really up your propagation game:
- Bottom Heat is Your Friend: If you have a heat mat, placing your pots on it can significantly speed up root development. It mimics the warmth of spring soil and gives those roots an extra nudge.
- Don’t Over-Water: This is a big one for cuttings. They can’t absorb water efficiently until they have roots, so too much moisture in the soil leads to rot. Water thoroughly when you first plant them, then wait until the top inch of soil feels dry before watering again.
- Humidity is Key: That clear plastic bag or propagator seals in moisture, creating a mini-greenhouse environment. Check it daily for condensation; if there’s too much, open it up for a few hours to let it air out.
Aftercare & Troubleshooting
Once you see signs of new growth – tiny leaves unfurling or upward movement in the stem – you know your cutting is likely rooting! Continue to keep the soil consistently moist but not soggy. As the new plant gets a bit bigger, you can gradually reduce the humidity.
The most common issue you might encounter is rot. This usually happens if there’s too much moisture and not enough air circulation. If you see your cutting wilting, turning mushy, or developing black spots, it’s probably succumbed to rot. Don’t despair! Just discard the affected cutting and try again, perhaps adjusting your watering or humidity levels.
Keep Growing!
Propagating Geniostoma borbonicum is a wonderfully fulfilling endeavor. Remember to be patient with your little green charges; they have their own rhythm. Enjoy the process, learn from each attempt, and soon you’ll have a whole little family of these gorgeous plants to share or simply to admire. Happy gardening!
Resource:
https://identify.plantnet.org/k-world-flora/species/Geniostoma%20borbonicum%20(Lam.)%20Spreng./data