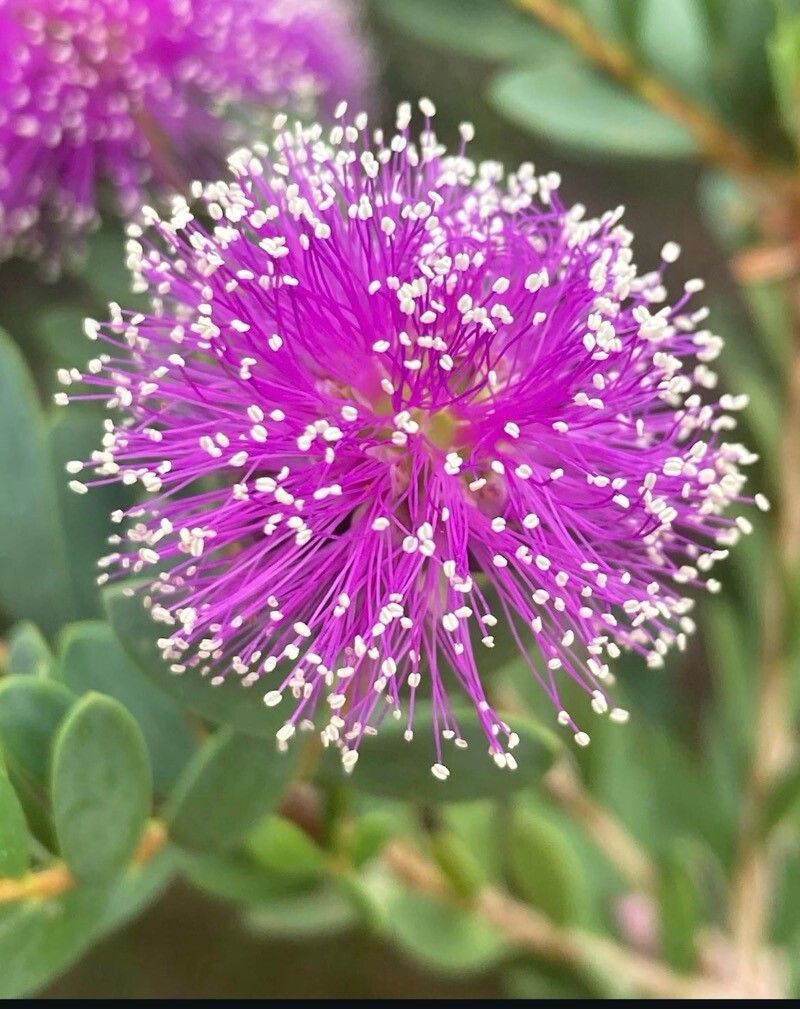
Oh, hello there! It’s so nice to have you visit my little corner of the internet. Today, we’re diving into the wonderful world of propagating Melaleuca nesophila, or as many of us affectionately call it, the Showy Honey Myrtle. If you’ve ever admired its soft, pom-pom-like flowers and airy foliage, you’re in for a treat. Growing new plants from cuttings is such a rewarding experience. It’s a bit like magic, isn’t it? Watching a tiny piece of a plant transform into a whole new life. For those new to propagating, the Melaleuca nesophila is a fairly forgiving plant, making it a great choice to get your green thumbs warmed up!
The Best Time to Start
For the highest success rate with stem cuttings, the sweet spot is usually late spring to early summer. This is when the plant is actively growing and has plenty of energy to put into developing new roots. You want to be looking for semi-hardwood cuttings. These are shoots that have started to firm up but aren’t completely woody. They bend a little without snapping, sort of like a firm pencil. Avoid taking cuttings when the plant is stressed, like during a hot drought or right after a long period of cold.
Supplies You’ll Need
Gathering your supplies beforehand makes the whole process so much smoother. Here’s what I always have on hand:
- Sharp Pruning Shears or a Knife: For clean cuts.
- Rooting Hormone: A powder or liquid to encourage root development. I’ve found the powder works wonderfully for Melaleucas.
- Small Pots or a Propagation Tray: With drainage holes, of course!
- A Well-Draining Potting Mix: A mix of perlite and peat moss (or coco coir) is excellent. About a 50/50 ratio works great. You can also use a specialized sterile seed starting mix.
- Clear Plastic Bag or Dome: To create a humid microclimate.
- Watering Can or Spray Bottle: For gentle watering.
- Labeling Stakes: To keep track of your cuttings!
Propagation Methods
Let’s get our hands dirty and talk about how to make new Melaleucas! Stem cuttings are my go-to for this beauty.
Stem Cuttings:
- Select Your Cuttings: Choose a healthy stem from your mature plant. Look for that semi-hardwood growth we talked about. Aim for cuttings that are about 4-6 inches long.
- Make the Cut: Using your sharp pruning shears or knife, make a clean cut just below a leaf node (where a leaf attaches to the stem). This is where the magic of root formation often happens.
- Prepare the Cutting: Gently remove the lower leaves from the cutting, leaving only the top 2-3 leaves. This prevents them from rotting in the soil.
- Dip in Rooting Hormone: Moisten the cut end of the stem slightly, then dip it into your rooting hormone powder. Tap off any excess.
- Pot Them Up: Fill your small pots or propagation tray with your prepared, moist potting mix. Make a small hole in the center of the mix with your finger or a pencil.
- Insert the Cutting: Carefully insert the hormone-coated end of the cutting into the hole, pressing the mix gently around it to ensure good contact.
- Water Gently: Water the soil thoroughly but gently. You don’t want to disturb the cutting.
- Create Humidity: Place the pots into a clear plastic bag or cover them with a propagation dome. This will help keep the humidity high, which these cuttings absolutely adore.
The “Secret Sauce” (Pro Tips)
Here are a few little tricks I’ve learned over the years that can really boost your success:
- Don’t Let Those Leaves Touch the Water (If Water Propagating): While Melaleucas are best from soil cuttings, if you were to try water propagation with a different plant, always ensure the leaves are well above the waterline. Any foliage submerged will rot and can infect the cutting.
- Use Bottom Heat: Place your pots or trays on a heat mat designed for seedlings. This gentle warmth from below encourages root development much faster than ambient room temperature alone. It’s like giving them a warm hug from the soil up!
- Morning Sun is Your Friend: Once potted, place your propagation tray in a bright location that receives indirect light. A bit of gentle morning sun is perfect; harsh afternoon sun can scorch those tender new cuttings.
Aftercare & Troubleshooting
Once your cuttings are happily nestled in their new homes, the real waiting game begins!
- Check for Roots: After 4-8 weeks, you can give your cuttings a very gentle tug. If you feel resistance, it means roots have formed! You can also look for new leaf growth, which is a good sign.
- Harden Them Off: Before removing the plastic bag or dome permanently, gradually acclimate your new plants to normal humidity. Open the bag or dome for a few hours each day, increasing the time over a week or two.
- Watering: Keep the soil consistently moist but not waterlogged. Overwatering is a common culprit for failure. If you see signs of wilting, check the soil moisture.
- Troubleshooting Rot: The most common issue is rot, which usually happens from too much moisture and poor air circulation. If you see a cutting turning black and mushy, it’s best to discard it to prevent it from spreading. Make sure your potting mix is airy.
A Little Encouragement
Propagating can sometimes feel like a leap of faith, but with a little patience and these tips, you’ll be well on your way to enjoying more of these gorgeous Showy Honey Myrtles. Don’t be discouraged if not every cutting makes it – it’s all part of the learning process. Just enjoy the journey of watching something new grow! Happy propagating!
Resource:
https://identify.plantnet.org/k-world-flora/species/Melaleuca%20nesophila%20F.Muell./data