Hello fellow plant lovers! It’s so lovely to have you here. Today, we’re diving into the wonderful world of propagating Zamioculcas zamiifolia, or as we affectionately call them, ZZ plants. Their glossy, dark green leaves are just stunning, aren’t they? They bring a touch of modern elegance to any space and are notoriously easy to care for, making them a favorite for many. The joy of creating new ZZ plants from your existing ones is truly special. It’s a little bit of magic, and I’m thrilled to share how you can do it too.
Even if you’re just starting your plant journey, don’t fret. Propagating ZZ plants can be surprisingly straightforward, though it does require a bit of patience. It’s not as quick as some other houseplants, but the payoff is absolutely worth the wait.
The Best Time to Start
For the highest success rates, I find that late spring to early summer is your sweet spot. This is when your ZZ plant is actively growing and has plenty of energy to put into producing new roots and shoots. Trying to propagate during its dormant period in winter is generally less fruitful.
Supplies You’ll Need
Gathering your tools beforehand makes the whole process much smoother:
- Sharp, clean pruning shears or a knife: For making clean cuts.
- Well-draining potting mix: A cactus or succulent mix is ideal. You can also make your own by combining potting soil with perlite or coarse sand.
- Small pots or containers: For your new cuttings. Make sure they have drainage holes.
- Rooting hormone (optional but helpful): This can encourage faster root development.
- Watering can or spray bottle: For gentle watering.
- A sunny spot with bright, indirect light: No harsh, direct sun for your new propagations!
- Patience! This is arguably the most important tool of all.
Propagation Methods
Now, let’s get our hands dirty! ZZ plants offer a few rewarding ways to multiply.
1. Leaf Propagation
This is a popular method because you can get so many potential new plants from just a few leaves.
- Select healthy leaves: Look for mature, vibrant leaves from your established ZZ plant.
- Make the cut: Using your clean snips or knife, carefully cut a leaf at the base of the stem, where it attaches to the rhizome. You want a small piece of the stem attached if possible. Alternatively, you can carefully pull a leaf from the stem, ensuring you get the small white base intact.
- Let it callous (optional but recommended): For a day or two, let the cut end of the leaf air dry in a warm, dry spot. This helps prevent rot.
- Planting: Dip the calloused end in rooting hormone (if using). Then, insert the cut end about an inch deep into your well-draining potting mix. You can plant multiple leaves in the same pot, giving them a little space.
- Watering: Water lightly to settle the soil around the leaf base. You want the soil to be moist but not soggy.
2. Stem Cuttings
This method can yield faster results than leaf propagation, as you’re starting with more material.
- Choose a stem: Select a healthy stem from your ZZ plant that has at least one or two leaf nodes (the points where leaves emerge).
- Make the cut: Using your clean shears, cut the stem just below a leaf node.
- Remove lower leaves: If there are any leaves close to the cut end, carefully remove them. This exposes the node, which is where roots will form.
- Let it callous (optional): Similar to leaf cuttings, letting the stem end air dry for a day or two can be beneficial.
- Planting: Dip the cut end in rooting hormone (if using). Then, insert the stem about 1-2 inches deep into your well-draining potting mix, ensuring a leaf node is below the soil surface.
- Watering: Water lightly to settle the soil.
3. Division
This is the most direct way to get a mature plant, as you’re essentially splitting the existing root system. It’s best done when repotting.
- Remove plant from pot: Gently take your ZZ plant out of its current container.
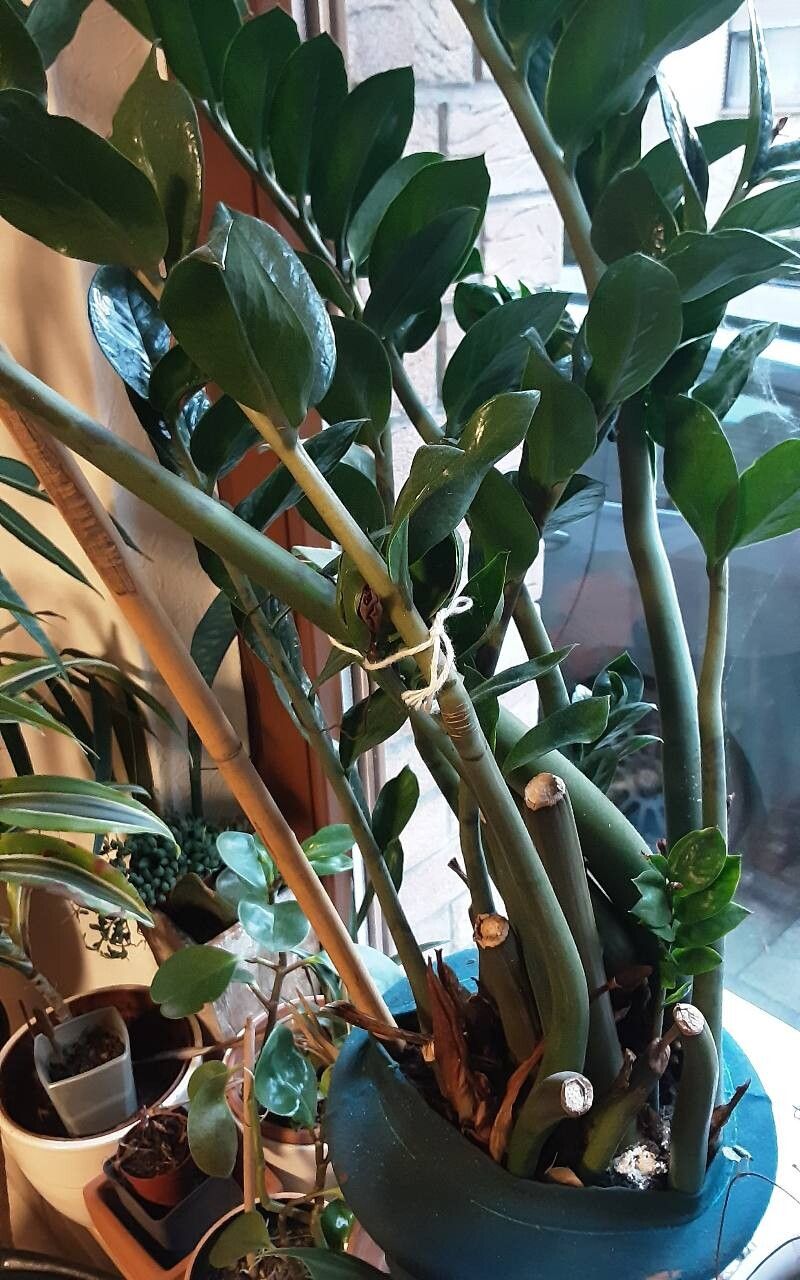
- Inspect the rhizomes: You’ll see thick, potato-like rhizomes at the base. These are the plant’s energy storage.
- Separate: Carefully untangle the rhizomes and roots. You can use your hands or a clean knife to gently separate sections. Aim for divisions that have both roots and at least one or two shoots.
- Potting: Pot each division into its own container with fresh, well-draining potting mix.
- Watering: Water moderately to begin with.
The “Secret Sauce” (Pro Tips)
Here are a few little tricks I’ve picked up over the years that really make a difference:
- Don’t overwater cuttings! This is the number one killer. ZZ plants store water in their rhizomes, and cuttings are very susceptible to rot if kept too wet. Aim for consistently lightly moist soil, not soggy. I often let the top inch of soil dry out slightly between waterings.
- Bottom heat can be a game-changer. If you have a seedling heat mat tucked away, placing your pots on it can significantly speed up the rooting process. It mimics the warmth of spring and encourages those roots to get going. Just a gentle warmth is all you need.
- Be patient with leaf cuttings. I cannot stress this enough. A single leaf cutting can take anywhere from 6 months to over a year to sprout a new rhizome and shoot. Seriously! Don’t give up on them. They’re slow and steady wins the race. You might see tiny bumps or new growth emerging from the soil; that means success!
Aftercare & Troubleshooting
Once you see signs of new growth – a tiny shoot emerging from the soil – you’re well on your way!
- Continue with light watering. Keep the soil lightly moist, but never waterlogged. As the new plant grows and develops its own root system, you can gradually increase watering frequency, allowing the soil to dry out slightly between waterings, just like an adult ZZ plant.
- Provide bright, indirect light. Avoid direct sun, which can scorch young leaves.
- Watch for rot. The most common problem is rot, usually caused by overwatering. If you notice a cutting turning yellow, mushy, or translucent, it’s likely succumbing to rot. Unfortunately, there’s not much you can do once rot sets in, so prevention is key by controlling your watering. If you catch it very early, you might try repotting in dry soil, but it’s often too late.
A Encouraging Closing
Propagating ZZ plants is a journey, not a race. It’s a beautiful way to connect with your plants and expand your indoor jungle. Embrace the slow growth, celebrate every little sign of progress, and don’t be discouraged if not every cutting thrives. The process itself is incredibly rewarding, and soon you’ll have a whole collection of these beautiful ZZ plants to share or admire. Happy propagating!
Resource: