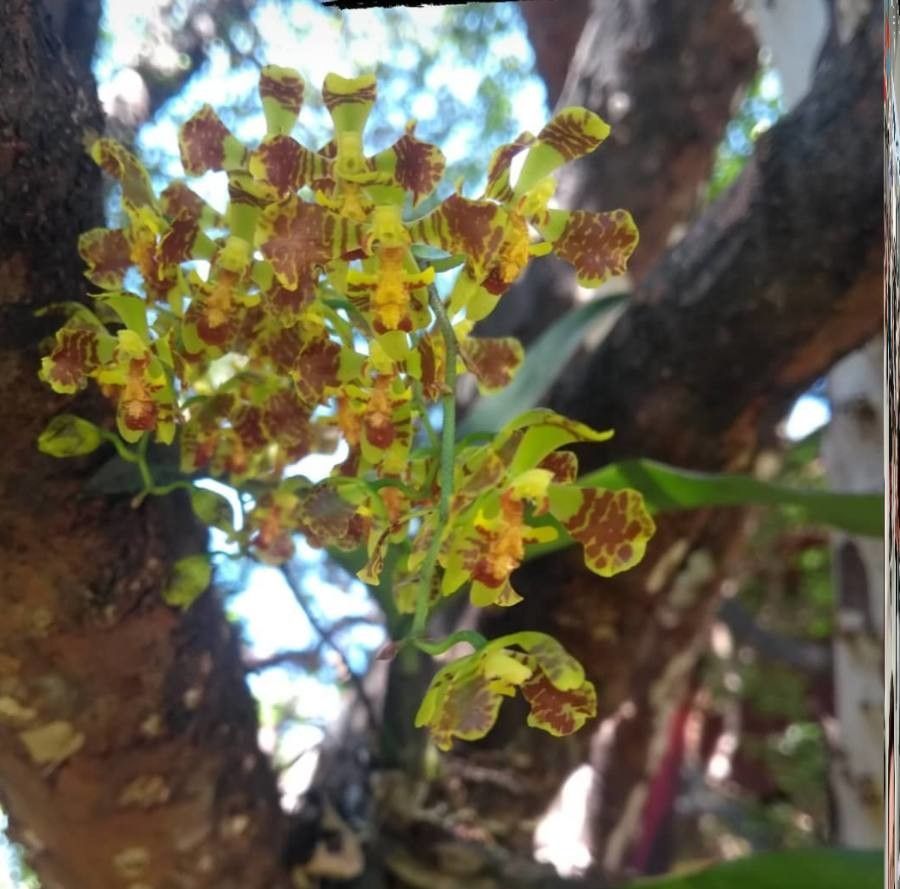
Hello fellow plant lovers! Today, we’re going to dive into something truly special: propagating Gomesa riandensis. If you’ve ever admired the delicate, dancing sprays of yellow blooms on this lovely orchid, you know how rewarding it is to welcome more of these beauties into your collection. I’ve been growing orchids for two decades, and I find propagating Gomesa to be a wonderfully satisfying endeavor. While it’s not the absolute easiest plant for a complete beginner, with a little care and attention, you’ll be amazed at how successful you can be. Get ready to expand your orchid family!
The Best Time to Start
For Gomesa riandensis, the absolute sweet spot for propagation is after it has finished its blooming cycle and is entering a period of active growth. Typically, this means late spring or early summer for many growers. You’ll see new pseudobulbs or rhizome growth beginning, which signals that the plant has the energy reserves to divert to new babies. Trying to propagate when the plant is dormant or stressed is a recipe for disappointment, so timing is key here.
Supplies You’ll Need
Here’s what you’ll want to have on hand before you get started:
- Sharp, sterilized pruning shears or a clean knife: Think of these as your surgical tools!
- Sterilized potting mix: A well-draining orchid mix is crucial. I prefer one with a good amount of bark and perlite for aeration.
- Hormone rooting powder (optional but helpful): This gives your cuttings a little boost.
- Small pots or seedling trays: Clean, of course!
- Sphagnum moss or perlite: For retaining a bit of humidity around your new cuttings.
- Clear plastic bags or humidity domes: To create a mini-greenhouse environment.
- Labels and a permanent marker: Trust me, you’ll thank yourself later.
Propagation Methods
The most common and successful method for propagating Gomesa riandensis is through division. This involves separating a larger, mature plant into smaller, viable sections.
- Gently Remove from Pot: Carefully take your Gomesa out of its current pot. If it’s stuck, you might need to gently loosen the root ball from the sides.
- Inspect the Rhizome: Look for the thick, fleshy stem that connects the pseudobulbs (the bulbous parts of the plant). You’re looking for sections of the rhizome that have at least two or three healthy pseudobulbs and some active root growth.
- Make the Cut: Using your sterilized shears or knife, carefully cut through the rhizome to separate the divisions. Ensure each division has enough pseudobulbs and roots to sustain itself. You want to avoid jagged cuts as much as possible.
- Allow to Dry (Optional but Recommended): Let the cut surfaces of each division dry and callus over for about 24 hours. This helps prevent rot when you repot. You can place them in a dry, airy spot.
- Pot Up Your Divisions: Plant each division in its own small pot filled with your sterilized orchid mix. Bury the pseudobulbs and roots, but leave the top of the pseudobulbs exposed to the air.
- Water Sparingly: Water your newly potted divisions very lightly. You want the medium to be slightly moist, not soggy. Overwatering at this stage is the fastest way to invite rot.
The “Secret Sauce” (Pro Tips)
- The Power of the Hidden Root: When dividing, don’t just look at the pseudobulbs. Try to gently expose the rhizome and look for any small, developing roots that might be attached to the section you’re dividing off. These little guys are your golden ticket to a faster establishment!
- Bottom Heat is Your Friend: Orchids, especially when propagating, love a little warmth from below. Placing your newly potted divisions on a seedling heat mat set to a gentle temperature (around 70-75°F or 21-24°C) can significantly encourage root development. Just make sure the mat isn’t excessively hot.
- Don’t Peek Too Soon! It’s incredibly tempting to dig up your new divisions to check for roots, but resist the urge! Give them at least 4-6 weeks to establish before you even think about gently teasing them out of their pot. Patience here is paramount.
Aftercare & Troubleshooting
Once your Gomesa divisions are potted, keep them in a bright, indirect light situation. Maintain good air circulation. Water only when the potting medium is starting to feel dry. You’ll know you’re on the right track when you see new leaf growth or plump pseudobulbs forming.
The most common sign of failure is rot. If your pseudobulbs start to look mushy, discolored, or develop black spots, it’s likely because of too much moisture. If you catch it early, you can try to trim away the rotted parts with a sterilized knife, dust with fungicide, and allow the cut to scab. If the whole division is affected, it’s unfortunately best to discard it to prevent spreading to healthy plants. Yellowing leaves that fall off without any signs of rot are usually a sign of stress or insufficient watering.
A Little Patience Goes a Long Way
Propagating orchids is a journey, not a race. Enjoy the process of nurturing these new plants. Each new division is a testament to your growing skills and a promise of more beautiful blooms in the future. Don’t be discouraged if your first attempts aren’t perfect; that’s how we all learn! Happy growing!
Resource: