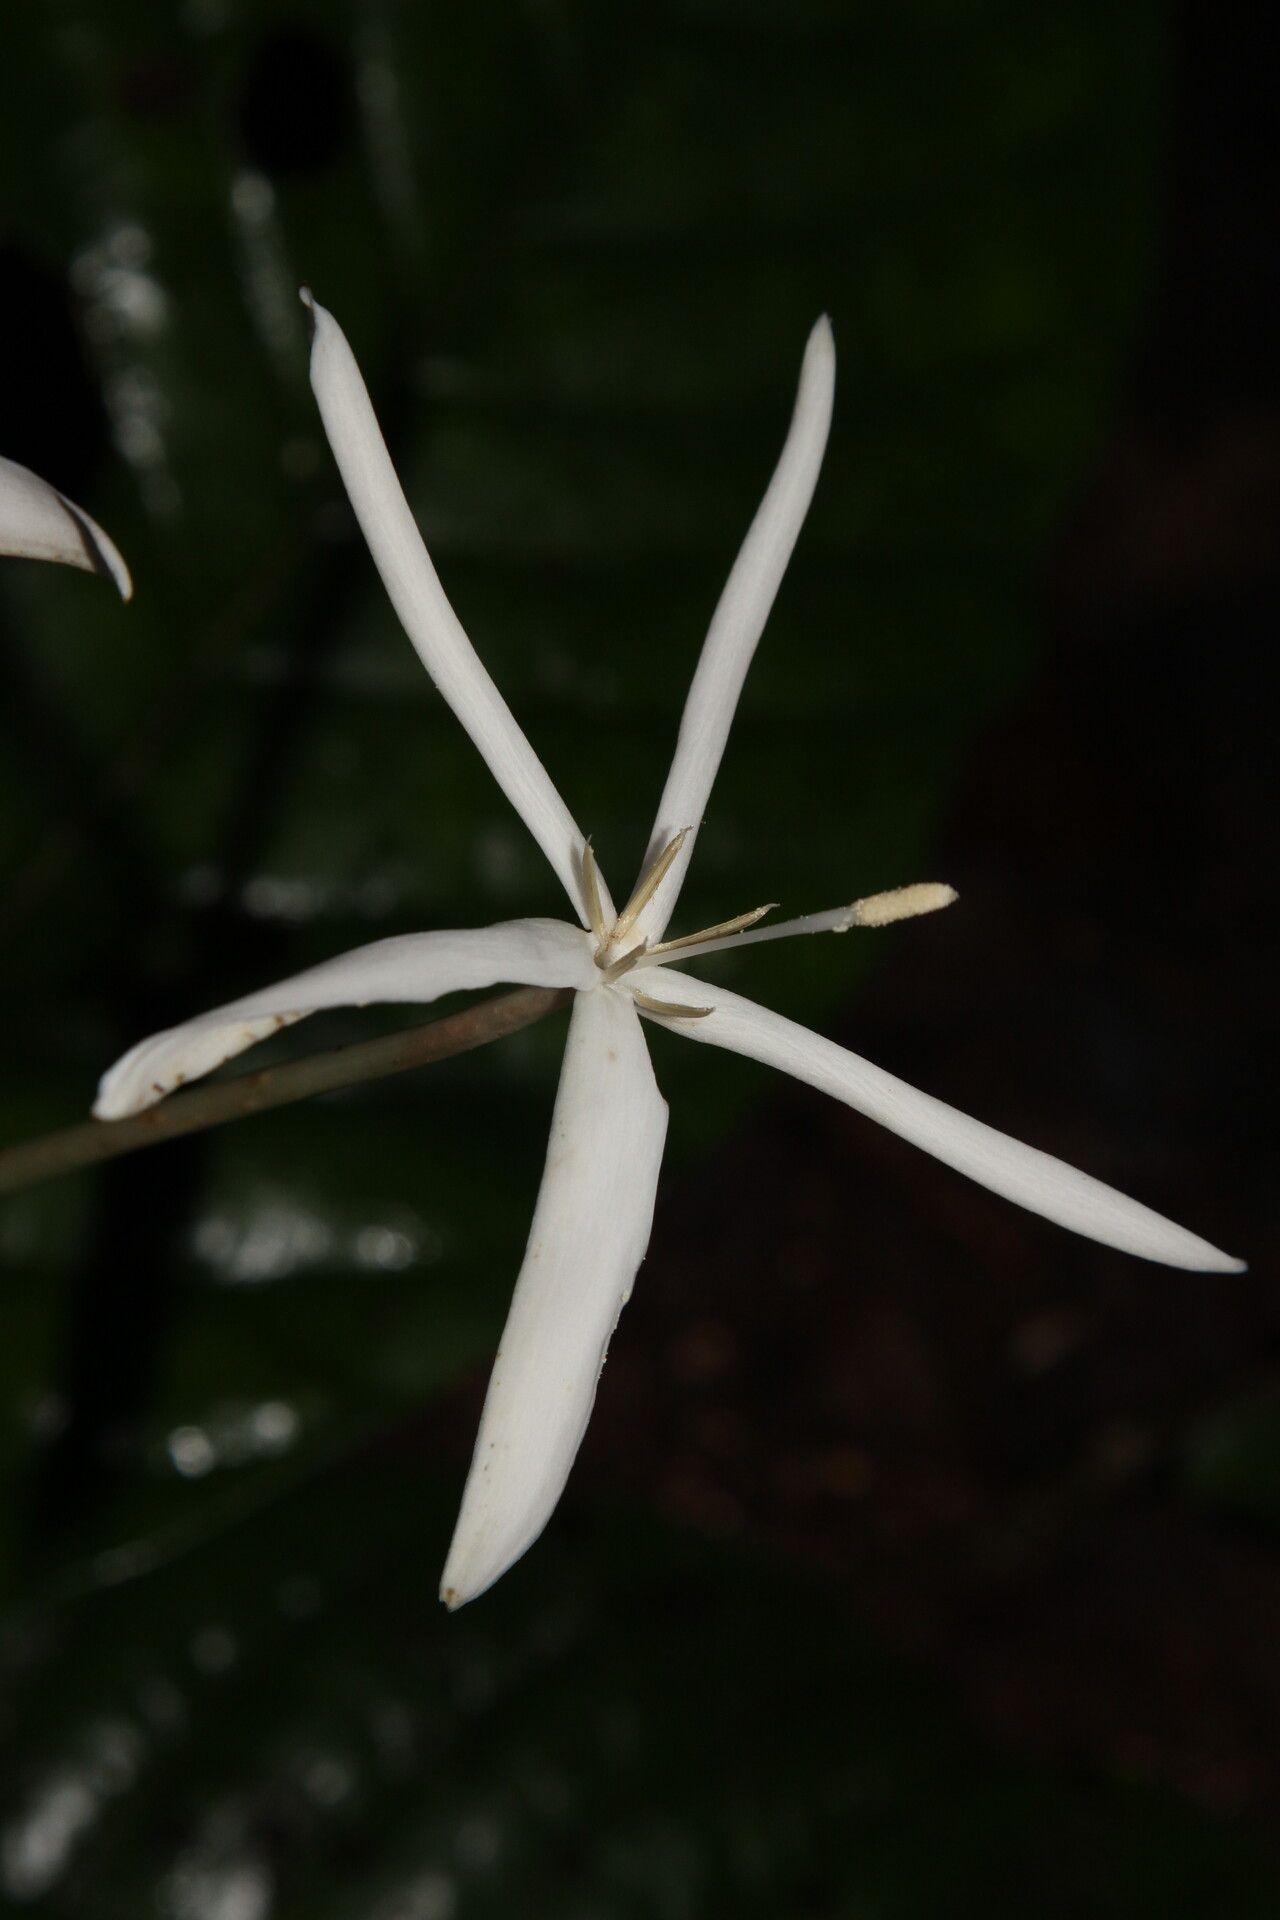
Hey there, fellow plant lovers! Today, I want to chat about a truly special plant I’ve come to adore: Oxyanthus brevicaulis. If you’re looking for a touch of the exotic, with its elegant foliage and (if you’re lucky!) fragrant flowers, this is one you’ll want to get to know better. And lucky for us, propagating it is a wonderfully rewarding endeavor. Now, I won’t sugarcoat it – for absolute beginners, Oxyanthus brevicaulis might present a slight challenge. But with a little patience and a few key tricks, you’ll be well on your way to success. It’s a journey well worth taking!
The Best Time to Start
For the highest chance of success, I find the late spring to early summer is our golden window. This is when the plant is actively growing, putting out fresh, pliable stems that are just bursting with life. You want to take cuttings from this new growth – it’s got the most energy to put into developing roots. Avoid woody, old growth, as it’s much harder to root.
Supplies You’ll Need
Gathering your tools beforehand makes the whole process smoother. Here’s what I always have on hand:
- Sharp Pruning Shears or a Knife: Clean cuts are crucial.
- Rooting Hormone (Optional but Recommended): A good quality rooting powder or gel can really give your cuttings a head start.
- Potting Mix: A well-draining mix is paramount. I like to use about equal parts perlite and coco coir, or a specialized seed-starting mix.
- Small Pots or Trays: Clean containers are a must.
- Plastic Bag or Humidity Dome: To keep humidity high.
- Watering Can or Spray Bottle: For gentle watering.
Propagation Methods
Let’s get our hands dirty! The most reliable way to propagate Oxyanthus brevicaulis for me has been stem cuttings.
- Take the Cuttings: In late spring or early summer, select a healthy stem with new growth. Using your sharp shears or knife, cut a piece of stem about 4-6 inches long. Make the cut just below a leaf node (where a leaf attaches to the stem). Remove the lower leaves, leaving just a few at the top.
- Apply Rooting Hormone (Optional): If you’re using rooting hormone, dip the cut end of the stem into the powder or gel. Tap off any excess.
- Plant the Cuttings: Fill your small pots or trays with your well-draining potting mix. Make a hole in the center of the mix with your finger or a pencil. Gently insert the cutting into the hole, ensuring the leaf nodes that were in the soil are now covered by the mix. Firm the soil gently around the cutting.
- Water Gently: Water the potting mix thoroughly but gently. You don’t want to dislodge your cuttings.
- Create a Humid Environment: This is key! Cover the pots with a clear plastic bag (poke a few small holes for ventilation) or a humidity dome. This creates a mini-greenhouse, keeping the moisture high around the leaves, which helps prevent them from drying out before roots form.
- Provide Bright, Indirect Light: Place your pots in a location that receives bright, indirect light. Avoid direct sunlight, as it can scorch the tender leaves.
The “Secret Sauce” (Pro Tips)
Beyond the basics, a couple of things have made a big difference in my success rate:
- Bottom Heat: This is a game-changer! If you have a seedling heat mat, placing your pots on it can significantly speed up root development. It mimics the warmth of the soil in nature and encourages those roots to get going.
- Don’t Drown Them: While humidity is vital, overwatering is the enemy. The potting mix should be consistently moist, like a wrung-out sponge, but never soggy. Soggy soil leads to rot, and nobody wants that! Check the moisture level by gently pressing the soil; if it springs back, you’re good.
Aftercare & Troubleshooting
Once you start to see tiny roots emerging from the drainage holes (this can take anywhere from 4-8 weeks, sometimes longer), it’s time to ease them into their new environment. Gradually remove the plastic bag over a week or so to acclimate them to lower humidity. Continue watering as needed, always letting the top inch of soil dry out slightly between waterings.
The most common sign of failure is wilting and browning leaves, often followed by soft, mushy stems. This is usually a sign of rot from overwatering. If you see this, pull the cutting out and inspect the base. If it’s black and mushy, it’s best to discard it and try again with a fresh cutting, paying closer attention to that soil moisture.
Keep Growing!
Propagating a new plant is like watching a tiny miracle unfold. Don’t get discouraged if your first attempt isn’t perfect. Gardening is a journey of learning and adaptation. Be patient with your Oxyanthus brevicaulis cuttings, give them the warmth and moisture they crave, and remember to just enjoy the process. Happy propagating!
Resource:
https://identify.plantnet.org/k-world-flora/species/Oxyanthus%20brevicaulis%20K.Krause/data