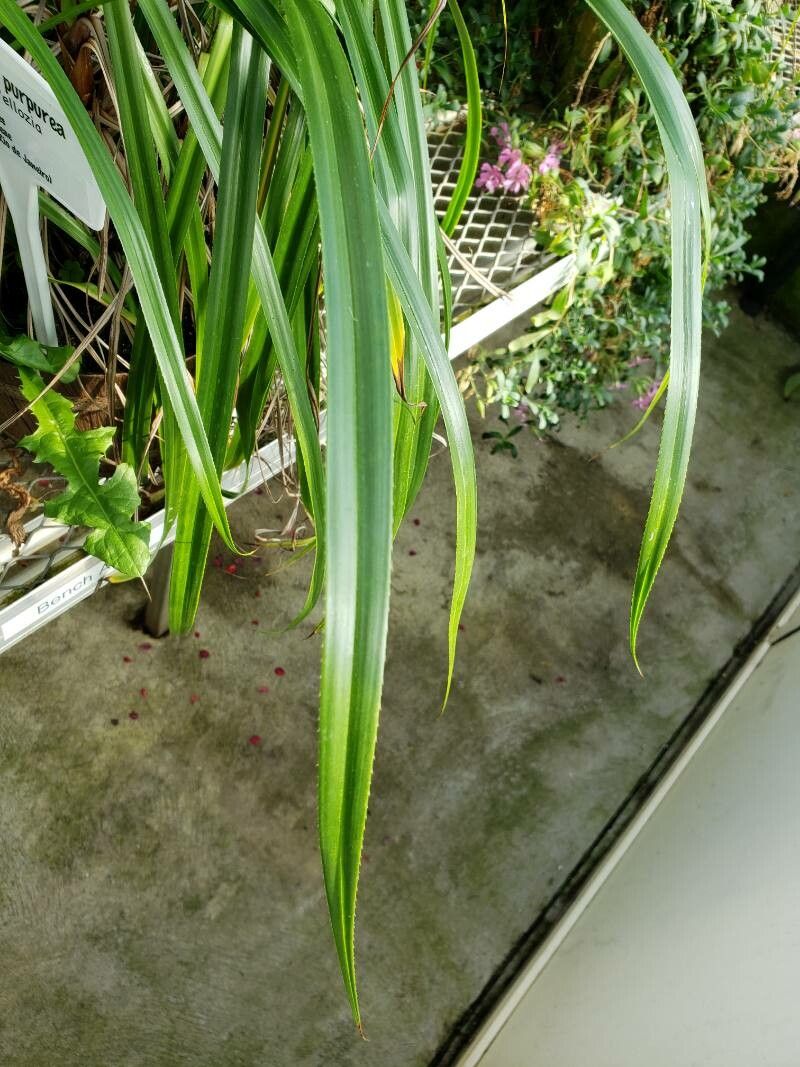
Hello fellow garden enthusiasts! If you’ve ever admired the striking beauty of Barbacenia purpurea – with its unique velvety purple flowers and architectural form – you’re not alone. It’s a plant that truly stops you in your tracks. And the joy of creating more of these beauties from your existing plants? Well, that’s a whole other level of garden satisfaction. For those wondering, propagating Barbacenia purpurea isn’t necessarily a beginner’s task, but with a little care and the right approach, it’s absolutely achievable and incredibly rewarding.
The Best Time to Start
I’ve found the sweet spot for propagating Barbacenia purpurea is usually in the late spring or early summer, right as the plant is hitting its stride in active growth. You’re looking for healthy, non-flowering stems that are firm but not woody. This is when they have the most vigor and the best chance of rooting successfully. Trying to propagate when the plant is dormant or stressed just doesn’t yield the same exciting results.
Supplies You’ll Need
Before we dive into the how-to, let’s gather our tools. Having everything ready makes the whole process smoother:
- Sharp, clean pruning shears or a sharp knife: For making clean cuts. We don’t want to crush those precious stems.
- A well-draining potting mix: I like a mix of equal parts peat moss or coir, perlite, and coarse sand. This ensures good aeration and prevents waterlogging.
- Pots or trays: Small pots are ideal for cuttings, or you can use a seed tray. Make sure they have drainage holes!
- Rooting hormone (optional but recommended): This can give your cuttings a real boost. Look for one specifically for stem cuttings.
- A mister or spray bottle: For keeping humidity levels up.
- Plastic bags or a propagation dome: To create a mini-greenhouse effect.
- Labels: You’ll want to know what you planted and when!
Propagation Methods
Let’s get our hands dirty! Division is generally the most reliable method for Barbacenia purpurea, so we’ll focus on that.
Division: Creating New Plants from the Rhizome
This is how I usually expand my collection of these beauties.
- Gently remove the parent plant from its pot. If it’s in the ground, very carefully dig around it to loosen the soil.
- Inspect the root ball. You’ll be looking for natural divisions or offsets that are attached to the main rhizome. These look like smaller, distinct plants growing from the base.
- Using your clean knife or shears, carefully separate a division. Make sure each division has some roots attached and at least one healthy shoot or bud. Don’t be afraid to be a little firm here, but avoid tearing.
- Allow the cut surface to dry and callous for a day or two. This is crucial to prevent rot. Place the divisions in a dry, well-ventilated spot, out of direct sun.
- Pot up the divisions. Plant each one in its own small pot filled with your well-draining mix. Plant them at the same depth they were growing previously.
- Water sparingly. Give them a light watering initially, and then only water when the top inch of soil feels dry. Overwatering is the biggest enemy at this stage.
- Provide bright, indirect light. Avoid direct sun, which can scorch young plants.
Stem Cuttings (Less Common, but Possible)
While division is preferred, you can try stem cuttings if you’re feeling adventurous and have healthy specimens.
- Select healthy stems. Look for pieces that are about 4-6 inches long and have several sets of leaves.
- Make a clean cut just below a leaf node. Remove the lower leaves, leaving only the top two or three.
- Dip the cut end in rooting hormone (if using).
- Insert the cutting into your prepared potting mix. Make a small hole with a pencil or your finger first to avoid rubbing off the hormone.
- Water lightly and cover the pot with a plastic bag or a propagation dome.
- Place in bright, indirect light.
- Mister the leaves occasionally to keep humidity high. It can take several weeks to several months for cuttings to root.
The “Secret Sauce” (Pro Tips)
Here are a couple of things I’ve learned over the years that can really make a difference:
- Think “airy roots.” For divisions, I always let them sit out for at least 24 hours, sometimes even 48 if it’s humid. That slightly dried surface is your insurance policy against rot. It’s like giving them a little time to heal before their new adventure.
- Bottom heat is your friend. If you’re trying stem cuttings and want to speed things up, a heat mat placed under the propagation tray can really encourage root development. It mimics the warmth of spring soil, giving your cuttings that extra encouragement.
Aftercare & Troubleshooting
Once your divisions or cuttings start showing signs of new growth – like tiny leaves unfurling – you’re on the right track!
- Gradually acclimate them to lower humidity. If they were under cover, start removing the plastic or lid for increasing amounts of time each day over a week.
- Continue to water sparingly. It’s better to underwater than overwater at this fragile stage.
- Fertilize very lightly only after they’ve established themselves and are showing vigorous new growth.
- Watch out for rot. The most common sign of failure is when the cutting or division turns mushy and brown. This is almost always a sign of too much moisture. If you see this, remove the affected part immediately and check your watering habits. Yellowing leaves can also indicate overwatering or insufficient light.
A Little Patience Goes a Long Way
Propagating plants, especially unique beauties like Barbacenia purpurea, is a journey. It teaches you to observe, to be patient, and to really understand the rhythm of your garden. Don’t be discouraged if your first attempt isn’t a roaring success. Every plant, and every propagation attempt, is a learning experience. So, embrace the process, enjoy the anticipation, and soon you’ll be surrounded by even more of these gorgeous purple wonders! Happy gardening!
Resource:
https://identify.plantnet.org/k-world-flora/species/Barbacenia%20purpurea%20Hook./data