Oh, hello there! Grab a cup of your favorite brew, and let’s talk about one of my absolute botanical loves: Hydnophytum radicans. If you’re drawn to the unique beauty of these fascinating plants, you’re in for a treat, because propagating them is a journey that’s truly worth taking.
Why Fall in Love with Hydnophytum Radicans?
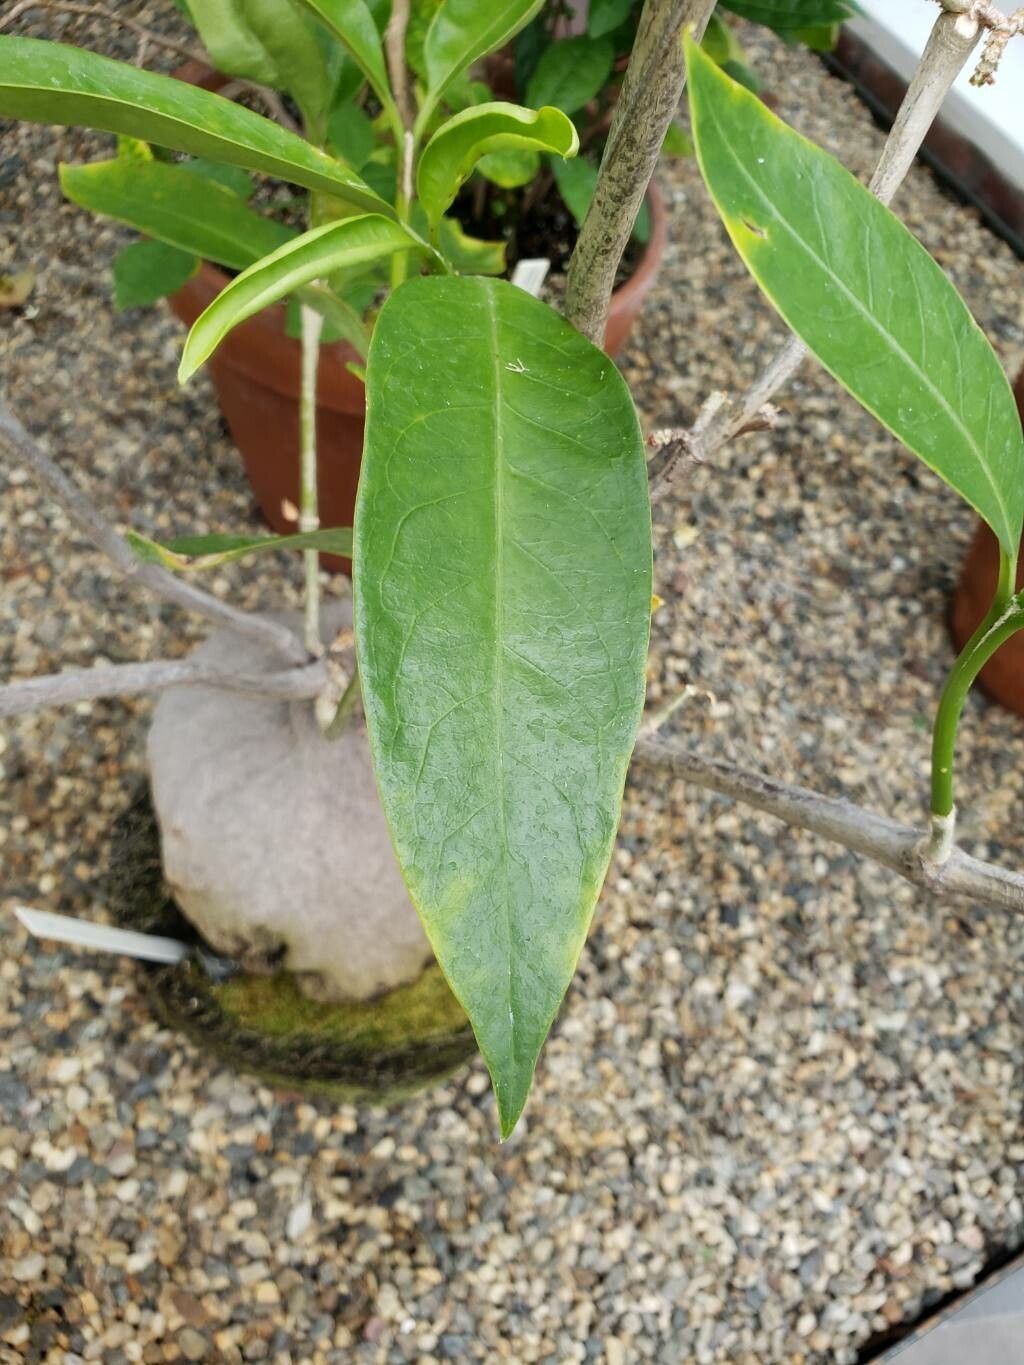
Have you ever seen those delightful houseplants with their swollen, intriguing base, often called a caudex? That’s Hydnophytum radicans for you! It’s a type of epiphytic or lithophytic plant, meaning it grows on other plants or rocks in its natural habitat. This makes it a bit of a collector’s item for those who appreciate the unconventional. The joy of propagating it yourself? It’s wonderfully rewarding. You get to witness that magical moment of new life emerging, expanding your collection, or sharing these little wonders with fellow plant enthusiasts. Now, is it a breeze for absolute beginners? I’d say it’s moderately easy. It requires a little more attention than a common pothos, but with a bit of know-how, you’ll be a pro in no time.
The Best Time to Start
For Hydnophytum radicans, the sweet spot for propagation is undoubtedly spring and early summer. This is when the plant is in its most vigorous growth phase. You’ll see new shoots and leaves emerging, which signals that the plant has plenty of energy to dedicate to developing new roots. Trying to propagate during its dormant period (late fall or winter) is generally less successful.
Supplies You’ll Need
Before we dive in, let’s gather our trusty tools:
- Sharp, clean pruning shears or a sterile knife: Essential for making clean cuts to avoid disease.
- Potting mix: A well-draining mix is paramount. I like a blend of orchid bark, perlite, and a bit of peat moss or coco coir. Think airy and quick-draining. You can also use a good quality cactus and succulent mix.
- Small pots or propagation trays: Whatever you choose, make sure they have drainage holes.
- Rooting hormone (optional but helpful): A powder or gel can encourage faster root development.
- Clear plastic bag or a propagator: To create a humid environment around your cuttings.
- Spray bottle with water: For misting.
- Labels and a marker: To keep track of your propagation efforts.
Propagation Methods: Getting Your Hydnophytum Started
There are a couple of primary ways we can encourage new life from your Hydnophytum radicans.
Stem Cuttings: A Reliable Approach
This is my go-to method for Hydnophytum radicans as it’s quite predictable.
- Select a healthy stem: Look for a stem that has at least 2-3 nodes (the points where leaves emerge from the stem). A node is where future roots will form.
- Make a clean cut: Using your sterile shears or knife, make a cut just below a node. Aim for a cutting that’s about 3-4 inches long.
- Remove lower leaves: Gently strip off any leaves from the bottom half of the cutting, exposing the nodes. If there’s a leaf right at the cut point, you can remove that too.
- Apply rooting hormone (optional): Dip the cut end of the stem into your rooting hormone, tapping off any excess.
- Plant the cutting: Fill your small pot or propagation tray with your well-draining potting mix. Make a small hole in the center with your finger or a pencil. Insert the cut end of your stem into the hole, ensuring at least one node is buried beneath the soil. Firm the soil gently around it.
- Water gently: Water the soil thoroughly but carefully to settle it around the cutting.
Water Propagation: Seeing is Believing
While I often lean towards soil for Hydnophytum, water propagation can be a fun way to watch the roots emerge.
- Prepare your cutting: Follow steps 1-3 from the stem cutting method.
- Place in water: Find a small glass or jar and fill it with room-temperature water. Place your cutting in the water, ensuring that no leaves are submerged. The nodes should be in contact with the water.
- Change water regularly: This is crucial to prevent bacterial growth. Change the water every 2-3 days, or whenever it looks cloudy.
- Wait for roots: You should start to see tiny root nubs emerge from the nodes within a few weeks. Once the roots are about an inch long, it’s time to transplant them into soil.
The “Secret Sauce” (Pro Tips)
Here are a few things I’ve learned over the years that can really boost your success:
- Bottom heat is your friend: Hydnophytum radicans loves warmth to encourage root development. Placing your pots or propagation tray on a seedling heat mat can make a world of difference, especially if your home is on the cooler side. It mimics the warmth of the soil surface in its natural environment.
- Humidity, humidity, humidity! These plants are accustomed to jungle-like conditions. Once you’ve potted your cuttings, cover the pot with a clear plastic bag or place it in a propagator. This creates a mini-greenhouse, keeping the humidity high which prevents the cuttings from drying out while they are trying to root. Just be sure to open it for a few minutes each day to allow for air circulation and prevent fungal issues.
- Patience is a virtue, especially with those caudices: Don’t rush to pull up your cuttings to check for roots every few days. Give them time. You’ll know they’re rooting when you see new leaf growth emerging. The caudex itself can take a while to develop and plump up – that’s a sign of a happy, established plant.
Aftercare & Troubleshooting
Once you see signs of rooting – new leaves unfurling or roots visible through the drainage holes – it’s time for attentive care.
- Acclimatize slowly: If you used a plastic bag or propagator, gradually reduce the humidity over a week or two before removing it completely.
- Watering: Water your new plant when the top inch of soil feels dry. Be careful not to overwater, as this is the most common culprit for failure.
- Light: Provide bright, indirect light. Direct sun can scorch young leaves.
Troubleshooting: The most common issue you’ll encounter is rot. This usually happens due to overwatering or poor drainage. If you notice your cutting turning black and mushy at the base, it’s likely rotted. Unfortunately, there’s no coming back from that. Another sign of failure is if the cutting dries out and wilts, with no signs of new growth. This usually means it didn’t establish roots before it ran out of stored energy.
Happy Propagating!
There you have it! Propagating Hydnophytum radicans might seem a little daunting at first, but with these steps and a bit of patience, you’ll be well on your way to success. Don’t be discouraged if your first attempt isn’t perfect. Every gardener has learning curves, and the joy is in the process. Enjoy watching those little cuttings grow into magnificent plants!
Resource:
https://identify.plantnet.org/k-world-flora/species/Hydnophytum%20radicans%20Becc./data