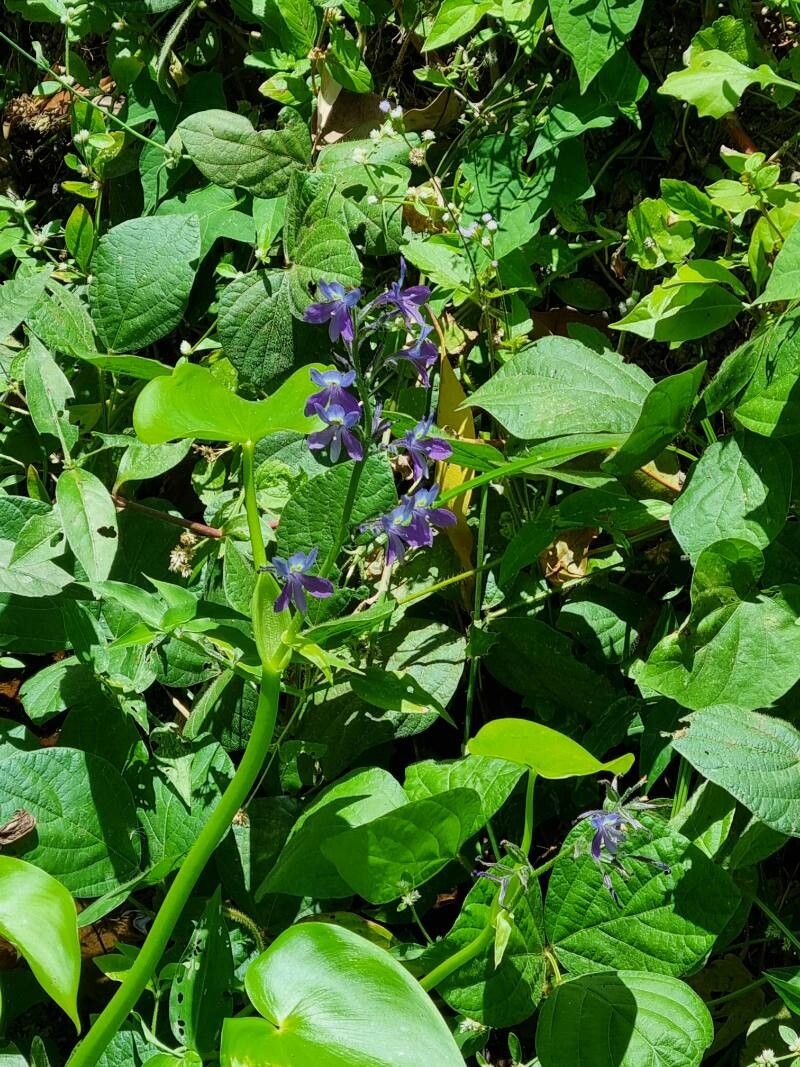
Creating more of a good thing is always a gardener’s pleasure, isn’t it? And when that something is the gorgeous Pontederia paniculata, or Brazilian Pickerelweed, well, that’s a joy indeed. I’ve always loved its upright, lily-like leaves and the spikes of beautiful blue flowers that bring such a vibrant splash to any water garden. The thought of having more of them, perhaps to fill out a pond or create a new water feature, is incredibly rewarding. If you’re new to propagating, I’d say Pontederia paniculata is a wonderfully accessible plant to get your hands dirty with. You’ll find success comes pretty readily.
The Best Time to Start
For the very best results with Pontederia paniculata, I always aim to propagate during its active growing season. Think late spring or early summer. You want the plant to be healthy and vigorous, full of energy, and not stressed by extreme heat or cold. Taking cuttings or dividing rhizomes when the plant is really pushing out new growth just means your new babies will have a better chance of establishing quickly.
Supplies You’ll Need
Gathering your tools beforehand makes the whole process smoother. Here’s what I usually have on hand:
- Sharp, clean pruning shears or a knife. Sterilizing them is key to preventing disease.
- A well-draining potting mix. For water plants, I often use a mix of compost and a bit of sand, or a specialized aquatic plant mix.
- Small pots or containers for your new cuttings.
- An optional, but helpful, rooting hormone powder.
- A plastic bag or propagator lid to create a humid environment.
- A sunny windowsill or a greenhouse with gentle warmth.
Propagation Methods
Pontederia paniculata is a pretty straightforward plant to propagate. Here are the methods I rely on:
Division
This is often the easiest way to get more Pontederia paniculata.
- Gently remove your established plant from its pot or pond edge. Be careful not to damage the roots too much.
- Examine the root ball. You’ll likely see where the plant naturally wants to separate.
- Using your hands or a clean knife, carefully divide the plant into smaller sections. Each section should have healthy roots and some leafy growth.
- Pot up each division into its own container with your well-draining soil.
Stem Cuttings
This method is great if you want to increase your stock relatively quickly.
- Select a healthy stem that has at least a couple of leaves.
- Make a clean cut just below a leaf node (where a leaf attaches to the stem). You want a cutting that’s about 4-6 inches long.
- Remove the lower leaves from the stem, leaving just a few at the top.
- (Optional) Dip the cut end of the stem into rooting hormone powder.
- Insert the cutting about an inch or two deep into a pot filled with your moist potting mix.
- Water gently to settle the soil around the cutting.
- Place the pot in a bright spot, but out of direct hot sun.
The “Secret Sauce” (Pro Tips)
A little insider knowledge can go a long way! Here are a couple of things I’ve learned over the years:
- When doing division, if the roots are really tangled, don’t be afraid to wash away some of the soil. It makes it much easier to see where you can make clean divisions without damaging too many roots. Plus, you get a better look at the health of the plant.
- For stem cuttings, I always mist the leaves lightly every day or two, or cover the pot with a clear plastic bag. This constant humidity is crucial for preventing the cutting from drying out before it has a chance to root. It mimics the environment they’d have in a more tropical setting.
Aftercare & Troubleshooting
Once your divisions are potted or your cuttings have been planted, the waiting game begins. Keep the soil consistently moist, but not waterlogged. For cuttings, this high humidity is key. You’ll know they’re happy when you start to see signs of new leaf growth. This usually happens within a few weeks.
The most common issue you might run into is rot. If a cutting or division turns mushy or black, it’s often a sign of too much moisture and poor air circulation. Ensure good drainage and don’t overwater. If you see mold, remove the affected part immediately and improve airflow. Patience is your best friend here; sometimes roots take their sweet time.
There you have it! Propagating Pontederia paniculata is a wonderfully rewarding experience. Don’t be discouraged if your first attempt isn’t perfect. Gardening is an ongoing learning process, and each plant you nurture will teach you something new. Enjoy the journey, and soon you’ll have an abundance of these beautiful blue bloomers to share or simply enjoy yourself!
Resource:
https://identify.plantnet.org/k-world-flora/species/Pontederia%20paniculata%20Spreng./data