Oh, hello there! So you’ve got your eye on the magnificent Anacardium occidentale, haven’t you? I understand the allure. That glossy foliage, the promise of those unique cashew apples and nuts – it’s a plant that truly captures the imagination. And the idea of coaxing a new life from one you already cherish? That’s pure gardening magic, if you ask me. Now, to be perfectly honest, propagating Anacardium occidentale isn’t the absolute easiest plant for a complete beginner. It requires a bit of patience and attention to detail, but with a guiding hand and a willingness to learn, it’s absolutely achievable, and oh-so-rewarding.
The Best Time to Start
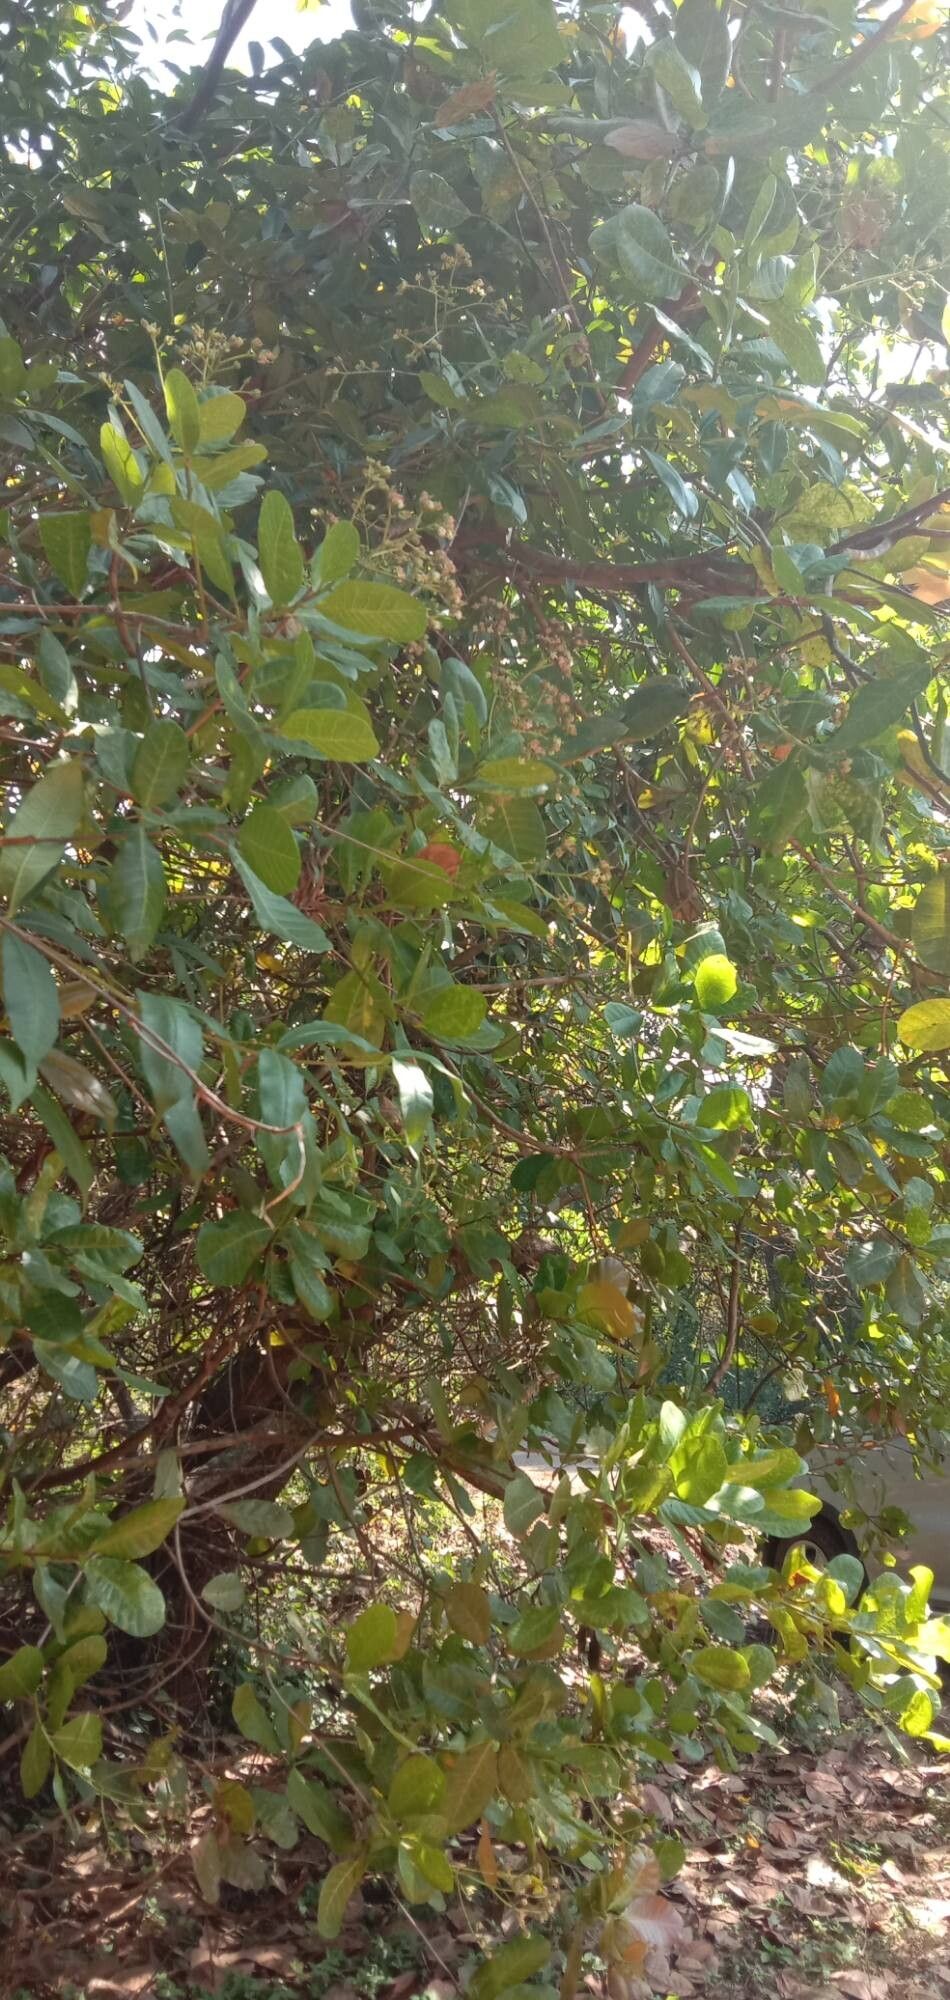
Timing is everything in the garden, and with Anacardium occidentale, you want to jump in when things are really humming along. Spring and early summer are your golden windows. This is when the plant is in its most vigorous growth phase, meaning it has the energy reserves to push out new roots. Look for stems that are neither brand new and flimsy nor old and woody. You want those semi-hardwood stems – they have a bit of flexibility but feel nicely firm to the touch.
Supplies You’ll Need
Gathering your tools beforehand makes the whole process smoother. Here’s what I usually have on hand:
- Sharp Pruning Shears or a Knife: Cleanliness is key here to prevent disease.
- Rooting Hormone: This isn’t strictly essential, but it gives your cuttings a real helping hand. I prefer a powder or gel formulation.
- Well-Draining Potting Mix: A 50/50 blend of perlite and peat moss or coco coir works wonders. You want air circulation around those developing roots.
- Small Pots or Seed Trays: With drainage holes, of course!
- Clear Plastic Bags or a Propagation Dome: To create a humid microclimate.
- Watering Can with a Fine Rose: To gently water without disturbing the soil.
- (Optional) Heat Mat: This can significantly speed up root development.
Propagation Methods
While Anacardium occidentale can be grown from seed, it’s not always true to parent type, and germination can be a bit finicky. For a more reliable outcome, I always lean towards stem cuttings.
Stem Cuttings:
- Select Your Cuttings: Find healthy, semi-hardwood stems that are about 6-8 inches long. Make a clean cut just below a leaf node (where a leaf attaches to the stem).
- Prepare the Cuttings: Gently remove the lower leaves, leaving just a few at the top. This reduces moisture loss. If any of the stems are very thick, I sometimes make a shallow slit up the bottom inch of the stem – this can encourage rooting.
- Apply Rooting Hormone: Dip the cut end into your rooting hormone, tapping off any excess. Make sure the hormone coats the lower inch of the stem.
- Plant Your Cuttings: Fill your small pots with the prepared potting mix. Make a hole in the center with your finger or a pencil, and gently insert the cutting. Firm the soil around it to ensure good contact.
- Create a Humid Environment: Water the soil gently until it’s moist but not waterlogged. Then, cover the pot with a clear plastic bag, propping it up with a skewer or two so it doesn’t touch the leaves. Alternatively, use a propagation dome.
- Provide Light and Warmth: Place the pots in a bright location that receives indirect sunlight. If you have a heat mat, place the pots on it now. Aim for a consistent temperature of around 70-75°F (21-24°C).
The “Secret Sauce” (Pro Tips)
Here are a few things I’ve learned over the years that can make a real difference:
- Keep Those Leaves High and Dry: This is crucial for stem cuttings. Never let the leaves touch the water in propagation or sit in condensation that pools in the bottom of your propagation chamber. Rotting happens fast when leaves are constantly wet.
- The Magic of Bottom Heat: Seriously, if you can swing it, a gentle bottom heat will encourage root formation at an astonishing pace. You’ll see roots develop much faster and more reliably than without it.
- Patience is a Virtue (Especially with Anacardium): These guys can sometimes take their sweet time. I’ve had cuttings that look like they’re giving up, and then suddenly, bam! New growth appears, signaling roots. Don’t be tempted to tug on them to check – you’ll disturb any developing root system.
Aftercare & Troubleshooting
Once you see new leaves unfurling, that’s your cue that roots are forming! You can gently tug on the cutting. If there’s resistance, it’s likely rooted.
- Gradual Acclimation: As roots develop, you’ll need to gradually introduce your new plant to drier air. Start by opening the plastic bag or propagation dome for a few hours each day, slowly increasing the exposure time.
- Transplanting: Once the root system is well-established (usually after a few weeks to a couple of months), you can transplant your baby Anacardium occidentale into its own slightly larger pot with good quality potting soil.
- Common Pitfalls: The biggest enemy here is rot. If your cutting turns black and mushy, or the leaves yellow and drop off without any sign of new growth, it’s likely succumbed to too much moisture or fungal issues. Ensure good air circulation and avoid overwatering. If you see tiny white mold on the soil surface, it’s a sign of excess humidity and stagnant air.
Happy Growing!
So there you have it! Propagating Anacardium occidentale is a journey, not a race. Be patient with your cuttings, observe them closely, and celebrate every little sign of progress. The joy of nurturing a new plant from a piece of another is truly unmatched. You’ve got this!
Resource:
https://identify.plantnet.org/k-world-flora/species/Anacardium%20occidentale%20L./data