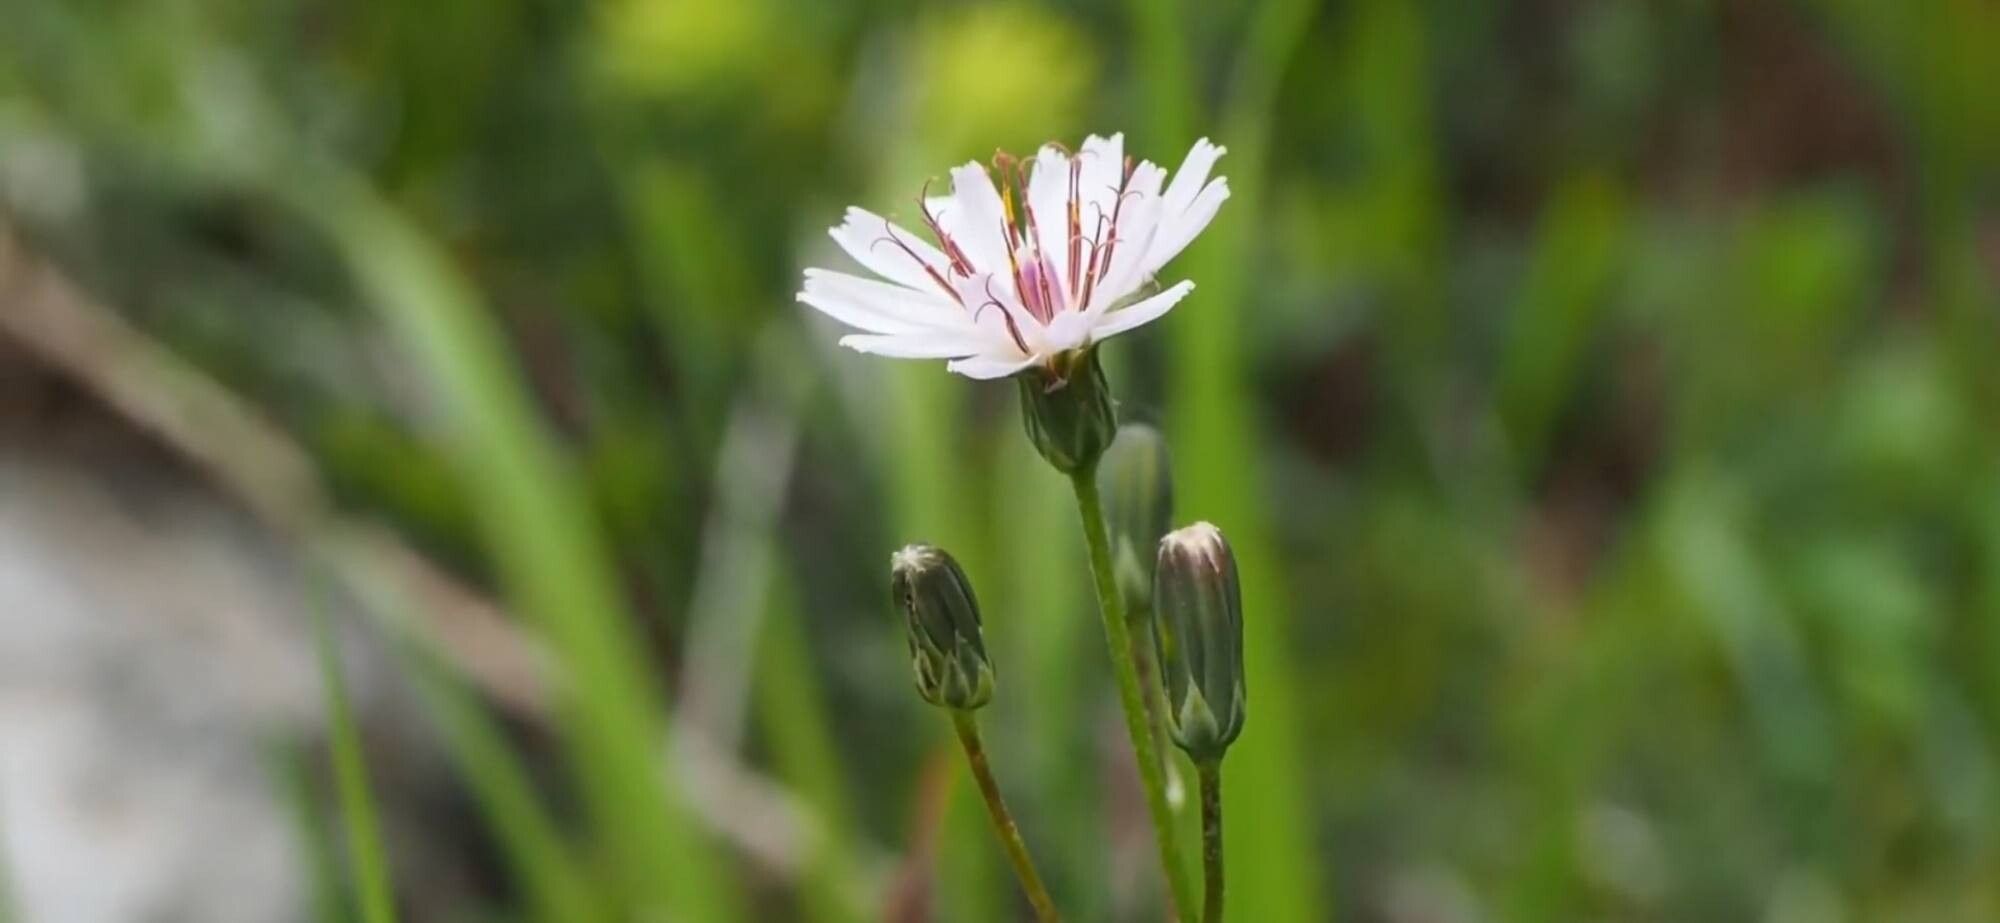
Oh, hello there! Come on in and grab a mug. Today, we’re diving into the wonderful world of propagating Crepis froelichiana. If you’ve ever seen these charming little plants gracing a garden with their delicate flowers, you know just how special they are. They have this cheerful, almost whimsical way about them, don’t they? And the best part? You can easily fill your garden, or your friends’ gardens, with more of them.
This is a really rewarding plant to propagate, and I’d say it’s quite beginner-friendly. Even if you’re just starting out with your green thumb, you’ll likely find success with Crepis froelichiana. It’s forgiving, which is always a relief when you’re trying something new!
The Best Time to Start
For Crepis froelichiana, the sweet spot for propagation is generally in late spring to early summer. This is when the plant is actively growing, full of vigor, and has plenty of healthy material to work with. You’re looking for stems that are firm but not woody – think of them as being in their prime, pliable yet strong. Trying to propagate when the plant is stressed, like during extreme heat or drought, will just make things tougher.
Supplies You’ll Need
Before we get our hands dirty, let’s make sure we have everything ready. A little preparation goes a long way!
- Sharp pruning shears or a clean, sharp knife: For making clean cuts.
- Rooting hormone (optional but recommended): A little powdered magic can help speed things up.
- Well-draining potting mix: I like to use a blend of peat moss or coco coir mixed with perlite or coarse sand. Avoid heavy garden soil.
- Small pots or seedling trays: Clean ones are important to prevent diseases.
- Plastic bags or a clear plastic dome: To create a humid environment.
- Watering can with a fine rose: For gentle watering.
- Labels and a marker: So you don’t forget what’s what!
Propagation Methods
Crepis froelichiana is quite amenable to a couple of different methods. I tend to favor stem cuttings because they are usually the most straightforward and yield a good number of new plants.
Stem Cuttings
This is my go-to for Crepis. Here’s how I do it:
- Take Your Cuttings: Using your clean shears or knife, select healthy, non-flowering stems. Cut pieces that are about 4-6 inches long. Make your cut just below a leaf node (that little bump where a leaf grows from).
- Prepare the Cuttings: Gently remove the lower leaves from each cutting, leaving just a few at the top. This prevents the leaves from rotting when they’re in the soil or water.
- Apply Rooting Hormone (Optional): If you’re using rooting hormone, dip the cut end of each stem into the powder, tapping off any excess. This gives them a helpful boost.
- Pot Them Up: Fill your small pots or trays with your prepared potting mix. Make a small hole with your finger or a pencil, and then insert the cut end of the stem, firming the soil gently around it. You can fit several cuttings into one pot, giving them a little space to breathe.
- Water and Cover: Water the soil thoroughly but gently. Then, cover the pots with a clear plastic bag or a propagation dome. This is crucial for maintaining high humidity, which helps the cuttings stay hydrated before they develop roots.
- Find a Good Spot: Place the pots in a bright location but out of direct sunlight. Too much sun can scorch them. A spot with indirect light and consistent, moderate temperatures is ideal.
Division
If you have an established clump of Crepis froelichiana, you can also propagate it by dividing the root ball. This is best done in early spring as new growth emerges.
- Gently Excavate: Carefully dig up the entire plant.
- Separate the Roots: Gently shake off excess soil to expose the roots. You’ll likely see multiple stems emerging from the base. Using your hands or a clean trowel, carefully tease apart the root ball into sections, ensuring each section has a good amount of roots and at least one or two shoots.
- Replant: Immediately replant the divisions into prepared beds or pots, watering them in well.
The “Secret Sauce” (Pro Tips)
Here are a couple of things I’ve learned over the years that really make a difference.
- Bottom Heat is Your Friend: If you have access to a propagation mat or can place your pots on top of a gently warm (not hot!) appliance, this can significantly speed up root development. It mimics the warmth of spring soil, encouraging those roots to form.
- Don’t Let the Leaves Touch the Water (If Water Propagating): While I prefer soil for Crepis, if you do decide to try water propagation, ensure no leaves are submerged. Rot sets in awfully fast when leaves are sitting in stagnant water. Only the stem should be in contact with the water.
Aftercare & Troubleshooting
Once your cuttings have rooted – you’ll often see new leaf growth, or if you gently tug them, there will be resistance – it’s time for some gentle aftercare.
- Acclimate Slowly: Gradually remove the plastic cover over a week or so to let the new plants adjust to normal humidity.
- Keep Watering: Continue to water them regularly, but avoid overwatering. The soil should be moist, not soggy.
- Transplant When Ready: Once the roots have filled their initial pots, you can transplant them into slightly larger pots or directly into their garden homes.
The most common problem you’ll run into is rot. This usually happens from overwatering or poor air circulation. If you see a stem looking mushy or turning black, it’s best to remove it immediately to prevent it from spreading. Sometimes, cuttings just don’t take. Don’t fret! It’s all part of the learning process. Just try again with fresh material.
A Encouraging Closing
Propagating Crepis froelichiana is such a rewarding journey. It connects you more deeply to your plants and allows you to share their beauty. Be patient with the process – nature has its own timeline, and sometimes it takes a little longer than we expect. But with a bit of care and attention, you’ll soon have a whole windowsill or garden brimming with these delightful blooms. Happy propagating!
Resource:
https://identify.plantnet.org/k-world-flora/species/Crepis%20froelichiana%20DC./data