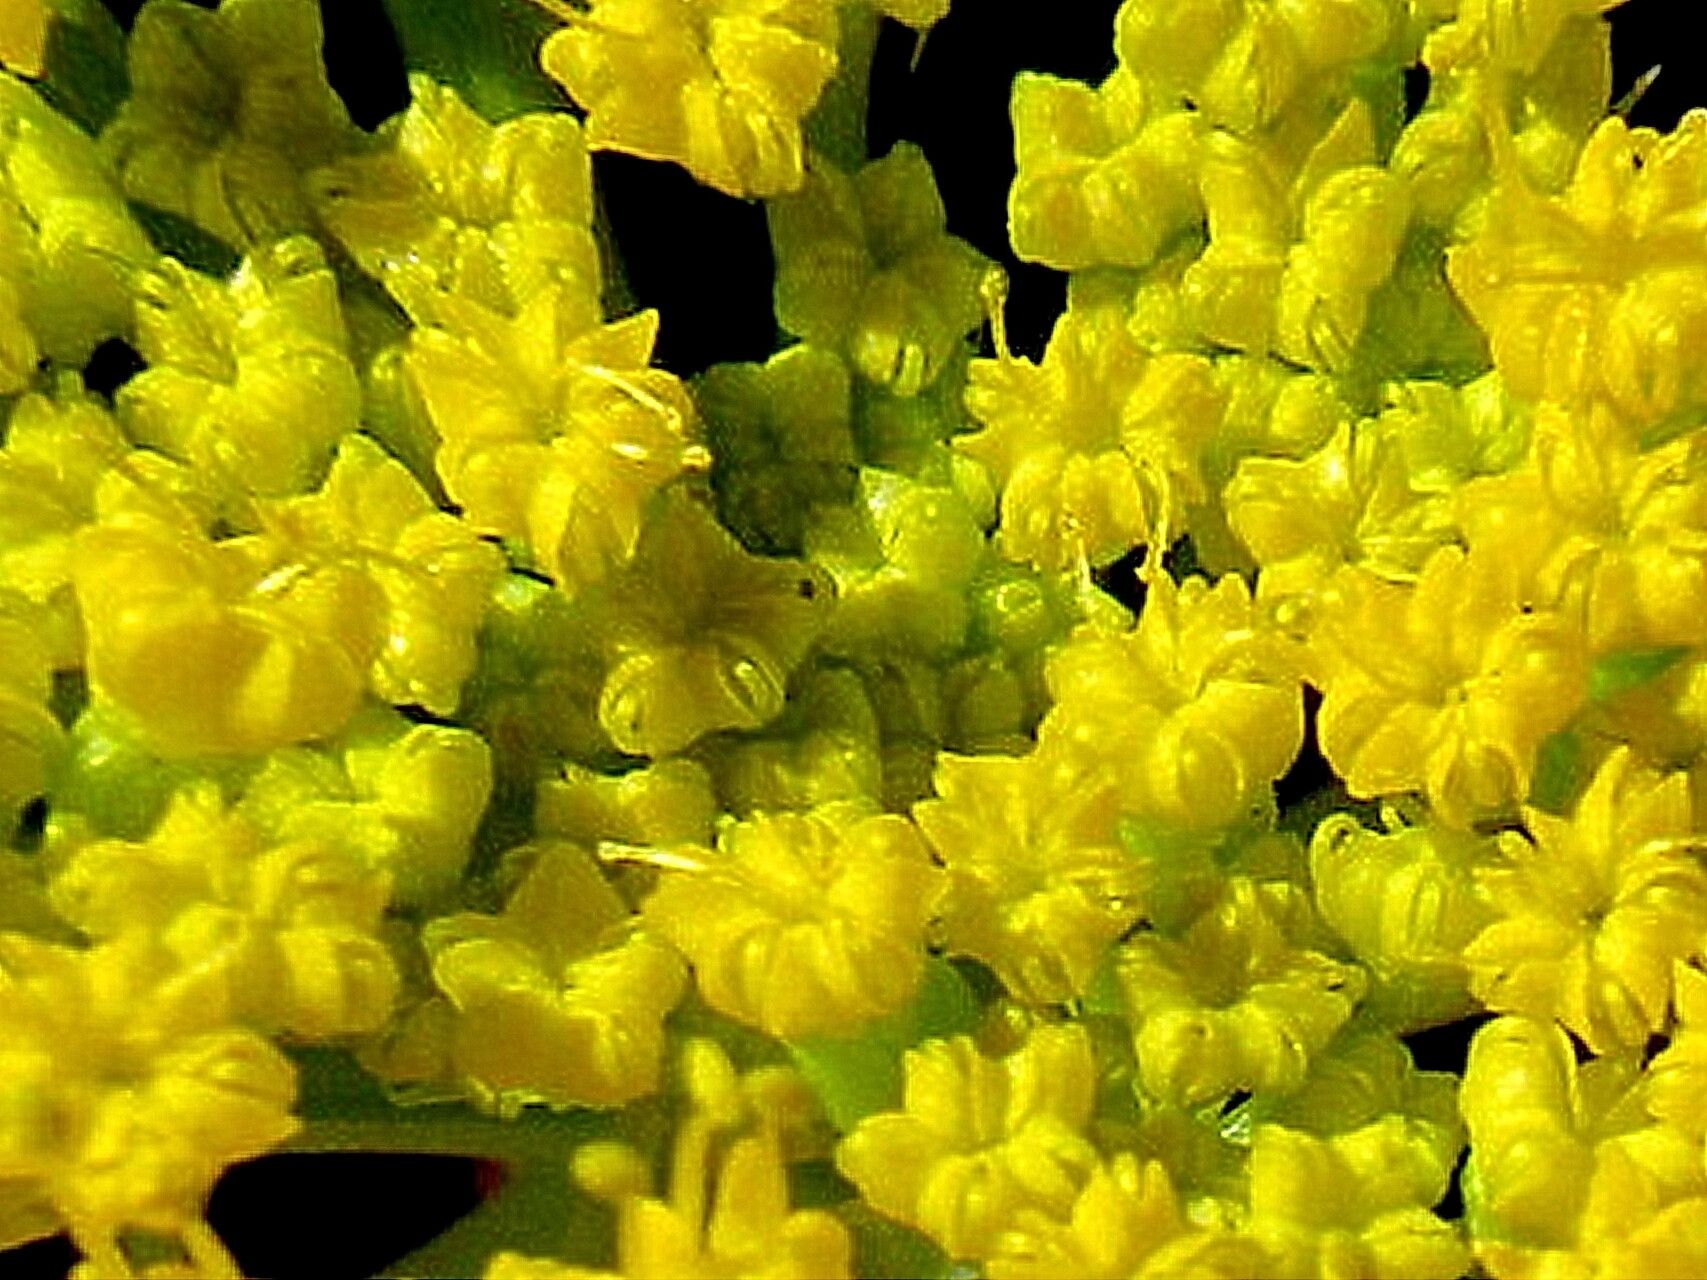
Oh, hello there! Grab a mug of your favorite brew, and let’s chat about a little gem I’ve come to adore: Cymopterus lemmonii. Sometimes called Lemmon’s cymopterus or even just “that cute little mountain parsley,” this charming native of the western United States has a delicate, feathery foliage that just screams “wildflower meadow” to me. And best of all? You can easily multiply its beauty yourself!
Propagating Cymopterus lemmonii is such a rewarding experience. It’s like creating a little piece of nature’s magic for your own garden. Now, for the beginner question: is it easy? Honestly, I’d say it’s moderately easy. It’s not as straightforward as rooting a succulent, but with a little care and attention, you’ll find yourself with happy new plants in no time.
The Best Time to Start
My favorite time to get my hands dirty with Cymopterus lemmonii is right after it finishes flowering, which usually happens in late spring or early summer. This is when the plant is actively growing and has plenty of energy to put into developing new roots. Waiting until after the bloom allows the plant to show you what it’s got before you ask it to share!
Supplies You’ll Need
Here’s what you’ll want to have on hand before you begin:
- Sharp, clean pruning shears or a hobby knife: For clean cuts, which means happier plants.
- Well-draining potting mix: A blend of potting soil, perlite, and coarse sand is perfect. Think gritty!
- Small pots or propagation trays: Make sure they have drainage holes.
- Rooting hormone (optional but recommended): A powder or gel can give your cuttings a nice boost.
- Watering can with a fine rose attachment: Gentle watering is key.
- Labels and a permanent marker: So you know what you’ve planted and when!
Propagation Methods
Cymopterus lemmonii is best propagated through division. This hardy plant forms clumps, and separating these clumps will give you new plants.
Division: The Most Reliable Way
- Gently excavate: Carefully dig up the mature Cymopterus lemmonii plant. Try to disturb the root ball as little as possible.
- Clean the roots: Gently brush away excess soil from the root system. You should be able to see where the plant naturally divides into smaller sections, each with its own set of roots and at least one growing point (a bud or shoot).
- Separate the clumps: Using your hands or a clean trowel, gently pull apart the larger clump into smaller divisions. If a section is particularly stubborn, use your clean shears to make a cut. Ensure each division has a good portion of roots.
- Pot them up: Plant each division into its own pot filled with your well-draining potting mix. Make sure the crown (where the leaves emerge from the roots) is at soil level.
- Water gently: Water thoroughly, allowing excess water to drain away.
The “Secret Sauce” (Pro Tips)
I’ve learned a few tricks over the years that can make all the difference.
- Don’t pack the soil too tightly: A loose, airy mix helps prevent waterlogging, which is the bane of many root systems. Think of it as giving the roots room to breathe and grow.
- Provide a humid microclimate: After potting up your divisions, you can help them settle in by placing a clear plastic bag loosely over the pot or grouping pots together. This traps humidity, mimicking the conditions they’ll love. Just make sure to open it for a few minutes each day to allow for air circulation and prevent fungal issues.
- Consider bottom heat: If you’re doing this in a cooler period, a propagation mat can provide gentle warmth to the roots, encouraging them to establish faster. It mimics the warmth of spring soil quite nicely.
Aftercare & Troubleshooting
Once your divisions are potted, keep them in a bright, indirect light location. Water whenever the top inch of soil feels dry. Avoid overwatering, as this is the quickest way to invite root rot, which you’ll recognize by mushy, discolored stems or leaves that wilt despite moist soil. If you see this, you may need to pull the plant out, trim away rotten bits, and repot in fresh, dry mix.
It can take a few weeks for your new plants to show signs of active growth, like new leaves. Be patient. They’re busy establishing their roots first.
A Little Encouragement
There you have it! Propagating Cymopterus lemmonii is a journey worth taking. Watch them grow, share them with friends, and enjoy the process. Happy gardening!
Resource: