Hello there, fellow garden lovers!
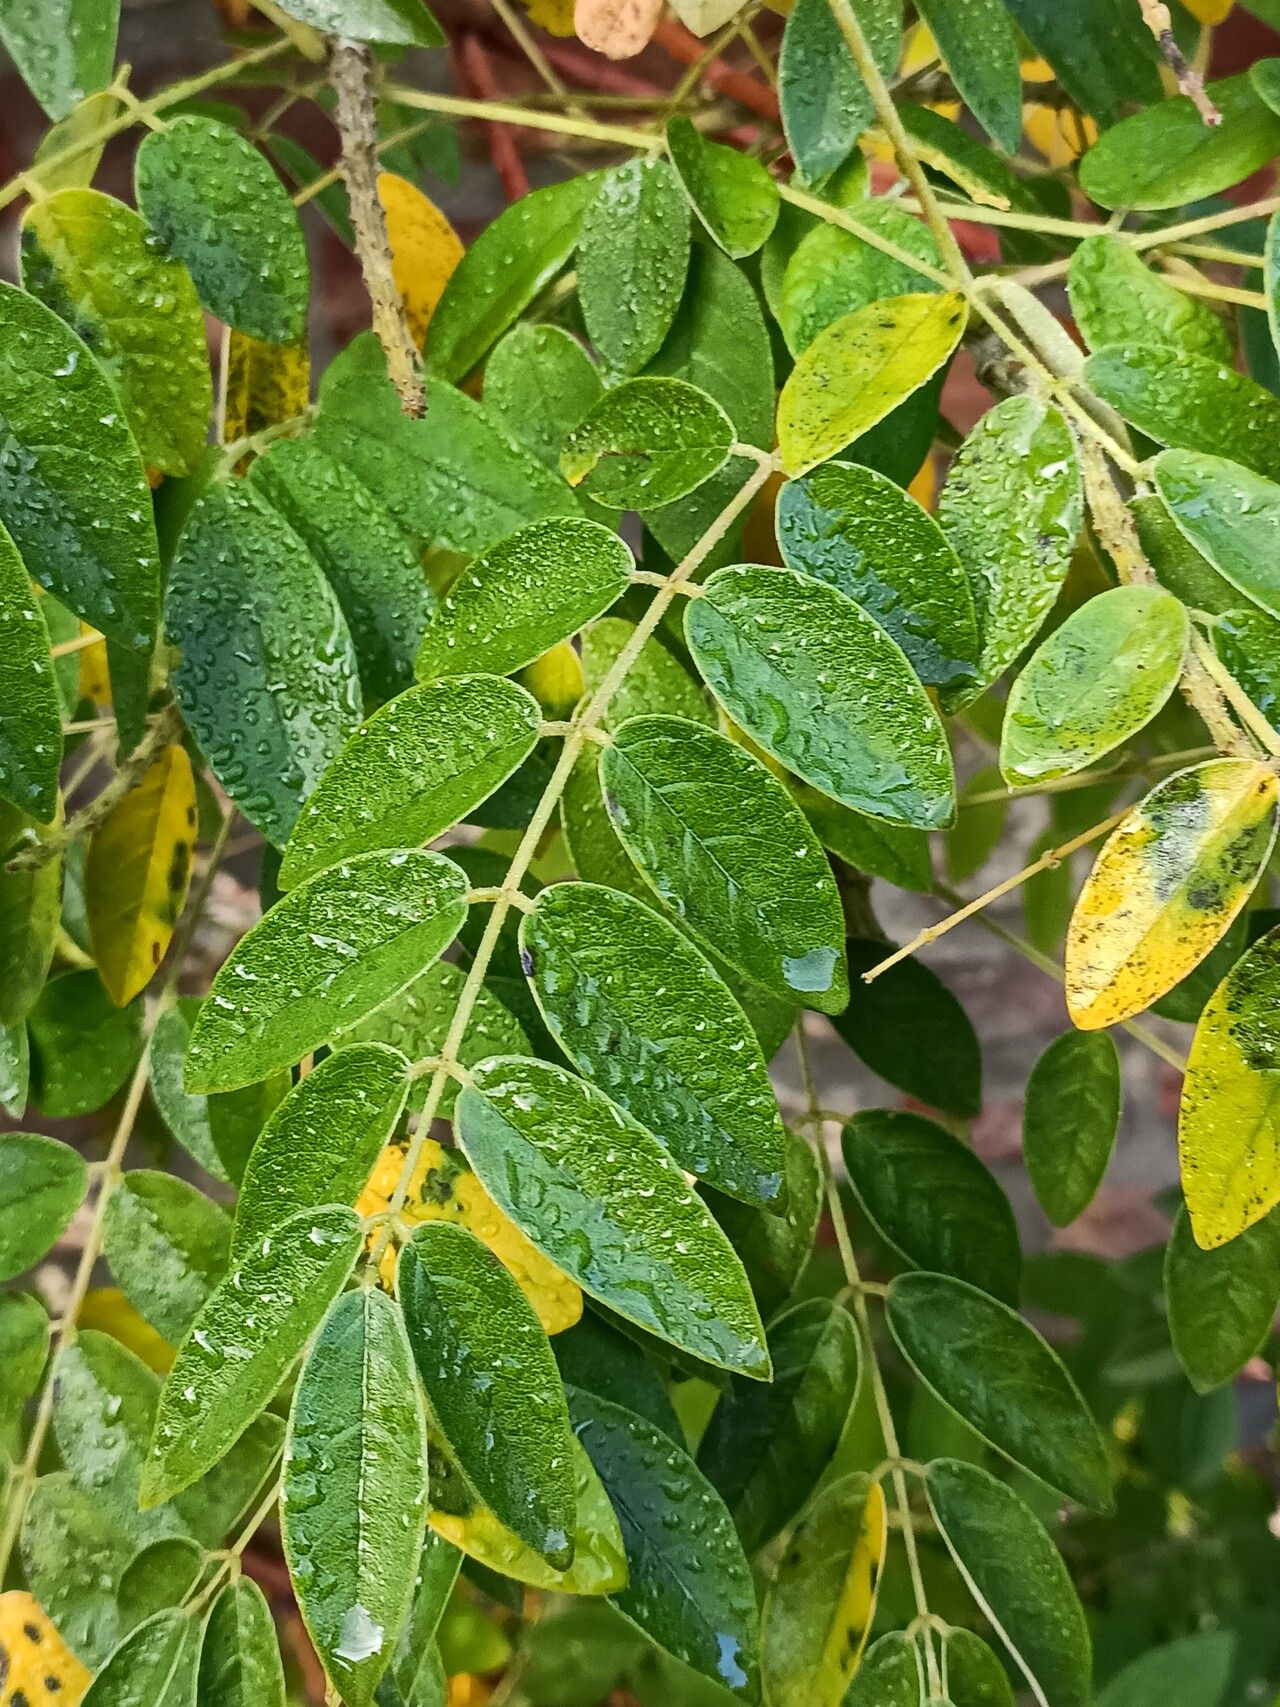
There’s something truly magical about a well-established wisteria, isn’t there? The cascading floral display is simply breathtaking. If you’ve ever dreamed of having your own wisteria or want to share this glorious beauty with friends, propagating your own might be a wonderful next step. I’ve been getting my hands dirty for two decades now, and I can tell you, propagating Wisteria frutescens (that’s the lovely native North American species, by the way, known for its more manageable growth and beautiful purple-blue blooms) is a very achievable and deeply rewarding project. While it might take a bit more patience than, say, propping a succulent, it’s absolutely doable for the enthusiastic beginner!
The Best Time to Start
Honestly, late spring to early summer is your golden window. This is when the plant is actively growing and has plenty of energy. You’re looking for new, flexible stems that are starting to firm up – not the brand-new, wispy growth, nor the old, woody stuff. Think of stems that are somewhat bendy but not snapping easily.
Supplies You’ll Need
Here’s a little checklist to get you prepared:
- Sharp Pruning Shears or a Hobby Knife: Cleanliness is key!
- Rooting Hormone: A powder or gel for cuttings.
- Small Pots or Seedling Trays: With drainage holes, of course.
- A Well-Draining Potting Mix: I like a blend of equal parts peat moss, perlite, and coarse sand. A commercially available “seed starting mix” can also work well.
- A Spray Bottle: For misting.
- Plastic Bags or a Clear Dome: To create a humid environment.
- A Dibber or Pencil: For making holes in the soil.
- Optional: Bottom Heat Mat: This can really give cuttings a boost.
Propagation Methods
Let’s get down to the nitty-gritty! For Wisteria frutescens, I find stem cuttings to be the most reliable and straightforward method.
Stem Cuttings (Semi-Hardwood Cuttings)
- Take Your Cuttings: In late spring or early summer, select those semi-hardwood stems I mentioned. Using your clean shears, take cuttings about 6-8 inches long.
- Prepare the Cuttings: Immediately remove the lower leaves, leaving just a few at the very tip. If any leaves are very large, I often cut them in half to reduce water loss. Make a clean cut just below a leaf node (where a leaf attaches to the stem). Nodes are where roots tend to form.
- Apply Rooting Hormone: Dip the cut end generously into your rooting hormone. Tap off any excess.
- Plant the Cuttings: Fill your pots with your prepared, moist potting mix. Using a dibber or pencil, make a hole deep enough to insert about half of the cutting. Gently insert the cutting and firm the soil around the base.
- Create a Humid Environment: Lightly mist the cuttings and the inside of the plastic bag or dome. Place the bag over the pot, or put the dome on top. Ensure the leaves don’t touch the plastic.
- Provide the Right Conditions: Place the pots in a bright spot, but out of direct, harsh sunlight. If you have a bottom heat mat, now’s the time to use it – a gentle warmth of around 70-75°F (21-24°C) can be incredibly beneficial.
The “Secret Sauce” (Pro Tips)
Here are a few things I’ve learned over the years that make a difference:
- Cleanliness is Paramount: I can’t stress this enough. Sterilize your tools before you begin and after each plant. Algae and disease are the enemies of new cuttings!
- Don’t Overwater: This is a tricky balance. The soil needs to be consistently moist, but not soggy. Allow the very top layer of soil to dry slightly between waterings. Soggy soil leads to rot, and we definitely don’t want that for our precious cuttings.
- Bottom Heat is Your Friend (Seriously!): While it’s not strictly essential, a bit of gentle warmth from below is like a cozy blanket for those developing roots. It significantly speeds up the rooting process and improves success rates, especially if your ambient temperatures are a bit cooler.
Aftercare & Troubleshooting
Once your cuttings have been in their cozy, humid home for a few weeks (it can take anywhere from 4-8 weeks, or even longer!), it’s time to check for roots. Gently tug on a cutting. If you feel resistance, that’s a good sign! You can also look for new leaf growth.
Once you see sturdy roots, it’s time to gradually acclimate them to less humid conditions. Open the bag or dome a little each day for a week before removing it completely. Continue to keep the soil consistently moist and provide bright, indirect light. When they are robust enough to handle, you can transplant them into slightly larger pots.
The most common issue you’ll encounter is rot. If you see your cuttings going mushy, turning brown and black at the base, or developing black spots, it’s usually a sign of too much moisture and poor air circulation. Unfortunately, once rot sets in, it’s very difficult to save the cutting. Learn from it, adjust your watering, and try again!
Happy Growing!
Propagating wisteria is a journey, and like any good garden project, it requires a little patience. Don’t be discouraged if your first batch doesn’t work out perfectly. Each attempt is a learning experience. Celebrate the small victories, enjoy the process of nurturing new life, and soon you’ll be rewarded with your very own magnificent wisteria plants. Happy gardening!
Resource:
https://identify.plantnet.org/k-world-flora/species/Wisteria%20frutescens%20(L.)%20Poir./data