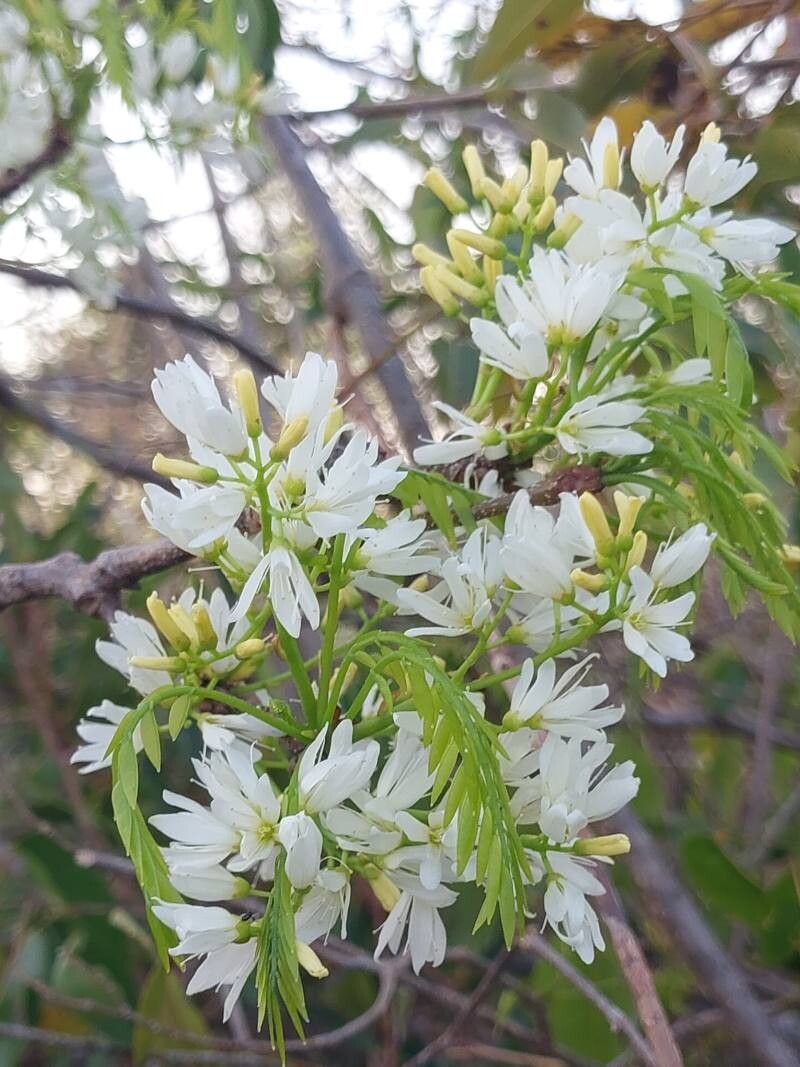
Oh, Rourea orientalis! If you’re looking for a plant that brings a touch of the exotic with its delicate, almost fern-like foliage and a surprisingly charming bloom, you’re in for a treat. I’ve been growing and propagating this beauty for years, and honestly, the satisfaction of watching a tiny cutting transform into a full-fledged plant is just chef’s kiss. For those new to the propagation game, I’d say Rourea orientalis sits somewhere in the moderate difficulty zone. It might take a little patience, but with the right approach, you’ll be rewarded.
The Best Time to Start
For Rourea orientalis, I’ve found my best success comes from propagating during its active growing season. Think late spring through early summer. The plant is bursting with energy then, and those new, semi-hardened stems are far more likely to root than anything too soft or old and woody. You want stems that have a bit of substance but aren’t yet completely rigid.
Supplies You’ll Need
Gathering your tools beforehand makes the whole process so much smoother. Here’s what I always have on hand:
- Sharp Pruning Shears or a Clean Knife: For making clean cuts.
- Rooting Hormone Powder or Gel: This is your secret weapon for encouraging root development.
- A Well-Draining Potting Mix: I like a blend of equal parts perlite, peat moss, and a bit of compost. You can also buy a good quality seed-starting or succulent mix.
- Small Pots or Trays: Clean pots are essential to avoid disease.
- Plastic Bag or Clear Dome: To create a humid environment for your cuttings.
- Watering Can with a Fine Rose Attachment: For gentle watering.
Propagation Methods
Let’s get our hands dirty! Stem cuttings are by far the most reliable way to go with Rourea orientalis.
Stem Cuttings:
- Select Your Cuttings: Look for healthy stems that are about 4-6 inches long. Make your cut just below a leaf node (where a leaf attaches to the stem). These nodes are where the magic happens, as they’re packed with plant hormones that encourage root growth. Remove any flower buds you see; we want the plant’s energy focused on roots, not blooms!
- Prepare the Cuttings: Gently remove the lower leaves from the cutting. You want to expose a good portion of the stem, usually leaving just two to four leaves at the top.
- Apply Rooting Hormone: Dip the cut end of the stem into your rooting hormone. Tap off any excess – you don’t need a thick coating.
- Plant Your Cuttings: Fill your clean pots with your prepared potting mix. Make a small hole with a pencil or your finger. Insert the rooting hormone-coated end of the cutting into the hole, ensuring it’s firm and stable. Gently firm the soil around the stem.
- Create a Humid Environment: Water the soil gently until it’s moist but not waterlogged. Then, cover the pot with a clear plastic bag or place it in a propagator with a dome. This traps humidity, which is crucial for preventing the cuttings from drying out before they can form roots.
The “Secret Sauce” (Pro Tips)
Now, for a couple of little tricks I’ve learned over the years that really boost your success rate:
- The “Scratch Test” for Readiness: After a few weeks, you can gently very gently scratch a tiny bit of bark from the bottom of a stem with your fingernail. If you see green underneath, it means the cutting is still alive and healthy. If it’s brown and dry, it’s likely not going to make it.
- Bottom Heat is Your Friend: While not strictly essential, placing your pots on a gentle heating mat (available at garden centers) can dramatically speed up the rooting process. It mimics the warmth of spring soil and really encourages those roots to get going.
Aftercare & Troubleshooting
Once your cuttings have developed a good root system – you’ll often see them poking out the bottom of the pot or feel a gentle resistance when you tug lightly – it’s time to give them a bit of extra care.
- Gradual Acclimation: Slowly start to remove the plastic bag for increasing periods each day to let the new plant get used to normal humidity levels. This is like weaning them off a support system!
- First Waterings: Continue to water them gently but consistently. Avoid letting the soil dry out completely, but also watch out for soggy conditions.
- Signs of Trouble: The most common issue you’ll face is rot. This usually happens if the cutting is kept too wet or if there isn’t enough airflow. A rotting cutting will turn black and mushy. If you see this, unfortunately, it’s best to discard it and start fresh with clean tools. Yellowing leaves can also indicate overwatering or a lack of light.
A Encouraging Closing
Propagating Rourea orientalis is a wonderful way to expand your collection and share the joy of gardening with others. Be patient with your little cuttings; sometimes, they take their sweet time. Enjoy the process, learn from each attempt, and celebrate every tiny root you find! Happy propagating!
Resource:
https://identify.plantnet.org/k-world-flora/species/Rourea%20orientalis%20Baill./data