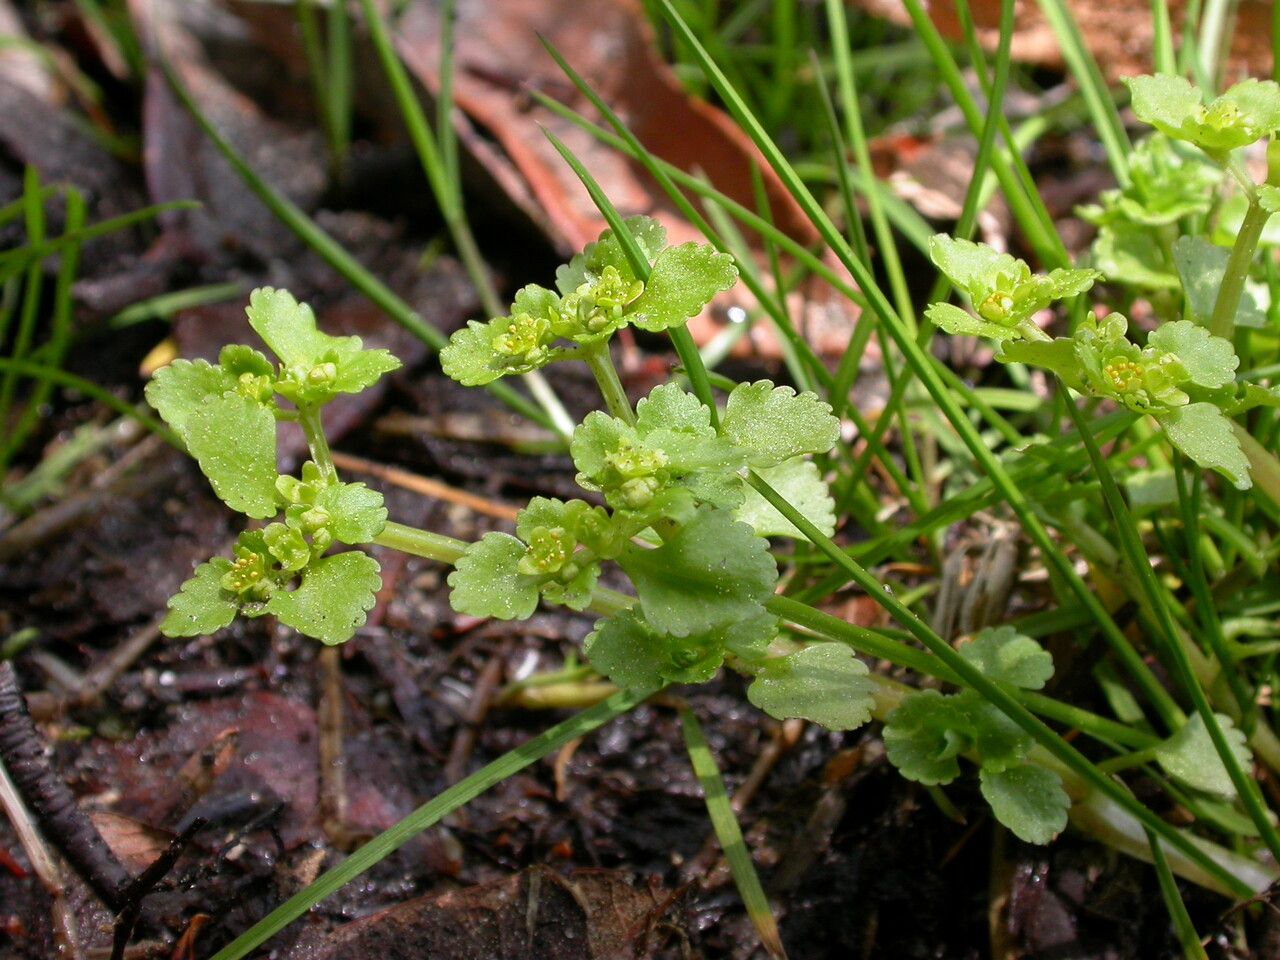
Hello fellow plant lovers! Today, I want to talk about a truly charming little gem that often gets overlooked: Chrysosplenium nepalense, also known as Himalayan golden saxifrage. If you’re looking for a groundcover that’s a bit different, this might be your answer. Its delicate, almost rosette-like leaves and subtle golden flowers in spring create a delightful tapestry in shady, moist spots. And the best part? It’s surprisingly easy to share with friends – or just expand your own collection. For beginners, this one is definitely a winner!
The Best Time to Start
When I’m looking to grow more of my Chrysosplenium nepalense, I always aim for the late spring or early summer. This is when the plant is actively growing after its spring bloom and has plenty of energy to put into new roots. You can also have good success with division in the fall, just as things cool down but before the ground freezes solid.
Supplies You’ll Need
Gathering your supplies beforehand makes the whole process much smoother. Here’s what I usually have on hand:
- Sharp pruning shears or a clean craft knife: For taking cuttings and divisions.
- Small pots or trays: With drainage holes, of course!
- Well-draining potting mix: I like a blend of peat moss, perlite, and a bit of compost. A standard potting mix with some added perlite works well too.
- Rooting hormone (optional but helpful): A powdered or gel form can speed things up.
- Watering can or spray bottle: For gentle watering.
- Plastic bags or a clear dome: To create a humid environment for cuttings.
Propagation Methods
Chrysosplenium nepalense is quite generous and can be propagated in a couple of straightforward ways.
Stem Cuttings
This is my go-to method. It’s quick and produces a lot of new plants.
- Take the cuttings: In late spring or early summer, look for healthy, non-flowering stems. Using your sharp shears or knife, take cuttings that are about 3-4 inches long. Make sure each cutting has at least a few sets of leaves.
- Prepare the cuttings: Gently remove the lower leaves from the bottom inch of each stem. This helps prevent them from rotting once they’re in the soil.
- Apply rooting hormone (if using): Dip the cut end into your rooting hormone. Tap off any excess.
- Plant the cuttings: Fill your small pots or trays with your prepared potting mix. Make a small hole with your finger or a pencil. Insert the cut end of the stem into the hole, pushing it down about an inch. Gently firm the soil around it.
- Water and cover: Water the soil gently until it’s evenly moist. Then, cover the pots with a plastic bag or place them under a clear dome to create a humid microclimate. This is crucial for preventing the cuttings from drying out. Place them in a bright spot, but out of direct, harsh sunlight.
Division
If your plant has gotten a bit bushy, dividing it is a fantastic way to get more plants and also rejuvenate the parent.
- Gently unearth the plant: In fall or early spring, carefully dig up your Chrysosplenium nepalense clump. You want to lift the whole root ball if possible.
- Separate the roots: Gently tease apart the root system with your fingers. You’re looking for natural divisions – sections with their own roots and shoots. If it’s really dense, you can use your pruning shears or a knife to help separate it. Aim for divisions that are a decent size, with a good amount of root attached to each.
- Replant: Plant the divided sections into pots or directly into their new garden homes, just as you would a whole plant. Water them in well.
The “Secret Sauce” (Pro Tips)
Here are a couple of things I’ve learned over the years that make a real difference:
- When water propagating (something you can try with cuttings if you like!), never let the leaves touch the water. They’ll rot in no time. The stems need to be submerged, but keep those leaves up in the air.
- If you’re struggling with getting cuttings to root, especially in cooler environments, a little bit of bottom heat can be a game-changer. A cheap seedling heat mat placed under your propagation trays can provide that gentle warmth that encourages root formation.
Aftercare & Troubleshooting
Once your cuttings have hopefully started to form roots – you can gently tug on them, and if there’s resistance, they’ve rooted! – or your divisions are settled in, it’s time for a bit more care. Keep the soil consistently moist but not soggy. They love a humid environment, so misting them occasionally can be beneficial. Gradually acclimate them to normal conditions by opening the plastic bag a little more each day over a week or two.
The most common issue you’ll encounter is rot. If you see mushy, black stems on your cuttings, or if your divisions seem to be wilting away instead of perking up, it’s usually a sign of overwatering or poor drainage. Make sure your soil mix is airy and that you’re not drowning them. Sometimes, even with the best efforts, a cutting just won’t take. Don’t get discouraged, just try again!
A Little Bit of Patience Goes a Long Way
Propagating plants is a wonderful way to connect with nature and the cycle of growth. Don’t be afraid to experiment. Even if not every single cutting makes it, the process itself is so rewarding. Enjoy watching those tiny roots emerge and seeing your collection of Chrysosplenium nepalense grow! Happy gardening!
Resource:
https://identify.plantnet.org/k-world-flora/species/Chrysosplenium%20nepalense%20D.Don/data