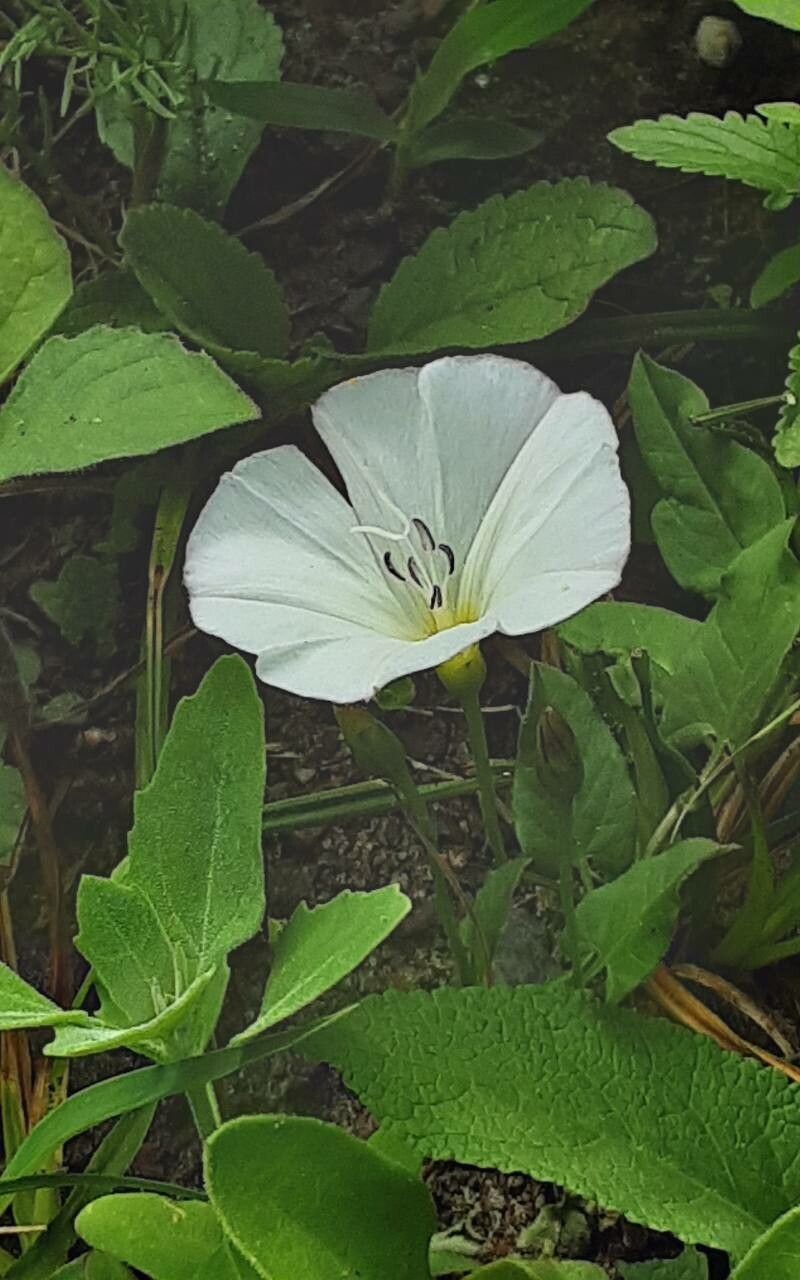
Oh, hello there! Come on in, grab a cuppa. Today, we’re going to talk about a little gem I’ve grown to love: Calystegia spithamaea. You might know it by its common names, like Dwarf Morning Glory or Ground Ivy. It’s got these beautiful, delicate white trumpet flowers that just seem to pop out of almost anywhere, especially in sunny, well-drained spots. Propagating it is a wonderfully rewarding way to fill your garden with more of its charm. For beginners, I’d say it’s moderately easy. A little patience goes a long way, but the rewards are totally worth the effort.
The Best Time to Start
For Calystegia spithamaea, the absolute sweet spot for propagating is late spring to early summer. This is when the plant is actively growing and has plenty of energy. You’re looking for stems that are vigorous and healthy, not too soft and floppy, and not too woody either. Think of it as “pencil-thick” – a good, firm but not rigid stem. This is when cuttings have the best chance of taking root quickly.
Supplies You’ll Need
Let’s get our tools ready. Having everything on hand makes the process so much smoother:
- Sterilized pruning shears or a sharp knife: Clean tools prevent disease.
- Rooting hormone powder or gel: This is a must for giving your cuttings a good head start.
- A well-draining potting mix: I like a mix of equal parts perlite, peat moss, or coco coir, and a bit of good quality potting soil. This gives them air and prevents sogginess.
- Small pots or seed trays: Clean ones, of course!
- A plastic bag or a propagation dome: To create a humid environment.
- Water: For misting and watering.
Propagation Methods
Calystegia spithamaea is a trooper and responds well to a few different methods. We’ll focus on the one I find most reliable: stem cuttings.
Stem Cuttings
This is my go-to for Calystegia. It’s straightforward and usually gives you good results.
- Take your cuttings: With your clean shears, carefully select a healthy stem. Cut a piece about 4-6 inches long. Make sure the cut is just below a leaf node (where a leaf attaches to the stem). Nodes are where the magic happens – that’s where roots will emerge.
- Prepare the cuttings: Gently remove the lower leaves from your cutting, leaving just the top two or three leaves. This prevents them from rotting in the soil. If the remaining leaves are quite large, you can cut them in half to reduce water loss.
- Apply rooting hormone: Dip the cut end of the stem into your rooting hormone powder or gel. Make sure it’s coated evenly.
- Plant the cuttings: Fill your small pots or trays with your pre-moistened potting mix. Make a small hole with your finger or a pencil, and gently insert the cutting so that at least one leaf node is buried under the soil. Firm the soil around the stem.
- Create humidity: Water the soil gently. Then, cover the pots with a plastic bag or propagation dome. This creates a mini-greenhouse effect, keeping the humidity high, which is crucial for cuttings.
The “Secret Sauce” (Pro Tips)
Here are a few little tricks I’ve learned along the way that make a difference:
- Don’t let leaves touch the water: If you decide to try water propagation (which can work for Calystegia, but I find cuttings in soil more reliable), make sure no leaves are submerged. Only the stem should be in contact with the water. Rot is a quick way to lose your cutting!
- Bottom heat is your friend: If you have the option, placing your pots on a heating mat can significantly speed up root formation. It mimics the warmth of spring soil and encourages those roots to get moving.
- Patience is a virtue (and so is observation): Check your cuttings regularly, but don’t disturb them too much. You’ll know they’re rooting when you see new growth, or when you gently tug on the cutting and feel resistance.
Aftercare & Troubleshooting
Once your cuttings have developed a decent root system – you’ll see them peeking out of the drainage holes or feel that resistance when you gently pull – it’s time to give them a little more space.
- Potting up: Carefully transplant your rooted cuttings into slightly larger individual pots. Continue to use your well-draining mix.
- Watering: Water them well after transplanting, and then let the top inch of soil dry out slightly between waterings. It’s better to underwater than to overwater at this stage.
- Light: Gradually introduce them to brighter light. Start in indirect sunlight and slowly acclimate them to more direct sun, just like you would a young seedling.
Now, what if things aren’t going as planned?
- Wilting and falling over: This is often a sign of root rot due to overwatering or poor drainage. Make sure your soil is airy and let it dry out a bit more.
- No growth: This could mean the cutting wasn’t viable, the rooting hormone didn’t work, or the conditions aren’t right (too cold, too dry). Don’t despair – just try again with fresh cuttings!
A Encouraging Closing
Propagating Calystegia spithamaea is a bit like gardening magic. It takes a little care, a pinch of science, and a whole lot of patience, but watching those first roots emerge and new growth appear is incredibly satisfying. Enjoy the process, learn from each attempt, and before you know it, you’ll have a garden brimming with these lovely white trumpets. Happy planting!
Resource:
https://identify.plantnet.org/k-world-flora/species/Calystegia%20spithamaea%20(L.)%20Pursh/data