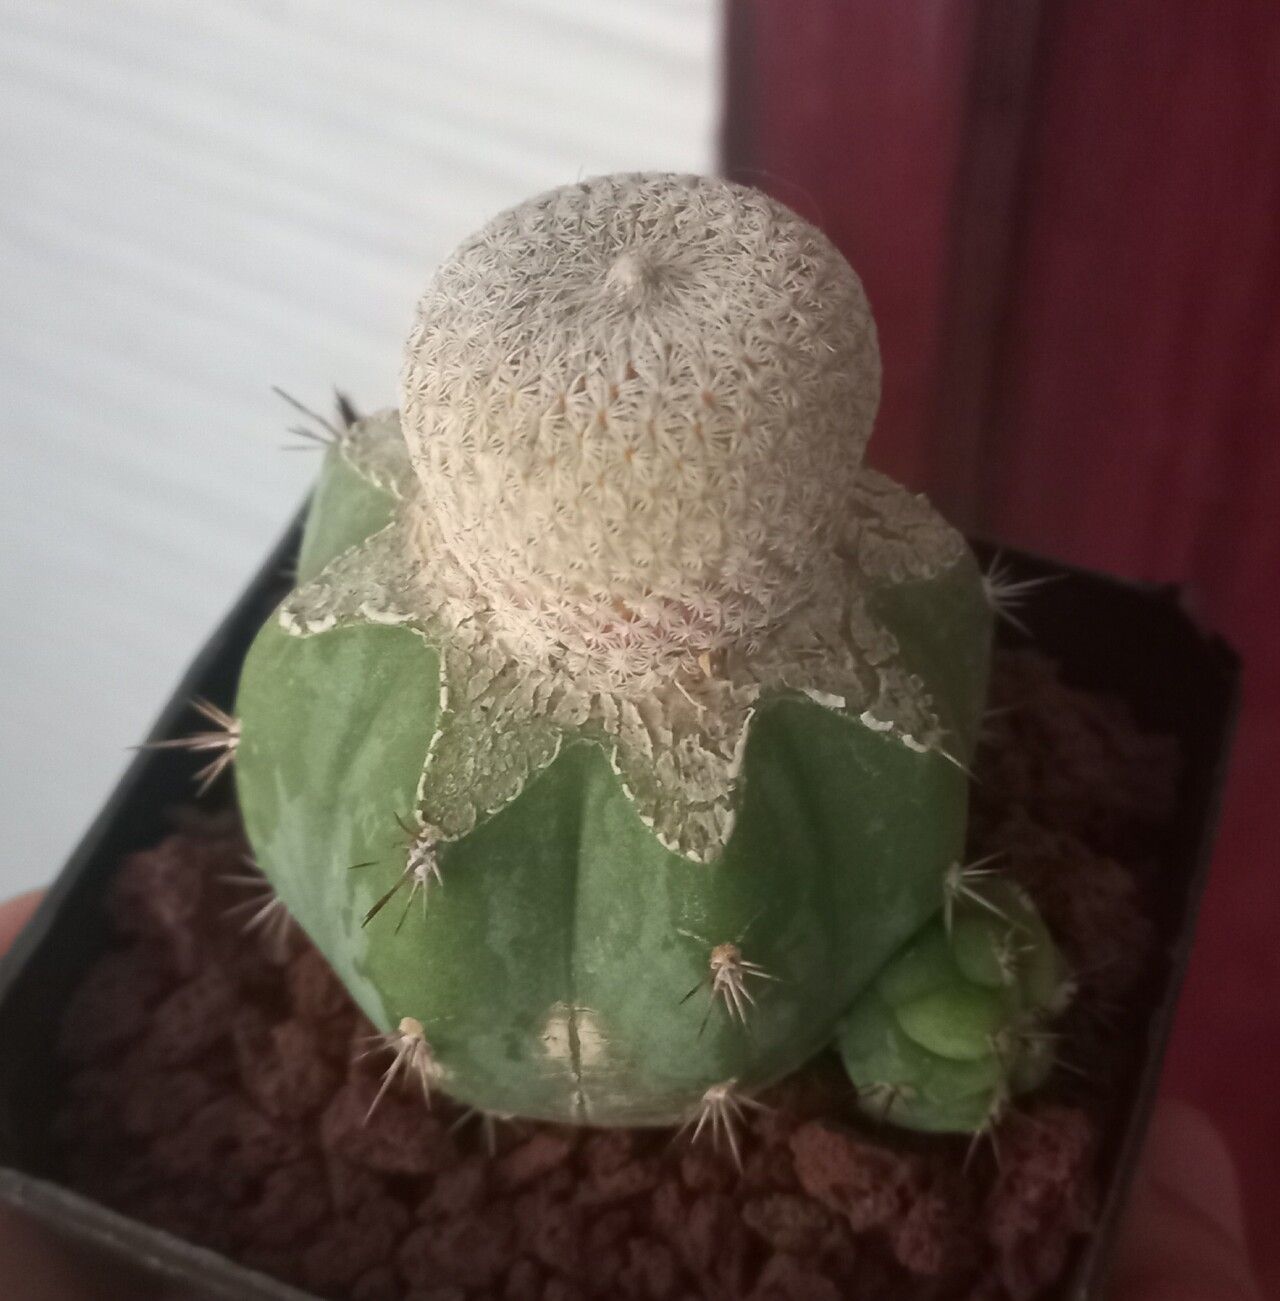
Oh, hello there! Pull up a chair and let’s chat about one of my absolute favorite desert dwellers: Epithelantha greggii, often called the Button Cactus. If you’ve ever seen one, you know the charm. It’s this adorable little sphere, covered in tiny, star-like spines that give it such a delicate, almost fuzzy appearance. They just make you want to scoop them up! Propagating them is a wonderfully rewarding journey, a chance to multiply that cuteness. Now, for beginners, I’ll be honest – Epithelantha greggii can be a touch on the finicky side. It’s not quite as straightforward as, say, a spider plant. But with a little patience and these tips, I promise you’ll feel like a pro in no time.
The Best Time to Start
When it comes to giving your cuttings the best chance, spring and early summer are your golden windows. This is when the plant is actively growing and has the most energy to put into producing new roots. You want to work with healthy, established pieces, so avoid trying to propagate from a plant that looks stressed or weak. Give it a good drink and let it perk up first!
Supplies You’ll Need
Here’s what you’ll want to have on hand for this little project:
- Well-draining soil mix: I usually go with a 50/50 blend of coarse perlite or pumice and a good quality cactus and succulent potting mix. Or, you can buy a premixed “Cactus & Succulent Mix.” The key is airy and fast-draining.
- Sharp, clean pruning shears or a very sharp knife: Sterilize them with rubbing alcohol before you start to prevent introducing any nasty bacteria.
- Rooting hormone (optional but helpful): This can give your cuttings a little boost of encouragement.
- Small pots or seed trays: Make sure they have drainage holes!
- Watering can with a fine rose or a spray bottle: Gentle watering is key.
- Newspaper or a tray: To catch any stray soil.
- Gloves (optional): Those tiny spines can be surprisingly prickly!
Propagation Methods
For Epithelantha greggii, the most reliable method is by taking offsets, which are essentially little baby plants that grow from the base of the parent. You can occasionally get pieces to root from the main body, but offsets are much easier and have a higher success rate.
- Gently Extracting the Offset: Look for small pups growing around the base of your mature Epithelantha greggii. These are usually little balls that have started to form their own tiny root nubs. Using your sterilized pruners or knife, carefully cut the offset away from the mother plant. Try to get a tiny bit of the parent’s tissue with it, if possible, as this can help with rooting.
- Callusing Time: This is a crucial step for cacti. Place the removed offset on a dry paper towel or newspaper in a well-lit spot (but out of direct, harsh sun) for 3-7 days. The cut surface needs to form a dry, callous over. This seals the wound and prevents rot when you plant it. Don’t skip this!
- Planting: Once callused, it’s time to plant. Dip the callused end into rooting hormone if you’re using it. Then, gently press the offset into your prepared, dry soil mix. Don’t bury it too deep; just let it sit on the surface with its base slightly nestled.
- Waiting for Roots: Now comes the quiet waiting game. DO NOT water immediately. Wait at least another week after planting before giving it its first, very light watering. You want to encourage those roots to search for moisture.
The “Secret Sauce” (Pro Tips)
Here are a couple of things I’ve learned over the years that really make a difference:
- The Gentle Touch: When you’re watering new cuttings, avoid getting water directly on the body of the cactus for the first few weeks. Focus on moistening the soil around the base. This helps prevent those little nubs from getting waterlogged and rotting before they’ve even established.
- Warmth is Welcome: Cacti absolutely love warmth, but they hate being soggy. If you’re propagating in a cooler space, consider using a seedling heat mat placed underneath the pots. This gentle bottom heat encourages root development without drying out the delicate tissues too quickly. Just make sure the heat isn’t too intense – you don’t want to cook them!
Aftercare & Troubleshooting
Once you start to see signs of new growth – maybe a little plumpness to the offset or even a tiny new spine – you know roots are forming! Begin watering more regularly, but always allow the soil to dry out completely between waterings. Think of it like desert rain cycles: a good soak, then dry for a while.
The biggest challenge you might face is rot. If your offset starts to look mushy, discolored (often brown or black), or if it just collapses, it’s likely succumbed to rot. This is usually due to too much moisture or not allowing it to callus properly. If you catch it early, you might be able to cut away the rotted part and try to callus and replant the healthy section, but sometimes it’s a loss. Don’t get discouraged if it happens – it’s all part of the learning curve with these plants.
A Encouraging Closing
So there you have it! Propagating these little Button Cacti can feel like a delicate dance, but the reward of watching a new, tiny specimen emerge is truly special. Be patient with yourself and the plants. Enjoy the process, observe closely, and don’t be afraid to learn from any little setbacks. Happy propagating, and may your Epithelantha greggii adventures be fruitful!
Resource:
https://identify.plantnet.org/k-world-flora/species/Epithelantha%20greggii%20(Engelm.)%20Orcutt/data