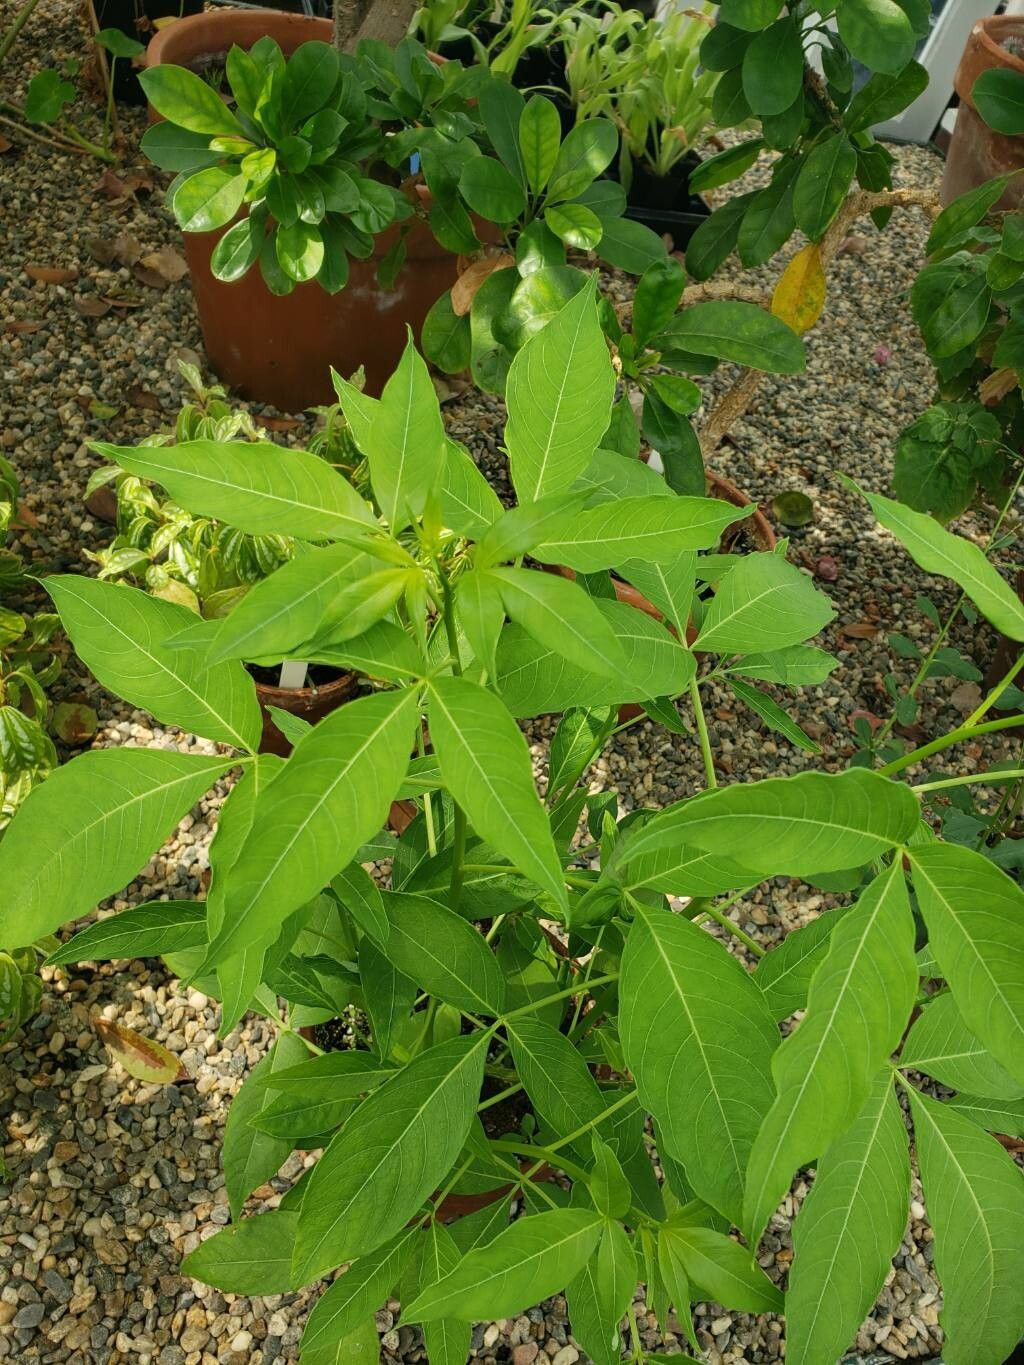
Hello fellow plant lovers! I’m so excited to talk to you today about a real gem: Tovaria pendula. If you’ve ever seen this beauty cascading from a hanging basket, its delicate, almost ethereal foliage trailing downwards, you know exactly why it’s so captivating. It brings such a lovely, soft texture to any space, and the satisfaction of growing your own from scratch? Pure joy! Now, is Tovaria pendula a beginner-friendly plant to propagate? I’d say it’s moderately easy – with a little know-how and patience, you’ll be well on your way.
The Best Time to Start
Generally, I find the spring and early summer to be the absolute sweet spot for propagating Tovaria pendula. This is when the plant is actively growing and has plenty of energy to dedicate to making new roots. You can certainly try in other seasons, but you might find your success rate a bit lower. Look for healthy, vigorous stems that aren’t flowering or fruiting – those are the ones you want to work with.
Supplies You’ll Need
Here’s what you’ll want to gather before you get started:
- Clean, sharp pruning shears or scissors: A clean cut is crucial to prevent disease.
- Rooting hormone (optional but recommended): This can give your cuttings a significant boost. Look for one formulated for stem cuttings.
- Well-draining potting mix: A good blend of peat moss, perlite, and a bit of compost works wonders. You can also use a specialist seed-starting mix.
- Small pots or trays: Clean ones are a must!
- Plastic bags or humidity domes: To maintain a humid environment.
- Watering can or mister: For gentle watering.
- Labels and a pen: To keep track of your projects!
Propagation Methods
Tovaria pendula can be propagated through a couple of reliable methods. I usually find stem cuttings to be my go-to.
Stem Cuttings:
- Select your stem: Find a healthy stem that’s at least 4-6 inches long. You want one that’s semi-hardwood – not brand new and floppy, but not old and woody either.
- Make the cut: Using your clean pruning shears, make a cut just below a leaf node. This is where roots tend to form most readily.
- Prepare the cutting: Gently remove the lower leaves, leaving just a few at the top. This prevents them from rotting in the soil. If your cutting is particularly long, you can even cut it in half at a node, creating two potential plants.
- Apply rooting hormone (optional): Dip the cut end of the stem into your rooting hormone. Tap off any excess.
- Planting: Fill your small pots with your prepared potting mix. Make a pilot hole with a pencil or your finger, and then insert the cutting. Gently firm the soil around the base to ensure good contact.
- Water and cover: Water the soil gently until it’s moist but not soggy. Then, cover the pot with a plastic bag or a humidity dome. This creates a mini-greenhouse effect, keeping the humidity high, which is vital for cuttings to root.
- Placement: Place the pots in a bright spot with indirect light. Avoid direct sun, as this can scorch the delicate cuttings.
Water Propagation (also a good option!):
- Prepare your cuttings: Follow steps 1-3 from the stem cutting method.
- Place in water: Stick the cut end of your cuttings into a clean jar or glass of water. Make sure no leaves are submerged – they will rot!
- Change water regularly: Change the water every few days to keep it fresh and prevent bacterial growth.
- Placement: Like the soil cuttings, place these in bright, indirect light.
- Watch for roots: You should see tiny white roots beginning to form within a few weeks. Once these roots are about an inch long, you can gently transplant them into your well-draining potting mix, following step 5 from the stem cutting method.
The “Secret Sauce” (Pro Tips)
Here are a couple of things I’ve learned over the years that really make a difference:
- Don’t let those leaves touch the water (if water propagating)! I’ve seen so many hopeful cuttings fail because the foliage rotted away in the water. It’s a simple step, but so important.
- Bottom heat is your friend! If you’re serious about getting a good strike rate, especially with cuttings in soil, pop them on a propagation mat. That gentle warmth from below tells the plant, “Hey, it’s time to make roots!” It can truly speed things up.
- Mist, don’t soak! When your cuttings are under cover, a light misting of the leaves every day or two can help keep them turgid and happy. You don’t want to drown them, just give them a refreshing spritz.
Aftercare & Troubleshooting
Once you see signs of new growth – little leaves unfurling or a gentle tug showing resistance in the soil – that’s a good indication that roots have formed!
- Acclimatize: Gradually introduce your new plant to less humid conditions. Start by lifting the plastic bag or humidity dome for a few hours each day, slowly increasing the time until it’s completely removed.
- Watering: Water your new plant when the top inch of soil feels dry. Don’t let it sit in water.
- Light: Continue to provide bright, indirect light.
The most common problem you might encounter is rot. This usually happens if the cuttings are kept too wet or lack sufficient air circulation. If you see stems turning black and mushy, unfortunately, it’s a sign the cutting hasn’t made it. Don’t be discouraged! Just clean your tools and try again with a fresh cutting. Sometimes, a bit of experimentation is part of the fun.
A Encouraging Closing
Propagating Tovaria pendula is a wonderful way to expand your collection and share your love for plants with friends. Be patient with the process. Nature has its own pace, and seeing those tiny roots emerge and new leaves unfurl is incredibly rewarding. Enjoy the journey, breathe deep, and have fun creating more of this beautiful cascade! Happy growing!
Resource:
https://identify.plantnet.org/k-world-flora/species/Tovaria%20pendula%20Ruiz%20&%20Pav./data