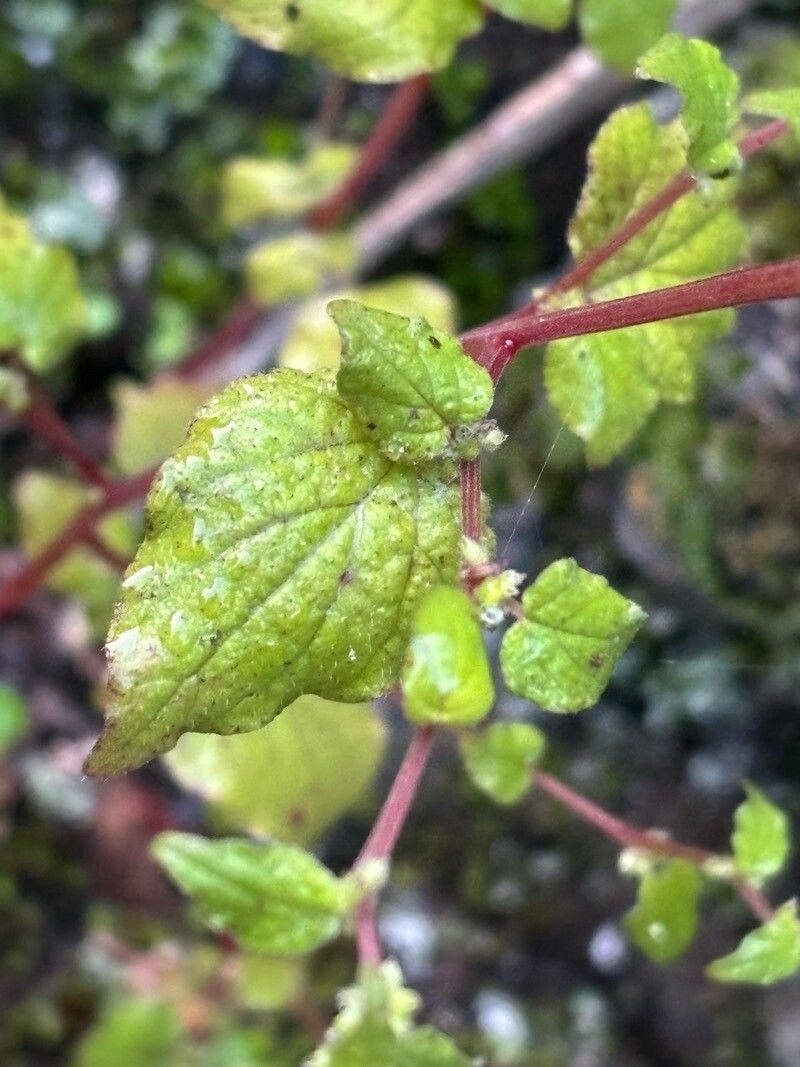
Oh, Parietaria debilis! Isn’t it a darling? I’ve always adored its delicate, almost ethereal foliage. It brings a touch of wild charm to any space, whether you’re letting it cascade from a hanging basket, tucking it into a terrarium, or even letting it naturalize in a shady corner of your garden. And the best part? It’s surprisingly easy to share! If you’re just dipping your toes into the world of plant propagation, you’ll be delighted to know that Parietaria debilis is a wonderfully forgiving friend to start with.
The Best Time to Start
For the highest success rates, I always aim to propagate Parietaria debilis in late spring or early summer. This is when the plant is in its most vigorous growth phase, meaning its stems are full of life and ready to sprout new roots. You can attempt it at other times, of course, but you might find your cuttings are a bit more sluggish.
Supplies You’ll Need
Here’s what I keep within reach when I’m ready to get propagating:
- Sharp pruning shears or a clean knife: For making clean cuts.
- Rooting hormone (optional but helpful): A powder or gel that encourages root development.
- A quality potting mix: I like a blend of peat moss, perlite, and a bit of worm castings. A mix specifically for cuttings works wonderfully too.
- Small pots or seed starting trays: Clean and with drainage holes.
- Watering can or mister: For gentle watering.
- Clear plastic bags or propagation domes: To create a humid environment.
- A warm spot: Near a window that gets bright, indirect light.
Propagation Methods
Parietaria debilis is a champion when it comes to stem cuttings, and that’s my go-to method. It’s straightforward and yields fantastic results!
Stem Cuttings
- Take Your Cuttings: Using your sharp shears, snip a healthy stem that’s about 4-6 inches long. I prefer to take cuttings from stems that have not bloomed. Make your cut just below a leaf node, which is that little bump where a leaf attaches to the stem.
- Prepare the Cuttings: Gently remove the lower leaves from the cutting, leaving just a couple of leaves at the very top. This prevents the buried leaves from rotting. If you’re using rooting hormone, dip the cut end into the powder or gel now. Tap off any excess.
- Plant Your Cuttings: Fill your small pots or trays with your prepared potting mix. Moisten the soil thoroughly. Make a small hole in the center of the soil with your finger or a pencil.
- Insert the Cuttings: Place the cut end of each Parietaria debilis cutting into the hole, ensuring at least one leaf node is buried beneath the soil surface. Gently firm the soil around the cutting.
- Create Humidity: Water lightly again, and then cover the pots or trays with a clear plastic bag or propagation dome. This traps humidity, which is crucial for successful rooting.
- Provide Light: Place your propagation setup in a location that receives bright, indirect light. Avoid direct sunlight, as it can scorch the delicate new cuttings.
Water Propagation (A Fun Alternative!)
If you’re feeling adventurous, try water propagation!
- Prepare the Cuttings: Follow steps 1 and 2 from the stem cuttings method above.
- Place in Water: Put your cuttings in a clean glass or jar filled with distilled or filtered water.
- Change the Water Regularly: This is key! Change the water every 2-3 days to keep it fresh and prevent bacterial growth. Make sure no leaves are submerged in the water.
- Watch for Roots: You should start seeing tiny white roots emerge from the leaf nodes in a few weeks. Once the roots are about an inch long, you can transplant them into potting mix.
The “Secret Sauce” (Pro Tips)
Here are a couple of things I’ve learned over the years that really make a difference:
- Don’t Overcrowd: I know it’s tempting to cram as many cuttings into a pot as possible, but give them a little breathing room. This improves air circulation, which helps prevent fungal issues.
- Bottom Heat is Your Friend: If you have a heated propagation mat, using one can significantly speed up root development. It mimics the warmth of spring soil and gives those roots a real boost! Don’t let the soil get too hot, though – just a gentle warmth is perfect.
Aftercare & Troubleshooting
Once you see new growth emerging from your cuttings, that’s a wonderful sign! It means roots are forming.
- Acclimatize: After a few weeks, gradually remove the plastic bag or dome for longer periods each day. This helps the new plants adjust to normal humidity levels.
- Watering: Keep the soil consistently moist but not waterlogged. Overwatering is the most common killer of young cuttings, leading to root rot. You’ll notice stems turning mushy or black at the base if rot sets in.
- Transplanting: When your new plants have developed a good root system and look sturdy (you can gently tug them – if there’s resistance, they’re ready), it’s time to transplant them into their own individual pots. Continue to care for them as you would a mature Parietaria debilis.
A Little Patience Goes a Long Way
Propagating plants is a journey, and sometimes things don’t work out perfectly the first time. Don’t be discouraged if a few cuttings don’t take. Keep trying, observe your plants, and trust your instincts. The reward of watching a new life sprout from a simple cutting is truly special. Happy propagating!
Resource:
https://identify.plantnet.org/k-world-flora/species/Parietaria%20debilis%20G.Forst./data