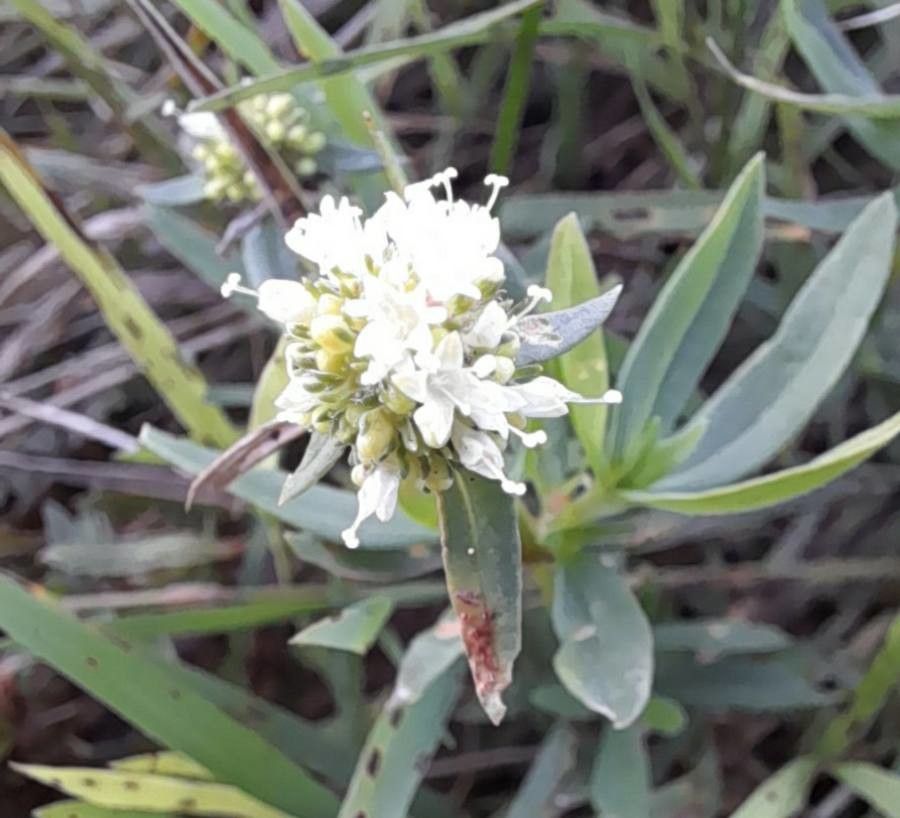
Oh, hello there! So glad you’ve stopped by. Today, we’re going to talk about a little plant that’s captured my heart over the years: Spermacoce verticillata. You might know it by its common names, like Verticillata Buttonweed or just Verticillata. It’s got these wonderfully delicate, star-shaped white flowers that just seem to shimmer in the sun, and it’s a pollinator magnet. Plus, it has this lovely, spreading habit that can fill in spaces beautifully. Growing more of it is such a satisfying way to share its charm with friends or simply expand your own garden oasis. And I’m happy to tell you, Spermacoce verticillata propagation is surprisingly straightforward – even for beginners!
The Best Time to Start
For the highest success rate, I always recommend starting your propagation efforts in late spring or early summer. This is when the plant is in its active growth phase. The days are longer, the sun is warmer, and the stems are producing lovely new growth that’s perfect for taking cuttings. You can really feel the energy of the garden at this time, and your little propagation projects will benefit from it, too.
Supplies You’ll Need
Here’s what you’ll want to have on hand:
- Sharp, clean pruning shears or a sharp knife: Crucial for making clean cuts that heal well.
- Small pots or seed trays: Anything that can hold soil and provide drainage.
- A good quality potting mix or a seed-starting mix: I often like to mix in some perlite or coarse sand for extra drainage. A 50/50 blend of peat moss and perlite is a favorite of mine.
- Rooting hormone (optional but recommended): This can give your cuttings a helpful boost.
- A plastic bag or humidity dome: To create a mini greenhouse effect.
- Watering can with a fine rose or a spray bottle: For gentle watering.
Propagation Methods
Spermacoce verticillata is wonderfully versatile, but I find stem cuttings to be the most reliable and efficient method.
Propagation by Stem Cuttings:
- Select your cuttings: Look for healthy, vigorously growing stems. You want pieces that are about 3-5 inches long. Ideally, these will be from current year’s growth, not the old, woody stems.
- Make the cut: Using your clean shears or knife, make a clean cut just below a leaf node. A leaf node is where a leaf attaches to the stem. This is where the magic happens – that’s where roots will form!
- Prepare the cutting: Gently remove the lower leaves from the cutting. You want to leave just a few leaves at the top to help with photosynthesis. If the remaining leaves are very large, you can even cut them in half horizontally to reduce water loss.
- Apply rooting hormone (optional): If you’re using rooting hormone, dip the cut end of the stem into the powder or gel. Tap off any excess.
- Plant your cuttings: Fill your small pots or trays with your prepared potting mix. Make a small hole in the center with your finger or a pencil. Insert the cut end of the stem into the hole, ensuring at least one leaf node is buried in the soil. Gently firm the soil around the cutting.
- Water thoroughly: Water your cuttings gently but thoroughly until water drains from the bottom of the pot.
- Create humidity: Cover the pot with a plastic bag or place it under a humidity dome. This is essential to keep the moisture levels high around the cuttings, preventing them from drying out while they try to root. You can secure the bag with a rubber band around the rim of the pot.
The “Secret Sauce” (Pro Tips)
Here are a few tricks of the trade that really seem to help:
- Don’t let the lower leaves touch the soil. If they sit in moist soil, they can quickly rot. Pinch off any leaves that might be too close to the soil line.
- Bottom heat is a game-changer! Placing your pots on a heated propagation mat really speeds up root development. It mimics the warmth of summer soil and encourages those roots to form much faster. If you don’t have a mat, just place them in a warm spot, but bottom heat is definitely worth investing in if you propagate a lot.
- Air circulation is key: While you want to maintain humidity, you don’t want stagnant, wet air. Once a day, remove the plastic bag for a few minutes to allow for some air exchange. This helps prevent fungal diseases from taking hold.
Aftercare & Troubleshooting
Once your cuttings have successfully rooted – you’ll usually see new leaf growth and feel a bit of resistance when you gently tug on the stem – it’s time for a little more attention.
- Acclimate slowly: Gradually remove the humidity cover over a few days. Start by taking it off for a few hours each day, then longer.
- Watering: Continue to water them as needed, being careful not to overwater. Let the top inch of soil dry out between waterings.
- Transplanting: Once the new plants are robust and have a good root system, you can transplant them into slightly larger pots.
What if things aren’t going as planned? The most common issue is rot. If your cuttings turn black and mushy, it’s usually a sign of too much moisture and not enough air circulation. In this case, unfortunately, they’re likely lost. If you see no new growth after a few weeks, don’t despair! Sometimes they just take their sweet time. Make sure they’re in a warm, bright spot, and be patient.
A Encouraging Closing
Watching a new plant emerge from a tiny cutting is truly a marvel. It’s a testament to the resilience of nature and your own green thumb. Don’t get discouraged if your first attempts aren’t perfect. Gardening is a journey of learning and experimenting. So, grab your shears, get your hands in the soil, and enjoy the process of bringing more of these beautiful Spermacoce verticillata into your life. Happy propagating!
Resource:
https://identify.plantnet.org/k-world-flora/species/Spermacoce%20verticillata%20L./data