Hello fellow plant lovers! Today, we’re diving into something truly special: propagating Anthoxanthum repens. If you’re drawn to its delightful charm – that lovely, creeping habit and subtle, sweet fragrance – then you’re in for a treat. Being able to create more of this beauty from cuttings or divisions is incredibly satisfying, and I’m happy to say, it’s a wonderfully rewarding project, even for those just starting their gardening journey.
The Best Time to Start
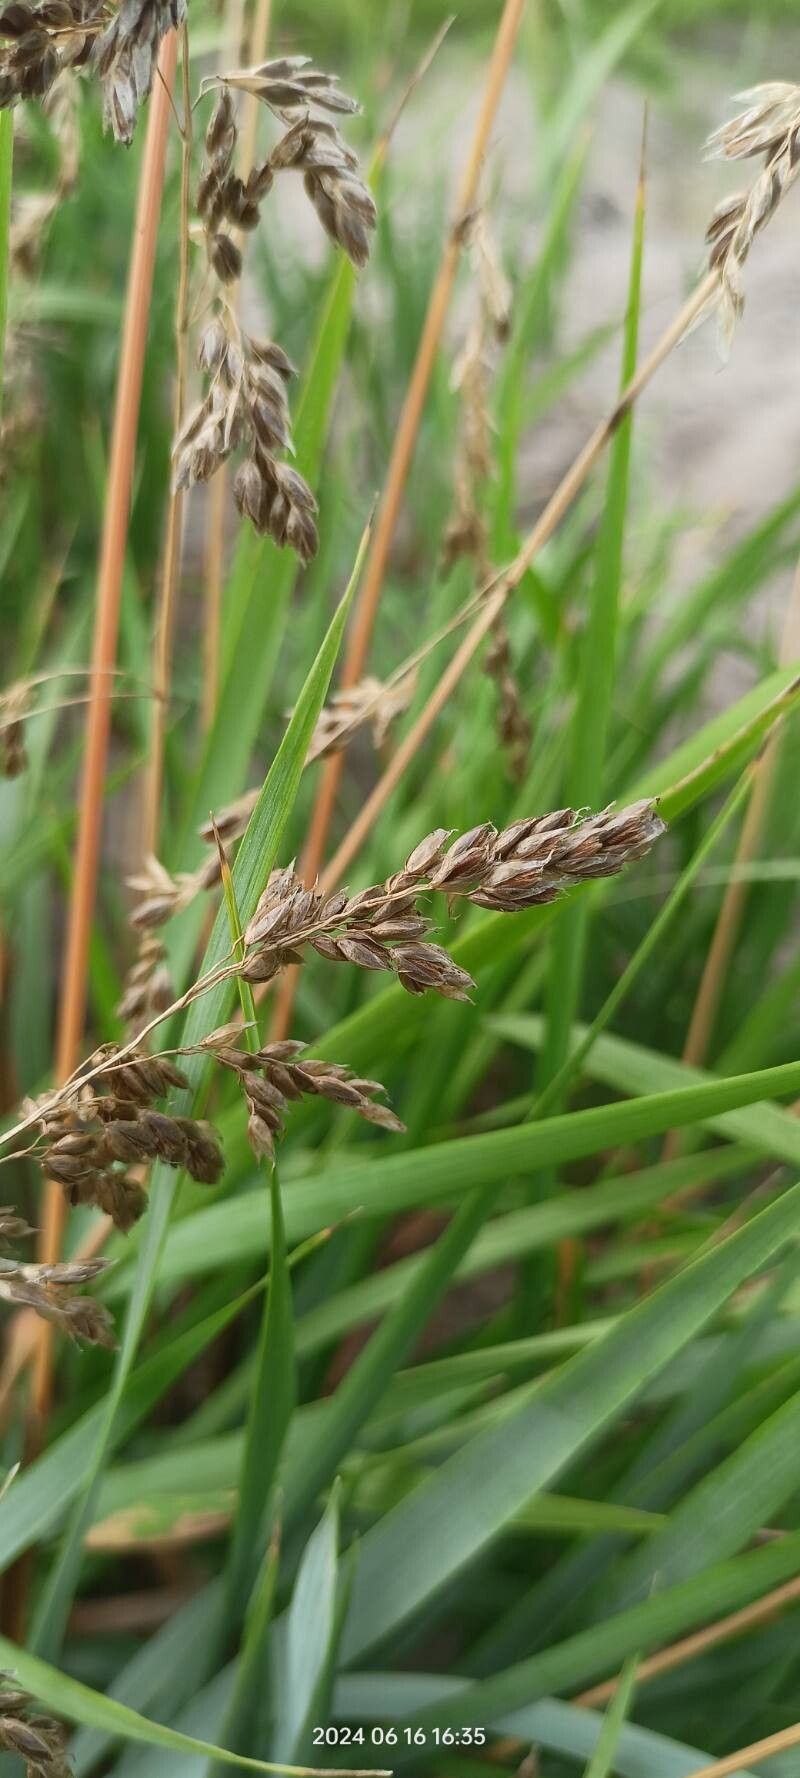
For Anthoxanthum repens, the prime time to get your propagation on is late spring or early summer. This is when the plant is actively growing and full of vigor. New shoots are tender and pliable, making them ideal for taking cuttings. If you’re looking at dividing an established clump, you can also do this in early spring as new growth begins to emerge. Waiting until the plant is really waking up gives it the best chance to establish itself quickly.
Supplies You’ll Need
Gathering your supplies beforehand makes the whole process smooth sailing. Here’s what I usually have on hand:
- Sharp, clean pruning shears or a craft knife: For making precise cuts.
- Rooting hormone (optional but recommended): This isn’t strictly necessary for Anthoxanthum repens as it roots quite readily, but it can give you a nice boost.
- A good quality potting mix: I prefer a blend that’s light and drains well. A mix of peat moss, perlite, and a bit of compost works beautifully. For stem cuttings, adding extra perlite helps keep things airy.
- Small pots or a propagation tray: Clean pots are a must to prevent diseases.
- Watering can with a fine rose or misting bottle: Gentle watering is key.
- A plastic bag or propagation dome: To create a humid environment for cuttings.
- Labels and a marker: So you don’t forget what you’ve planted!
Propagation Methods
Let’s get our hands dirty! Anthoxanthum repens is quite adaptable, so both stem cuttings and division are excellent methods.
Stem Cuttings
This is my go-to method for multiplying these charming plants.
- Take your cuttings: Look for healthy, non-flowering stems that are about 3-4 inches long. Make a clean cut just below a leaf node (where a leaf attaches to the stem).
- Prepare the cuttings: Gently remove the lower leaves, leaving just a few at the top. This prevents them from rotting when buried.
- Apply rooting hormone (if using): Dip the cut end of the stem into the rooting hormone powder, tapping off any excess.
- Plant the cuttings: Fill your small pots or propagation tray with your well-draining potting mix. Make small holes with a pencil or your finger, and insert the prepared cuttings, ensuring the leaf nodes are buried. Give them a gentle firming.
- Water gently: Water thoroughly but avoid waterlogging the soil.
- Create humidity: Cover the pots with a plastic bag, sealing it gently around the rim, or place them under a propagation dome. This keeps the humidity high, which is crucial for cuttings to root. Place them in a bright spot out of direct sunlight.
Division
If you have a mature clump, division is a quick and effective way to get new plants.
- Prepare your plant: Water the mature plant well a day or two before you plan to divide it. This helps reduce transplant shock.
- Remove from the pot (if applicable) or carefully dig it up: Gently loosen the soil around the base.
- Separate the root ball: You can use your hands, two forks, or a clean spade to gently pull apart the root ball into sections. Aim for sections that have both roots and healthy shoots.
- Pot up the divisions: Plant each division in its own pot filled with fresh, moist potting mix.
- Water and place: Water each division well and place them in a bright spot, away from scorching sun, until they are re-established.
The “Secret Sauce” (Pro Tips)
Here are a couple of little tricks I’ve learned over the years that really make a difference:
- Don’t let the leaves touch the soil when taking cuttings: This is so important! Any leaves sitting in the soil are just inviting fungal issues and rot. Nip them off or ensure they’re held just above the surface.
- A touch of bottom heat can work wonders: If you have a heat mat for seedlings, placing your propagation tray on it can significantly speed up root development, especially in cooler environments. It mimics the warmth of spring soil beautifully.
Aftercare & Troubleshooting
Once you see signs of new growth on your cuttings – tiny leaves unfurling or a tug on the stem indicating roots – you’re on the right track!
- Acclimatize your cuttings: Gradually introduce them to less humid conditions by opening the plastic bag or propagation dome a little each day over a week.
- Water consistently: Keep the soil consistently moist but not soggy. Overwatering is the most common pitfall and can lead to root rot, which will look like wilting, yellowing leaves, and a mushy stem base. If you see this, it’s usually too late to save the cutting.
- Gradually introduce to brighter light: As your new plants get stronger, you can slowly move them to brighter light conditions.
A Little Patience Goes a Long Way
Propagating plants is a journey, and with Anthoxanthum repens, you’ll find it’s a very rewarding one. Enjoy the process of nurturing these tiny new shoots, and don’t be discouraged if not every cutting takes. Learning what works best in your specific garden conditions is part of the fun. Happy propagating!
Resource:
https://identify.plantnet.org/k-world-flora/species/Anthoxanthum%20repens%20(Host)%20Veldkamp/data