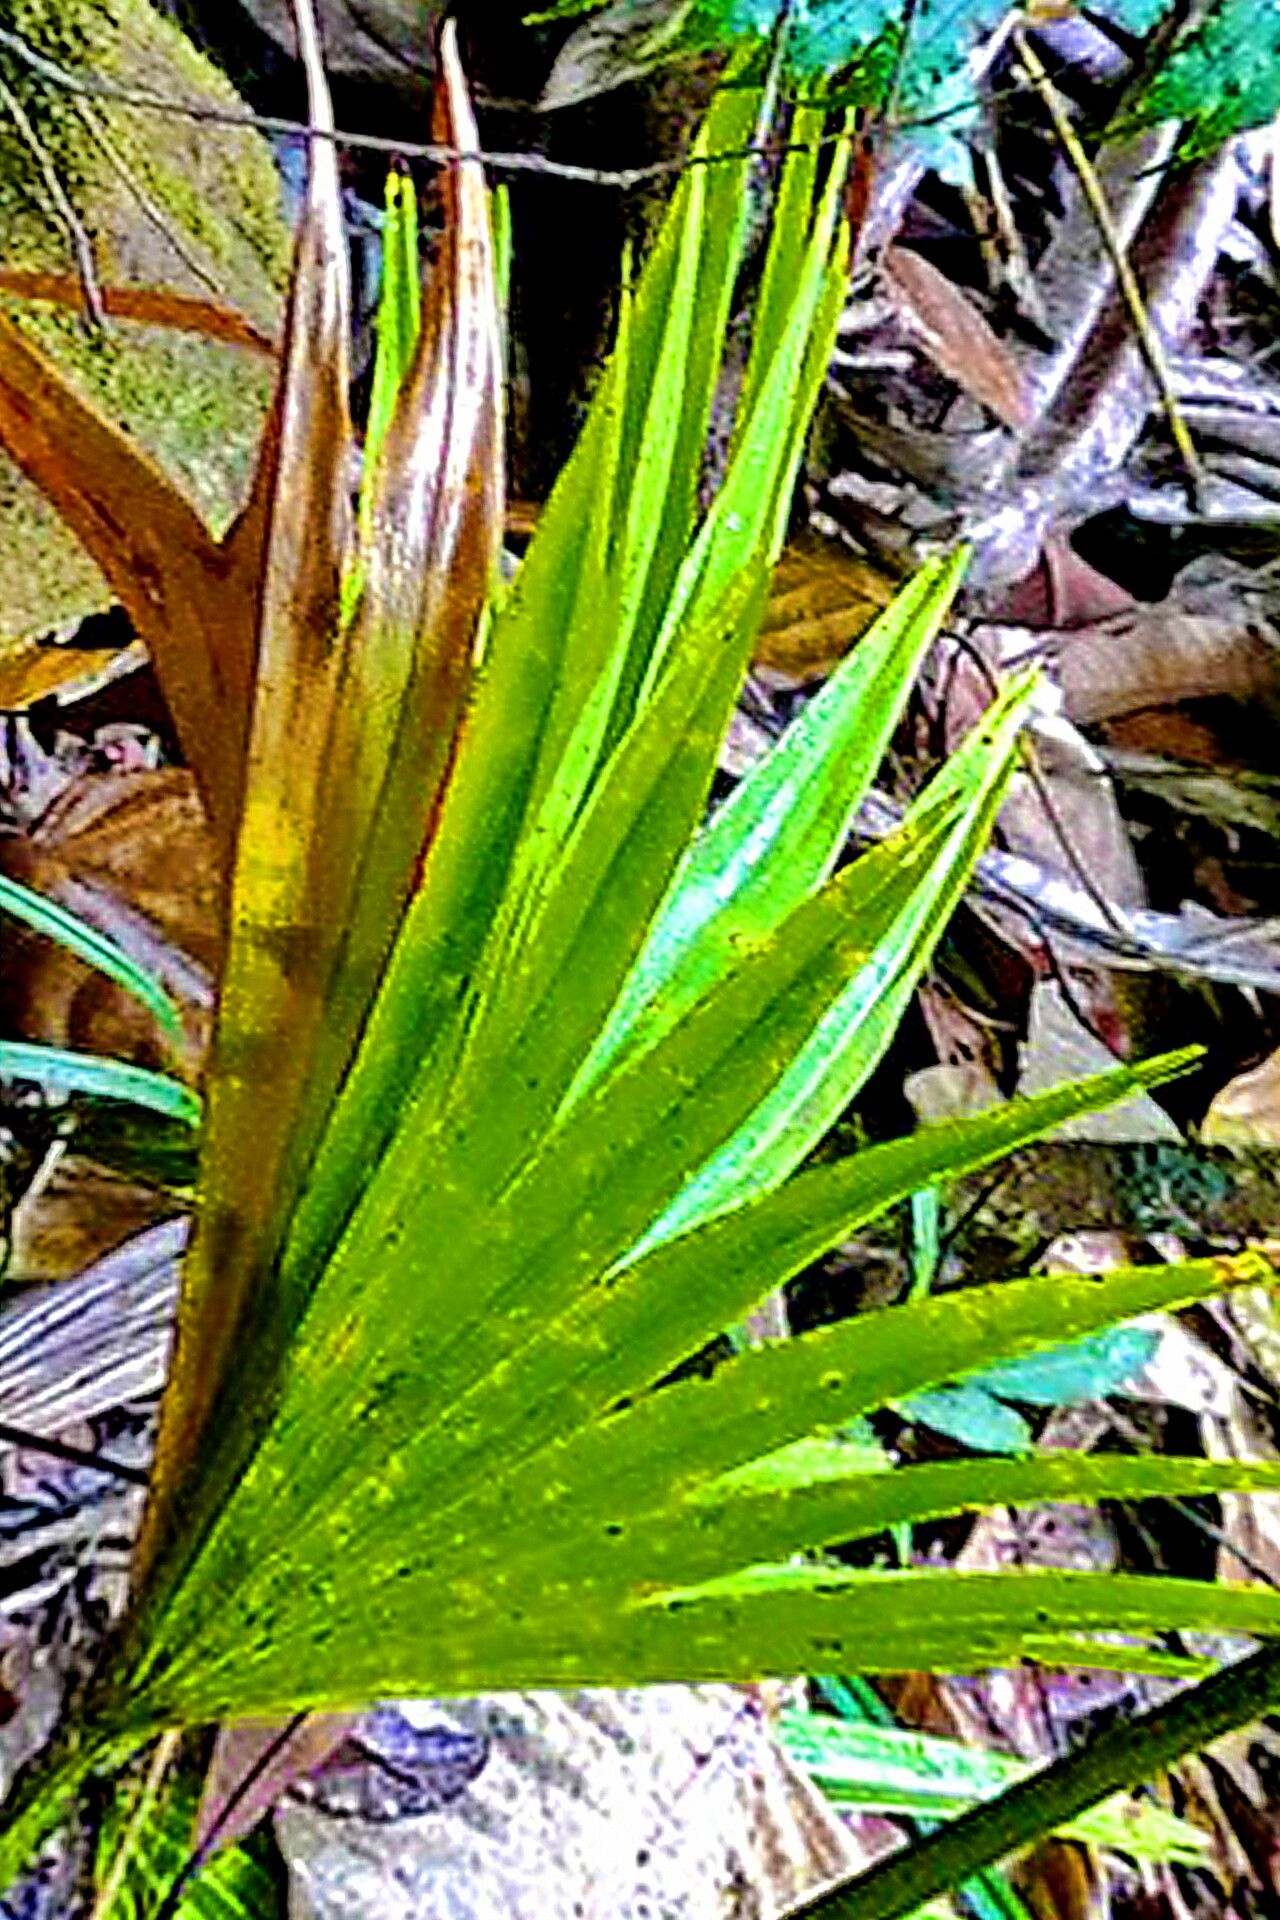
Hello there, fellow plant lovers! Today, we’re diving into the wonderful world of Saribus jeanneneyi, also affectionately known as the Lipstick Palm. If you’ve ever admired its vibrant red stems and lush, arching fronds, you’re not alone. It’s a real showstopper in any tropical garden or sunroom. And the best part? You can actually grow more of these beauties yourself! Propagating Saribus jeanneneyi is a deeply rewarding experience, watching a tiny piece of your original plant flourish into a whole new specimen. For beginners, I’d say it’s moderately easy – a little patience goes a long way, and with these tips, you’ll be well on your way.
The Best Time to Start
When is the magic hour for starting new Saribus plants? Spring and early summer are your best bets. This is when the plant is actively growing and has the most energy to dedicate to establishing new roots. You’re looking for healthy, mature plants that are showing good vigor. Avoid propagating from plants that look stressed or are just coming out of a dormant period.
Supplies You’ll Need
Before we get our hands dirty, let’s gather our tools:
- Sharp pruning shears or a clean, sharp knife: For making clean cuts.
- Well-draining potting mix: A good blend of peat moss, perlite, and a bit of compost works wonderfully. You want something that holds moisture but doesn’t get waterlogged.
- Small pots or propagation trays: Ensure they have drainage holes.
- Rooting hormone (optional but recommended): A powder or gel can give your cuttings a significant boost.
- Plastic bags or a clear propagation dome: To create a humid environment.
- Watering can or spray bottle: For gentle watering.
- A warm, bright location: But out of direct, harsh sunlight.
Propagation Methods
Saribus jeanneneyi is most commonly propagated through division. This is where you separate the offsets or “pups” that grow from the base of the mother plant.
Method: Division
- Carefully remove the mother plant from its pot. If it’s in the ground, gently dig around the root ball.
- Inspect the base of the plant. You’ll likely see smaller shoots or offshoots growing around the main trunk. These are your potential new plants!
- Gently untangle the roots. You want to separate an offset that has its own root system. If the roots are tightly bound, you might need to use your knife or shears to carefully cut through them, ensuring each division has a good chunk of roots.
- Prepare your new pots. Fill them with your well-draining potting mix.
- Plant the divisions. Make a small hole in the potting mix and place the division in, ensuring the roots are spread out. The crown of the plant (where the stem meets the roots) should be at or slightly above soil level.
- Water gently. Settle the soil around the roots.
- Place in a warm, humid spot. Cover the pots with a plastic bag or propagation dome to retain humidity. Crucially, make sure the leaves of the new division do not touch the plastic. This can lead to rot.
The “Secret Sauce” (Pro Tips)
Here are a few things I’ve learned over the years that can make a real difference:
- Don’t be afraid of a clean cut. When separating divisions, a sharp tool makes a clean wound, which heals better and reduces the risk of disease. If you do need to cut through roots, consider dusting the cut end with cinnamon – it’s a natural fungicide!
- Bottom heat is your friend. If you have a seedling heat mat, place your pots on top of it. This gentle warmth encourages root development, especially if your propagation area isn’t naturally very warm.
- Patience with watering. After potting up your divisions, water them well initially. Then, let the top inch of soil dry out between waterings. Overwatering is the quickest way to kill a new propagation.
Aftercare & Troubleshooting
Once your new Saribus jeanneneyi plants are potted, keep them in that humid, bright-but-indirect light environment. You’ll start to see new leaf growth, which is a great sign!
The most common problem you’ll encounter is rot. This usually happens if the soil stays too wet or if the plant isn’t getting enough air circulation. If you see yellowing leaves that are mushy at the base, or a general wilting that doesn’t improve with watering, it’s a sign of rot. At this point, unfortunately, the division may not be salvageable. If you catch it early, you can try removing the rotted parts and repotting in fresh, dry soil, but prevention is key. Stunted growth or no new growth could mean it’s still developing roots, or it might not have taken. Stick with it for a few weeks before assuming the worst.
A Encouraging Closing
Propagating plants is a journey, and sometimes the biggest lesson is patience. Don’t get discouraged if your first attempt isn’t a roaring success. Each plant you nurture, each root you coax into existence, is a small victory. So grab your tools, get your hands in the soil, and enjoy the wonderful process of growing more of these gorgeous palms. Happy propagating!
Resource: