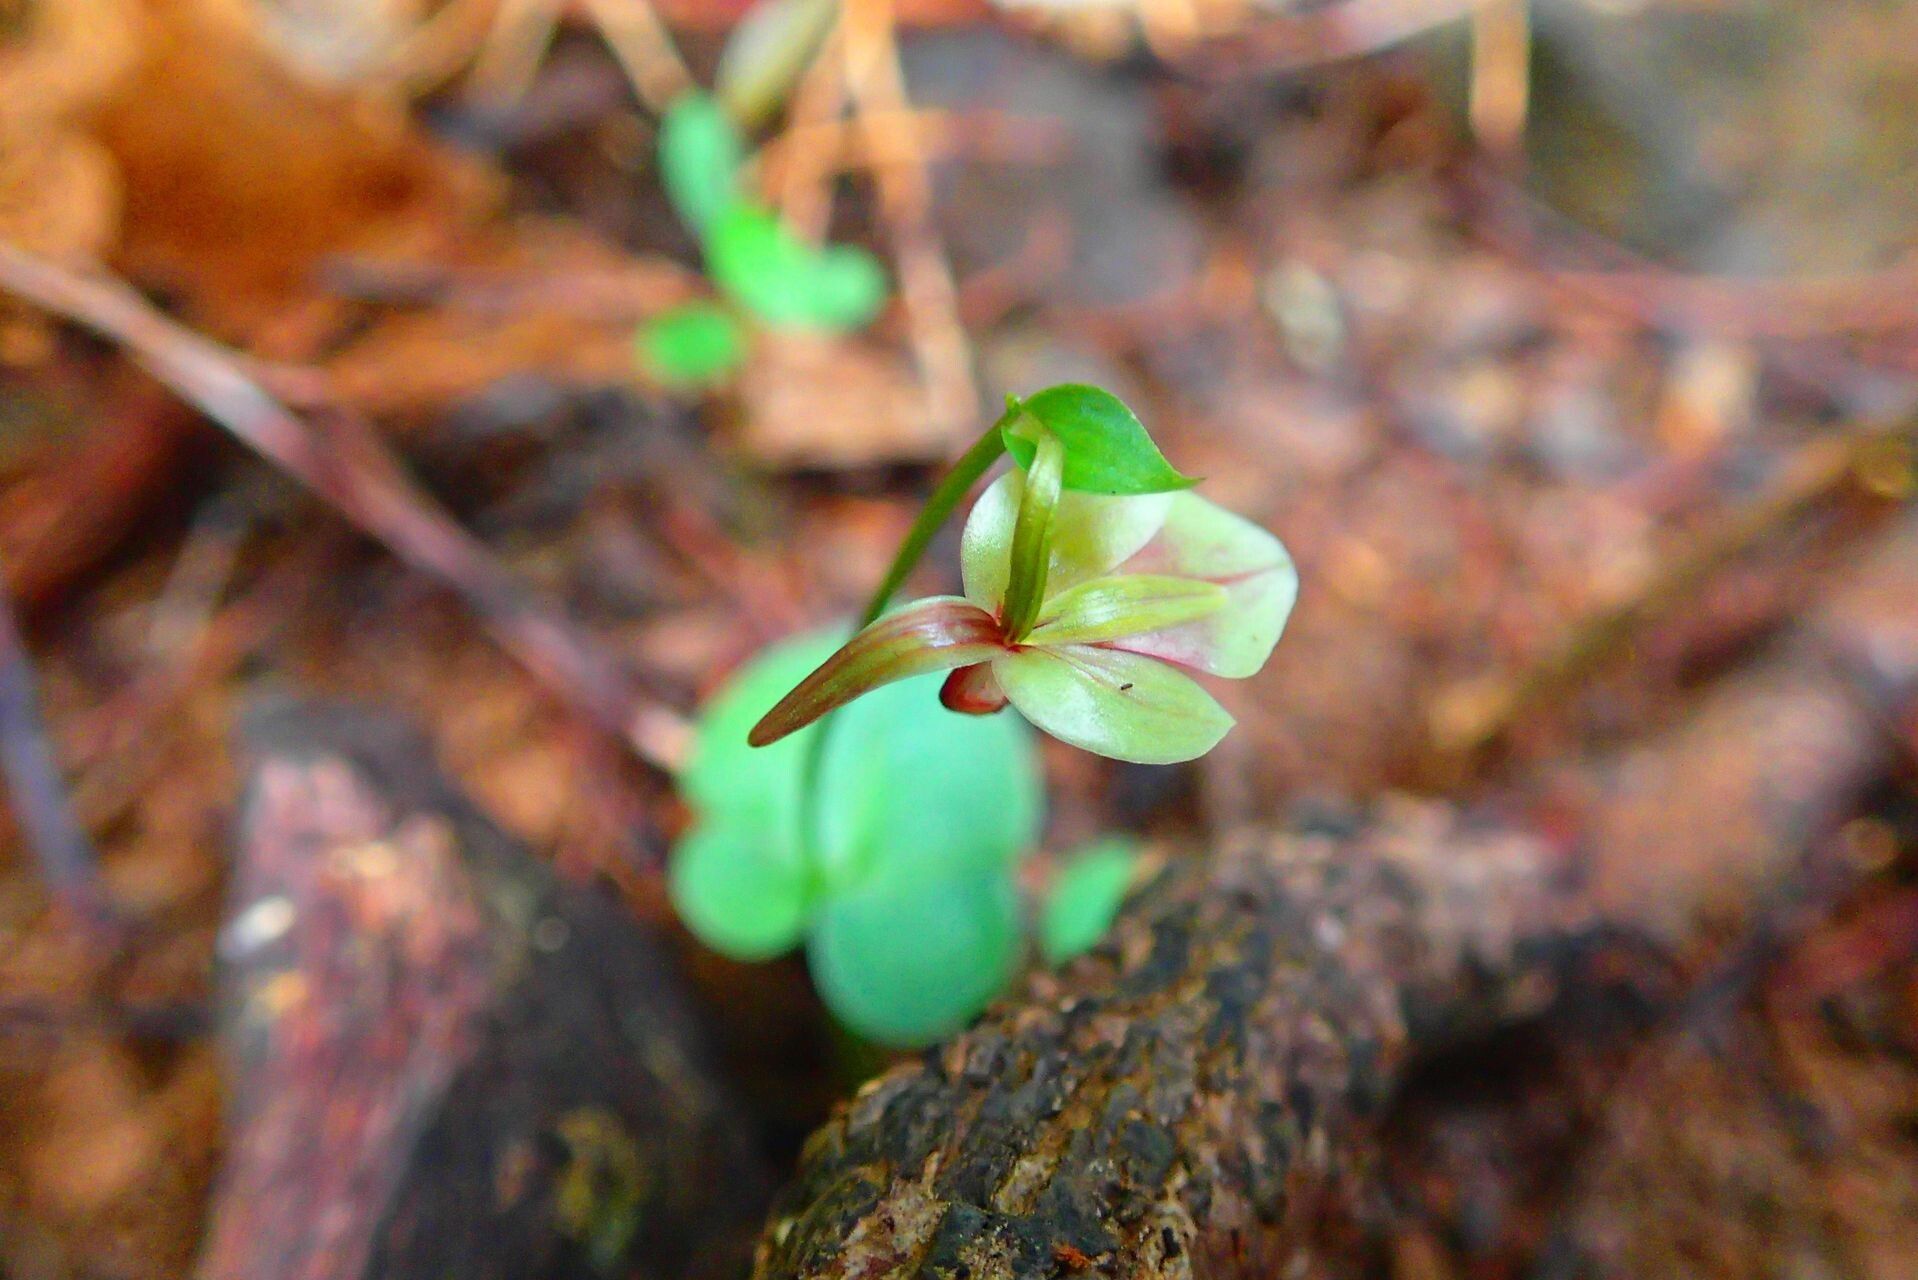
Oh, hello there! Grab a mug, and let’s settle in. Today, we’re diving into the delightful world of Stigmatodactylus grandiflorus. If you’ve ever admired their delicate blooms and wondered how to bring more of that magic into your own garden, you’re in the right place. These beauties are truly special, and propagating them is one of the most rewarding gardening journeys you can take. Now, I’ll be honest, Stigmatodactylus grandiflorus aren’t exactly the “set it and forget it” type. They require a little more attention, but with a bit of know-how and patience, you’ll be rewarded tenfold. Think of it as a lovely challenge that really highlights your gardener’s intuition.
The Best Time to Start
Timing is everything in the garden, and for Stigmatodactylus grandiflorus, the sweet spot for propagation is generally early spring. This is right around when the plant is waking up from its dormancy and beginning its active growth. You’re essentially giving your new little plant the best possible start with the growing season ahead of it. Look for actively growing shoots – those are your prime candidates.
Supplies You’ll Need
Let’s get our tools ready. Having everything on hand makes the entire process so much smoother.
- Sharp, clean pruning shears or a razor blade: For making precise cuts. Cleanliness is key to preventing disease.
- Rooting hormone (optional, but recommended): A good quality powder or gel can significantly boost your success rates.
- Well-draining potting mix: I like a blend of peat moss, perlite, and a bit of orchid bark. The orchid bark really helps with aeration, which these guys love.
- Small pots or trays: Clean containers to house your cuttings.
- Clear plastic bags or a propagation dome: To maintain humidity.
- A spray bottle: For gentle misting.
- A water source: For soaking any tools or watering.
Propagation Methods
We’ll focus on the most effective ways to get new Stigmatodactylus grandiflorus plants going.
Stem Cuttings (The Most Common Approach)
This is my go-to method for these particular orchids.
- Gather Your Cuttings: Using your sterilized shears or razor, carefully take stem cuttings. You want pieces that have at least two nodes (those little bumps where leaves emerge). Aim for cuttings about 3-4 inches long. Remove any lower leaves that would be submerged in soil or water.
- Apply Rooting Hormone: Lightly dip the cut end of the stem into your rooting hormone powder or gel. Tap off any excess.
- Planting the Cuttings: Create a small hole in your prepared potting mix using a pencil or your finger. Gently insert the cutting, ensuring the nodes are covered by the soil. Firm the soil gently around the stem.
- Creating a Humid Environment: Water the potting mix lightly, being careful not to oversaturate. Pop the pot into a clear plastic bag or cover it with a propagation dome to lock in humidity. You want it to feel like a tropical greenhouse in there!
Division (For Mature Plants)
If you have a well-established, mature plant that’s just bursting with energy, division is a great option.
- Gently Remove the Plant: Carefully ease the entire plant out of its pot.
- Inspect the Roots: Gently shake away some of the old soil to get a good look at the root system. You’re looking for natural divisions where you can see distinct aerial roots and pseudobulbs.
- Make the Cut: Using your sterilized pruning shears, carefully divide the plant. Each division should have at least one healthy pseudobulb and a good root system.
- Potting Up: Pot each division into its own container with fresh, well-draining orchid mix, just as you would an established plant.
The “Secret Sauce” (Pro Tips)
Here are a few things I’ve learned over the years that can make all the difference.
- Don’t Drown Your Cuttings: When using water propagation (though I find stem cuttings in soil often more successful for these orchids), it’s crucial to ensure no leaves are touching the water. Rot sets in so fast if they get soggy. Just the stem end should be submerged.
- Bottom Heat is Your Friend: If you have a seedling heat mat, place your pots on it. Consistent, gentle bottom heat (around 70-75°F or 21-24°C) can dramatically speed up root development. It mimics the warmth you’d find in their natural habitat.
- Patience with Air Roots: Stigmatodactylus grandiflorus often develop aerial roots even before they’re in the soil. Don’t panic if you see these. They’re a good sign!
Aftercare & Troubleshooting
Once you start seeing those first signs of life – tiny new shoots or plump little roots peeking out – it’s time for gentle nurturing.
- Gradual Acclimation: Slowly begin to reduce the humidity over a week or two. Open your plastic bag a little more each day, or lift the dome for short periods. This helps the new plant adjust to normal conditions.
- Lightly Water: Keep the potting mix lightly moist, but never waterlogged. You want it to feel like a wrung-out sponge.
- Watch for Signs of Trouble: The most common issue is rot, which usually appears as mushy, dark stems or leaves. If you see this, act fast. Remove the affected part immediately with a clean blade and try to improve air circulation. Another sign of stress might be yellowing leaves that aren’t related to new growth – this can indicate overwatering or too much direct sun.
A Encouraging Closing
Propagating Stigmatodactylus grandiflorus is a beautiful act of horticultural faith. It requires a little extra care, a touch of intuition, and a whole lot of patience. But trust me, when you see that first tiny root or new leaf unfurl, you’ll feel an incredible sense of accomplishment. Enjoy the process, learn from every little sprout, and celebrate each success. Happy gardening, my friend!
Resource: