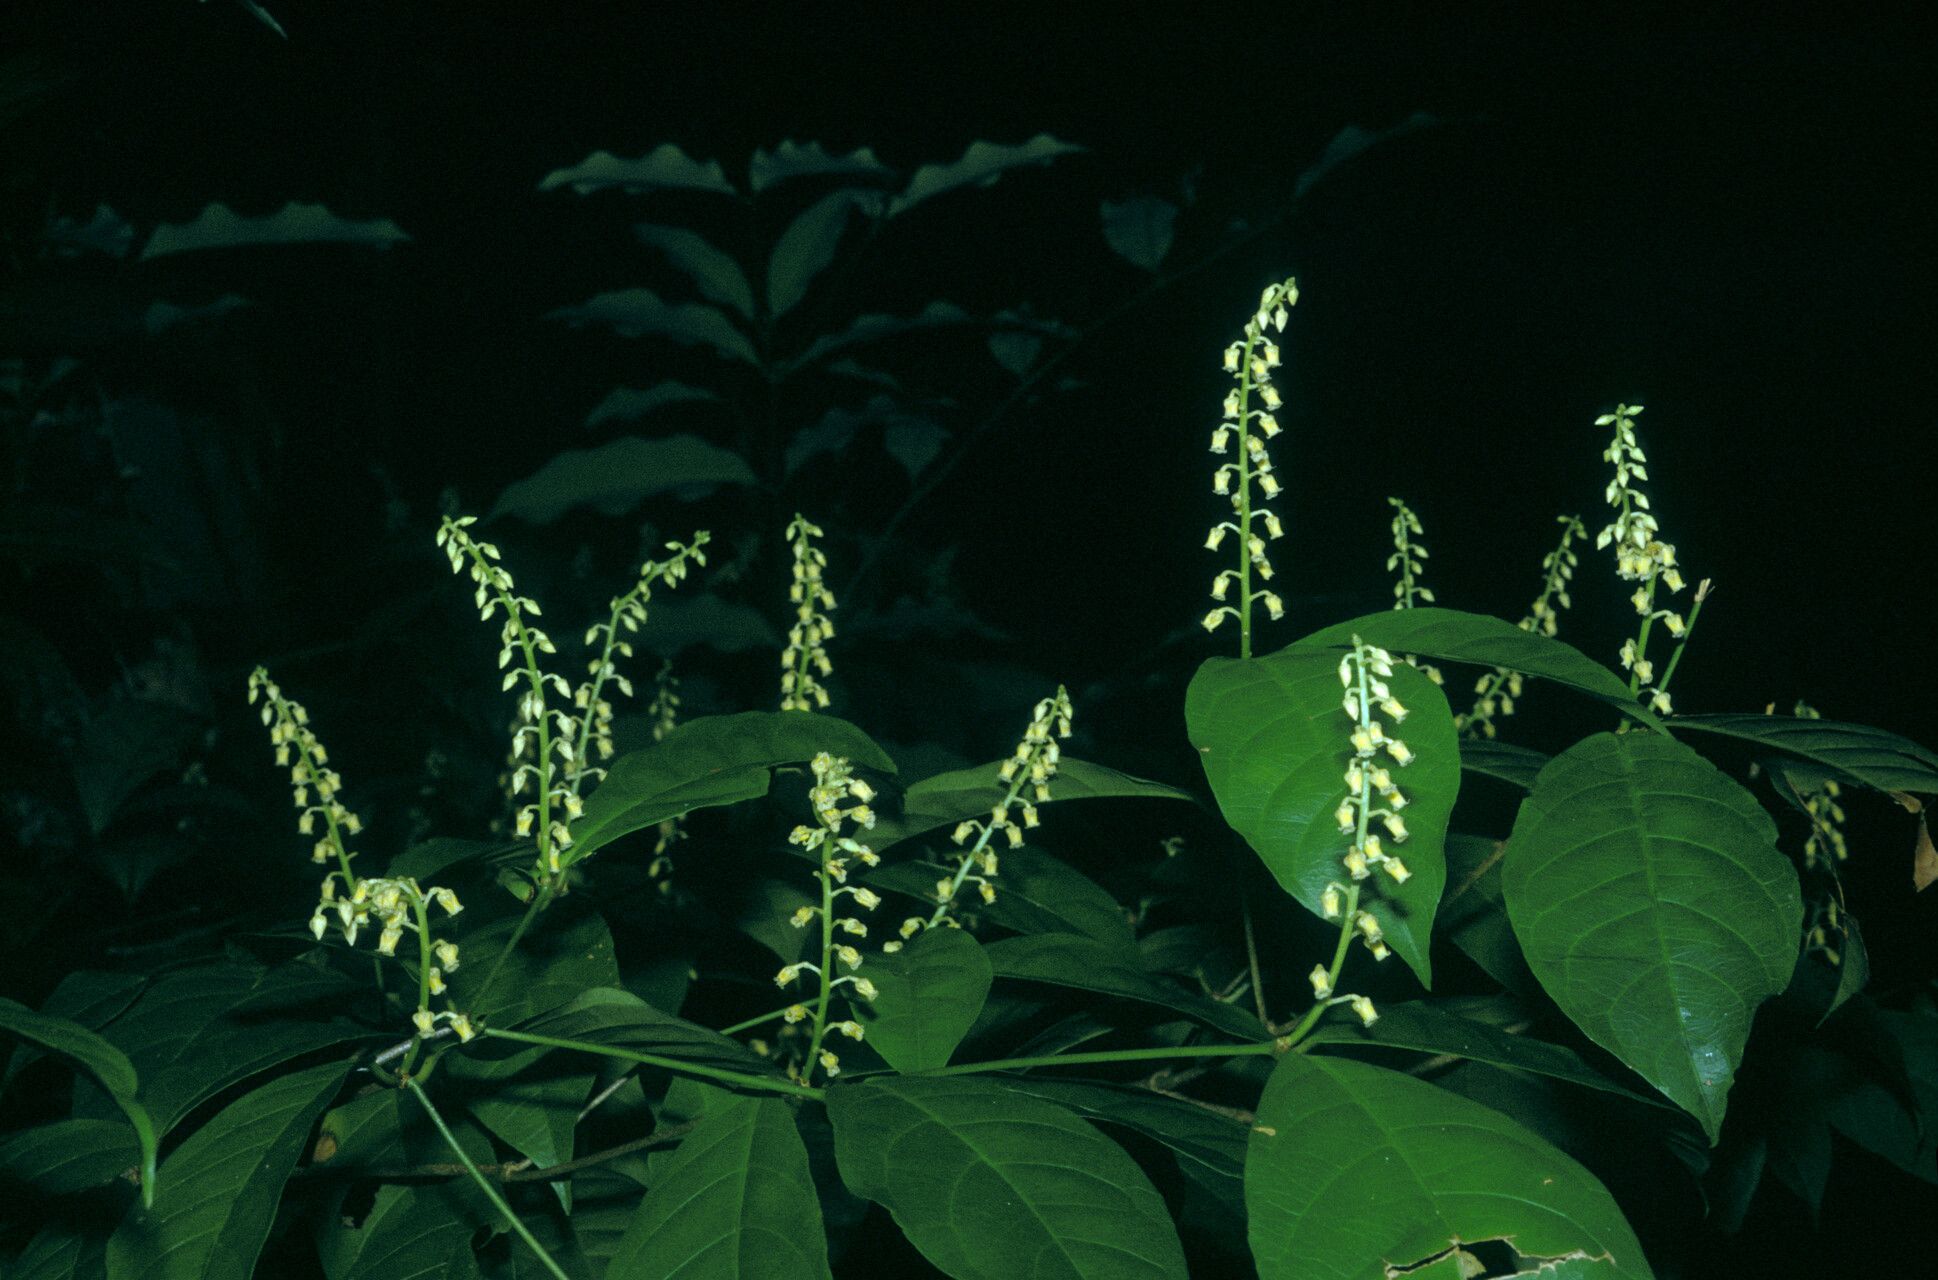
Oh, hello there! Come on in and have a seat. I’ve got my favorite mug of chamomile ready. You’re interested in Rinorea flavescens, are you? What a fantastic choice! It’s such a delightful plant, isn’t it? With those glossy, deep green leaves and those lovely little blossoms that seem to glow, it really brings a touch of the tropics into your home. And the best part? It’s quite rewarding to create more of them yourself. For beginners, I’d say Rinorea flavescens falls into the “manageable with a little care” category. It’s not as stubborn as some orchids, but it appreciates a gentle hand.
The Best Time to Start
Now, when it comes to getting new Rinorea flavescens babies, spring is truly your best friend. That’s when the plant is buzzing with energy, pushing out new growth and just generally ready to take on the world. Starting them in early spring, right as growth really gets going, gives your new cuttings plenty of time to establish themselves before the cooler months arrive. You can often get away with it in early summer too, but spring is definitely prime time for the highest success rates.
Supplies You’ll Need
Before we get our hands dirty, let’s gather our tools. Think of it as preparing your gardening toolkit for a fun project!
- Sharp Pruning Shears or a Clean Knife: For making clean cuts that heal well.
- Small Pots or Propagation Trays: Clean and with drainage holes, of course.
- Well-Draining Potting Mix: A good blend is key. I usually use a mix of equal parts peat moss, perlite, and a bit of potting soil. Some people like to add a touch of orchid bark for extra aeration.
- Rooting Hormone (Optional but Recommended): The powdered kind works wonderfully. It just gives those cuttings a little extra encouragement.
- Clear Plastic Bags or a Propagator: To create a humid microclimate.
- Watering Can with a Fine Rose Attachment: For gentle watering.
- Warmth Source (Optional): Like a heat mat, though it’s not strictly necessary if your home is warm.
Propagation Methods
Rinorea flavescens is a versatile plant, and I’ve had good luck with a couple of methods.
Stem Cuttings: My Go-To
This is my absolute favorite and usually the most successful for Rinorea flavescens.
- Find the Right Stem: Look for healthy, semi-hardwood stems. These are usually stems that have started to firm up but are still a bit flexible – not the brand new, bright green, floppy ones, and definitely not the old, woody ones. You want a length of about 4 to 6 inches.
- Make the Cut: Using your sharp shears or knife, take a clean cutting just below a leaf node. A leaf node is that little bump where a leaf grows out from the stem. This is where the magic happens for root development.
- Prepare the Cutting: Gently remove the lower leaves. You want to leave just a couple of leaves at the top. If the remaining leaves are very large, you can even cut them in half to reduce water loss.
- Apply Rooting Hormone (If Using): Dip the cut end into your rooting hormone, tapping off any excess.
- Plant Your Cutting: Fill your small pots with your prepared potting mix. Make a little hole in the center with your finger or a pencil and gently insert the cutting deep enough so the leaf nodes are covered. Firm the soil around it.
- Water and Cover: Water the pot gently until the soil is evenly moist. Then, place the pot inside a clear plastic bag, sealing it loosely, or put it in your propagator. This creates a humid environment that keeps the leaves from drying out while the roots form.
Water Propagation (A Softer Approach)
If you prefer a less hands-on approach initially, water propagation can work, though I find it can sometimes lead to softer roots that are a bit more sensitive to transplanting.
- Take Your Cutting: Follow steps 1 and 2 from the stem cutting method.
- Remove Lower Leaves: Again, remove all leaves that would be submerged in water.
- Place in Water: Put the cutting in a clean jar or glass of room-temperature water, ensuring no leaves are touching the water’s surface.
- Change Water Regularly: Change the water every few days to keep it fresh and prevent bacterial growth. You’ll start to see tiny roots emerge from the nodes after a few weeks.
- Transplant When Ready: Once the roots are about an inch long, carefully transplant them into your well-draining potting mix.
The “Secret Sauce” (Pro Tips)
Let me share a couple of things I’ve learned over the years that make a real difference:
- Don’t Let Leaves Touch the Water (in Water Propagation): This is crucial! Any submerged leaves will quickly rot and can infect the whole cutting. Keep them high and dry, out of the water.
- Bottom Heat is Your Friend (Especially in Cooler Homes): If you’re propagating in a cooler environment or during a less-than-ideal season, placing your pots on a gentle heat mat can significantly speed up root development. It mimics the warmth of spring soil beautifully.
- Be Patient with Top Leaves: Sometimes those top leaves might look a little sad or droopy at first. Don’t panic! As long as the stem is firm and the leaves aren’t mushy, give it time. The plant is busy putting its energy into roots, not looking its prettiest.
Aftercare & Troubleshooting
Once you see those glorious little roots peeking out from the drainage holes or when the plant feels a bit resistant when gently tugged, it’s time for a new home!
- Gradual Acclimation: If you’ve used a plastic bag or propagator, slowly start to acclimate your new plant to drier air. Open the bag a little more each day for a week before removing it completely.
- Watering: Water thoroughly when the top inch of soil feels dry. Avoid overwatering, as this is the quickest way to invite problems.
- Light: Place your new baby in a spot with bright, indirect light. No direct sun, please, especially while it’s getting established.
The most common issue you’ll run into is rot. If your cutting turns black and mushy, or the leaves are bright yellow and limp, it’s likely too much moisture or not enough air circulation. If you catch rot early, you might be able to salvage a healthy section, but often it’s best to start again. Another sign of struggle is if the cutting simply dries out – that’s a cue to increase humidity or check your watering.
A Little Encouragement to Finish
Propagating plants is a journey, and like any good journey, it’s about the process as much as the destination. Don’t get discouraged if every single cutting doesn’t make it. Some plants are just a bit fussier than others. Celebrate the successes, learn from the failures, and most importantly, enjoy the magic of bringing new life into your garden and your home. You’ve got this!
Resource:
https://identify.plantnet.org/k-world-flora/species/Rinorea%20flavescens%20(Aubl.)%20Kuntze/data