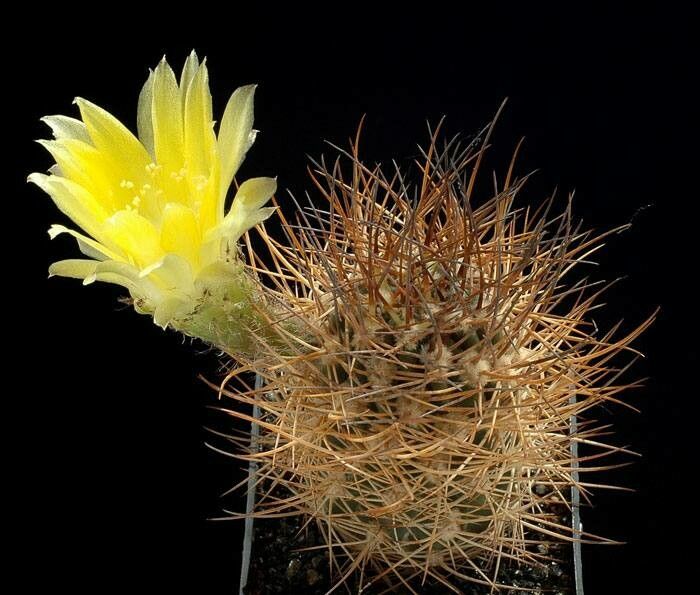
Oh, hello there! Pull up a chair and let’s chat about one of my absolute favorite cacti: Lobivia lateritia. I’ve been growing these beauties for years, and let me tell you, there’s a special kind of joy in watching a tiny little propagule grow into a magnificent specimen. If you’re looking to expand your cactus collection without breaking the bank, or simply want to share these vibrant plants with friends, propagating Lobivia lateritia is a wonderfully rewarding endeavor. For beginners? It’s quite forgiving, which is always a bonus!
The Best Time to Start
When it comes to Lobivia lateritia, spring or early summer is your golden ticket. This is when the plant is actively growing and has the most energy to dedicate to forming new roots. You’ll find that cuttings taken during this period are much more likely to take off. Avoid propagating when the plant is dormant in cooler months.
Supplies You’ll Need
Here’s what you’ll want to have on hand before you begin:
- Well-draining soil mix: Think a gritty cactus or succulent mix, or a blend of potting soil, perlite, and coarse sand.
- A clean, sharp knife or pruning shears. Sterilize them with rubbing alcohol between cuts.
- Optional: Rooting hormone powder. It’s not always necessary for Lobivia lateritia, but it can give you a little extra boost.
- A clean pot or tray for your cuttings. Make sure it has drainage holes!
- A labels and a marker to keep track of what you’ve propagated.
- A spray bottle for water.
- A small brush for cleaning off excess soil.
Propagation Methods
For Lobivia lateritia, the most straightforward method is by taking offsets or pups. These are the small plantlets that naturally grow from the base of the parent cactus.
- Identify the offsets: Look for little baby cacti nestled around the main body of your Lobivia lateritia. They’ll have their own tiny spines and body.
- Gently separate: Using your clean knife or shears, carefully cut or twist the offset away from the mother plant. Try to get a clean break as close to the base as possible. If it has some small root nubs attached, that’s fantastic!
- Callusing time: This is crucial! Let the offset air dry in a bright, but not direct sun, spot for 2-7 days. You want the cut end to form a dry, callous-like surface. This prevents rot when you plant it.
- Planting your pup: Once callused, gently place the offset on top of your prepared gritty soil mix. You don’t need to bury it deeply – just enough so it stands upright. If it has roots, you can lightly bury those.
- Resist the urge to water immediately: Wait at least a week, or even two, before giving it its first light watering. This gives any tiny, unseen wounds a chance to heal.
The “Secret Sauce” (Pro Tips)
You know, after years of fiddling with cacti, you pick up a few things. Here are a couple of my go-to secrets for great results:
- The “Dry Root Ball” Trick: When separating offsets, I often find that if the parent plant is slightly dry beforehand, the offsets detach more cleanly, and you’re less likely to damage them. Just a few days of no watering can make a difference.
- Bottom Heat for the Win: If you’re in a cooler climate or propagating early in the spring, placing your pots on a seedling heat mat can significantly speed up root development. Think cozy for your little ones!
Aftercare & Troubleshooting
Once your Lobivia lateritia offset has developed roots – you might see it start to plump up or even resist a gentle tug – it’s ready for a little more attention. Water sparingly at first. Keep it in bright, indirect light.
The most common culprit for failure is rot, usually caused by overwatering or not letting the cutting callus properly. If you see your offset turn mushy or black, it’s likely rot. Unfortunately, there’s usually no coming back from that, but don’t despair! Just start again with a fresh cutting and be extra vigilant with the callusing and initial watering.
A Little Patience Goes a Long Way
Watch your new Lobivia lateritia grow. It might seem slow at first, but trust me, with a bit of patience and the right care, you’ll have a whole new generation of these cheerful cacti to enjoy and share. Happy propagating!
Resource: