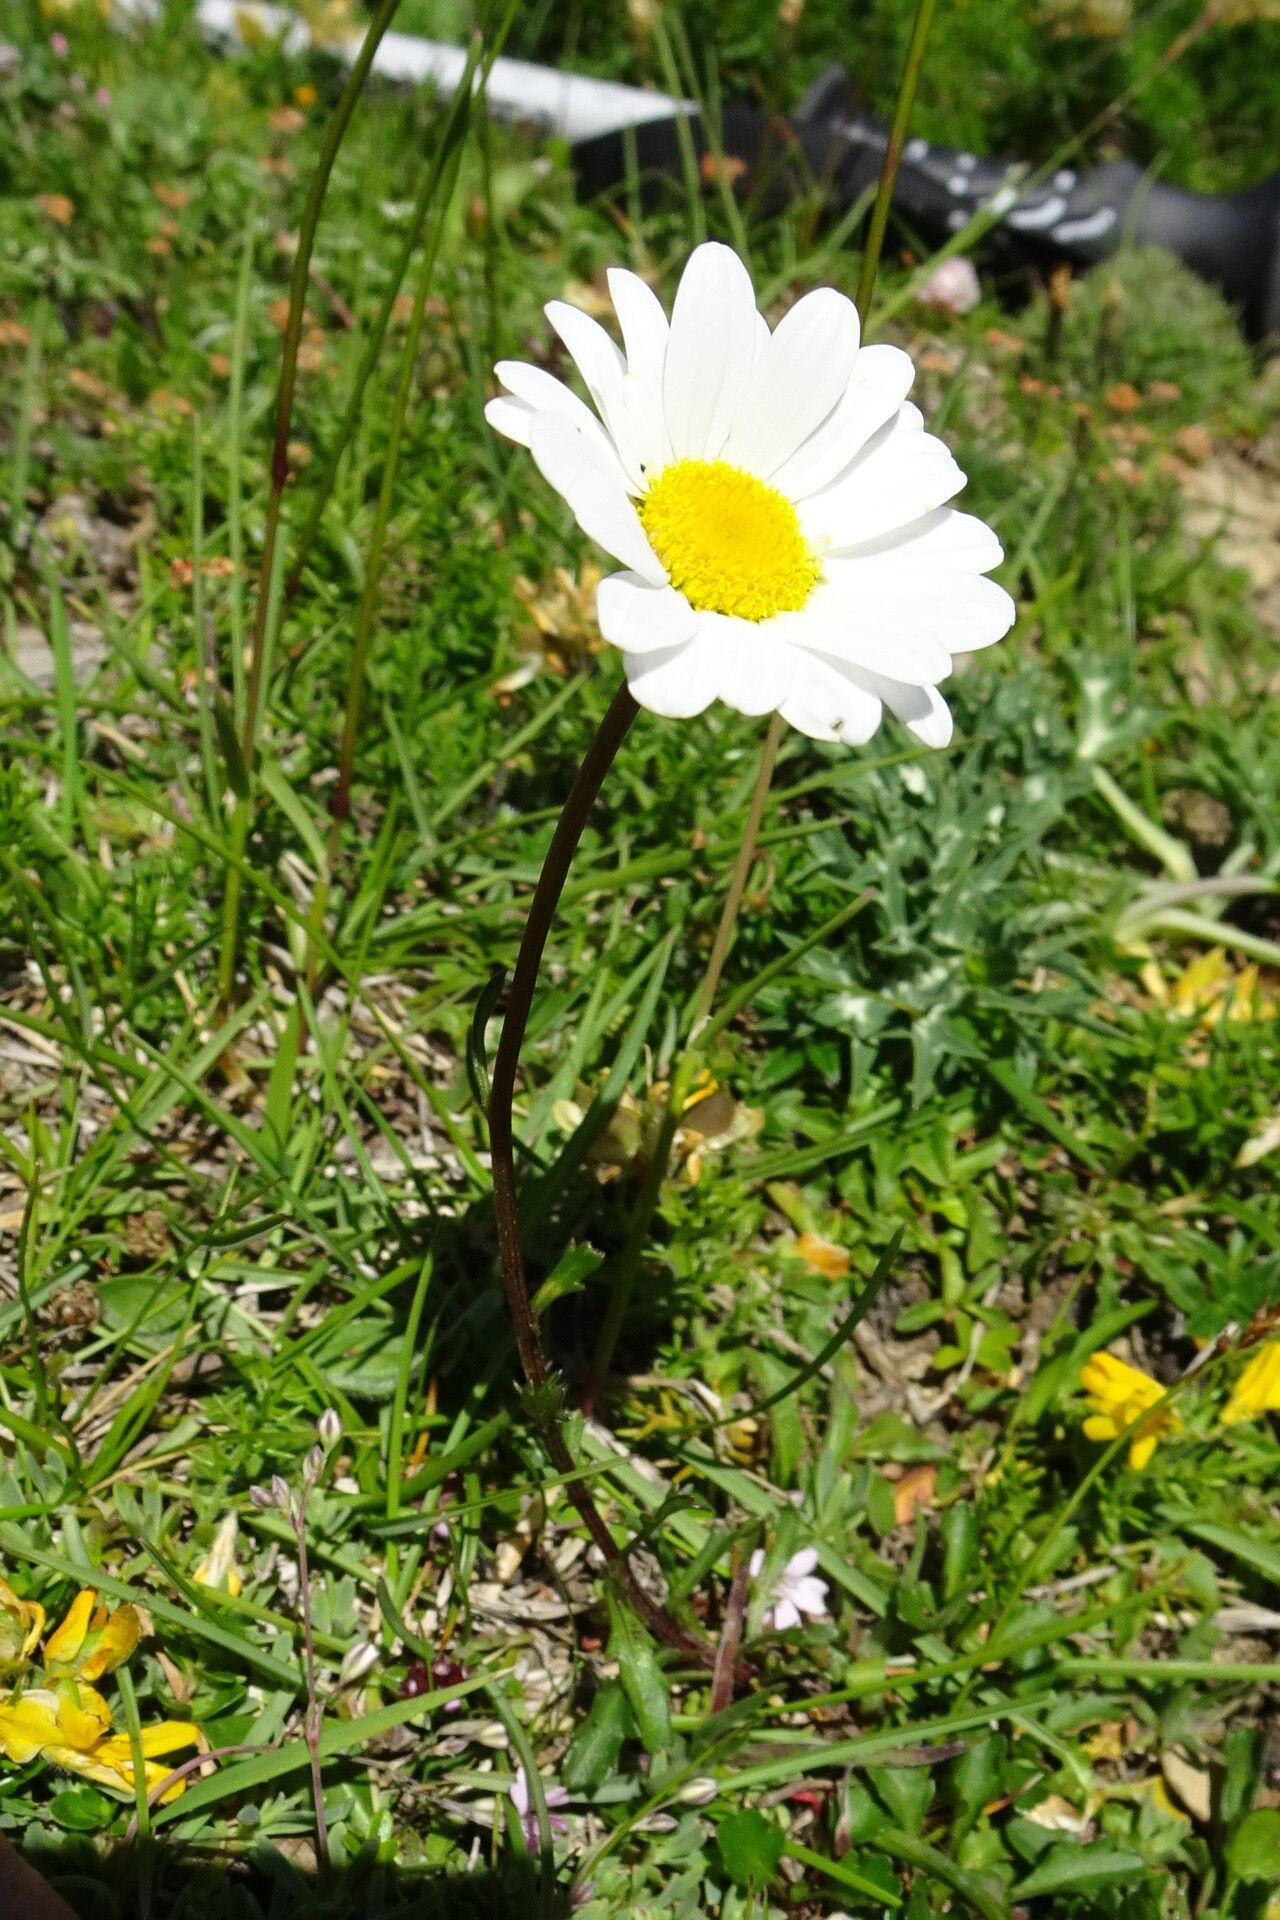
Hello there, fellow garden enthusiasts! It’s so lovely to have you join me today in my little corner of the gardening world. We’re going to chat about a flower that brings such cheerful, daisy-like beauty to any garden: Leucanthemum halleri, often simply called Haller’s Shasta Daisy. These sturdy beauties, with their bright white petals and sunny centers, are just pure joy. And the best part? They’re wonderfully generous, making them an excellent choice for anyone looking to expand their plant collection without breaking the bank. In fact, I’d say propagating Leucanthemum halleri is quite beginner-friendly. You’ll likely find success with your first few tries!
The Best Time to Start
When it comes to getting the most bang for your buck with propagation, timing is everything. For Leucanthemum halleri, my favorite time to get started is in late spring or early summer. This is when the plant is actively growing and has plenty of energy. You’re looking for healthy, non-flowering stems. If you miss this window, early autumn can also work, but you might need to be a bit more patient with root development before winter sets in.
Supplies You’ll Need
Gathering your supplies before you begin makes the whole process smoother. Here’s what I always have on hand:
- Sharp pruning shears or a clean utility knife: For making precise cuts.
- Rooting hormone powder or gel: This is your secret weapon for encouraging strong root growth.
- Potting mix: A well-draining mix is crucial. I often use a blend of peat moss, perlite, and a bit of compost. A seed-starting mix works wonders too.
- Small pots or trays: Clean containers with drainage holes are essential.
- Watering can or spray bottle: For gentle watering.
- Plastic bags or a propagator: To create a humid environment for cuttings.
- Labels and a permanent marker: So you don’t forget what’s what!
Propagation Methods
Now for the fun part! Leucanthemum halleri is a champion at multiplying, and division is my absolute favorite method.
Division
This is the easiest and most straightforward way to propagate these daisies. It’s best done in early spring just as new growth is emerging, or in early autumn after flowering has finished.
- Water the parent plant: A day or two before you plan to divide, give your Leucanthemum halleri a good watering. This helps reduce transplant shock.
- Gently dig up the plant: Carefully dig around the base of the plant and lift it from the ground. You can also do this with potted plants.
- Separate the root ball: You’ll notice that the plant naturally forms clumps with multiple crowns (the leafy part where roots begin). Gently pull these clumps apart with your hands. If they are stubborn, a clean trowel or your knife can help. Aim to get segments that have both roots and at least one or two healthy shoots.
- Replant immediately: Plant your new divisions into prepared beds or pots. Make sure the crown is at soil level. Water them in well.
Stem Cuttings
This method takes a bit more time, but it’s incredibly rewarding to see those little roots form!
- Take cuttings: In late spring or early summer, select healthy, non-flowering stems. Using your sharp pruners or knife, make a cut just below a leaf node (where a leaf attaches to the stem). You want cuttings that are about 4-6 inches long.
- Prepare the cuttings: Remove the lower leaves from the cutting, leaving just a few at the top. This reduces moisture loss.
- Apply rooting hormone: Dip the cut end of the stem into rooting hormone powder or gel. Tap off any excess.
- Pot up the cuttings: Fill your small pots with your well-draining potting mix. Make a hole with a pencil or your finger and gently insert the cutting. Firm the soil around the base.
- Create humidity: Water the soil gently. Then, cover the pots with a plastic bag or place them in a propagator. You can use sticks to keep the bag from touching the leaves.
- Provide bright, indirect light: Place the pots in a location that receives bright, indirect sunlight. Avoid direct sun, which can scorch young cuttings.
The “Secret Sauce” (Pro Tips)
Here are a couple of tricks I’ve picked up over the years that really make a difference:
- Bottom heat for cuttings: If you’re struggling with stem cuttings or just want to speed things along, place your pots on a heat mat. This provides consistent warmth for the roots, which is a real game-changer for encouraging them to sprout. It mimics the warmth of spring soil beautifully.
- Don’t be afraid to inspect: When you’re checking on your cuttings, gentle tugging is your friend. If you feel a bit of resistance, it means roots have formed! Don’t pull them all the way out, though. A little wiggle is enough.
Aftercare & Troubleshooting
Once your divisions or cuttings have established themselves, treat them like young plants. Water them consistently, especially during dry spells. If you used cuttings, once you see new leaf growth, they’re well on their way!
The biggest challenge you might encounter is rot. This usually happens if the soil stays too wet. Ensure your pots have good drainage, and always water when the top inch of soil feels dry. If a cutting looks limp and discolored, it’s likely rotted. Don’t be discouraged; just try again with a fresh cutting and ensure your soil is well-aerated.
A Encouraging Closing
Propagating plants is such a rewarding journey. It connects you to the life cycle of your garden and allows you to share the beauty you love with others. So, take a deep breath, enjoy the process, and celebrate each new sprout. Happy propagating!
Resource: